How to Set Up the WoSport WRC Lightweight Combat Belt (Quick Guide)
- Posted on
- By AEX News
Struggling to assemble your WoSport WRC Lightweight Combat Belt? This step-by-step guide from Airsoft Extreme walks you through locking the belt system, adjusting sizing, installing sections, and choosing your buckle setup so you can build the perfect loadout.
WoSport WRC Lightweight Combat Belt Setup Guide
Hello gear-dos, and welcome back! Today we’ll be going over how to properly set up your WoSport WRC Lightweight Combination Belt.
What’s Included
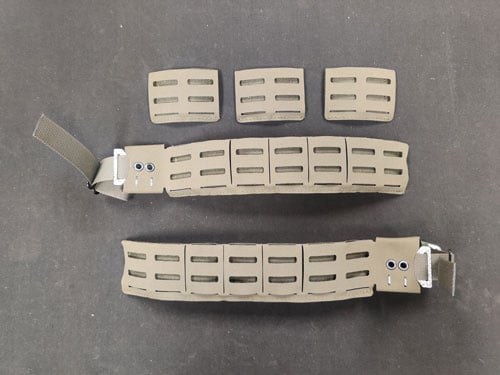
Your belt kit comes with a hard plastic insert, two belt ends, three middle sections, and both a male and female Cobra-style buckle. (See Pic 1 & Pic 2)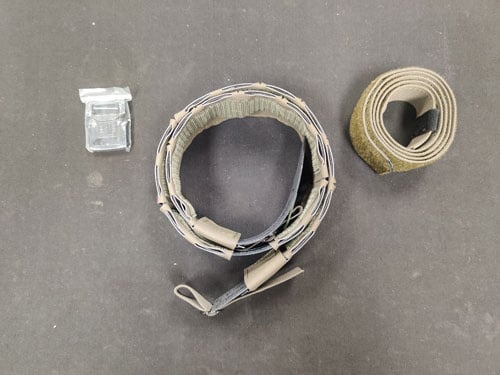
Why Your Belt Feels Like It Falls Apart
If you’ve tried putting the belt on right out of the box, you probably noticed it doesn’t stay together. That’s because one side of the belt needs to be secured using the included locking system.
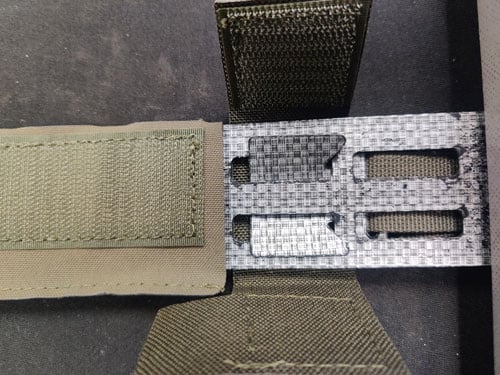
Step 1: Lock One Side of the Belt
Start by using the provided locking flaps to secure one side of the belt. (See Pic 3 & Pic 4)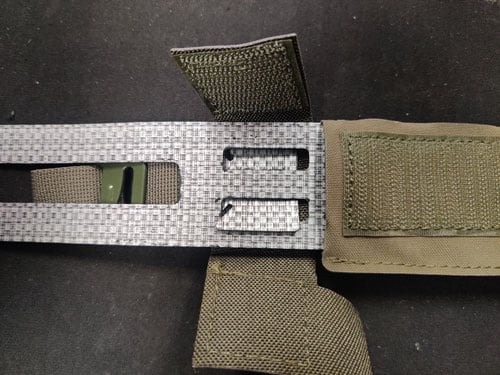
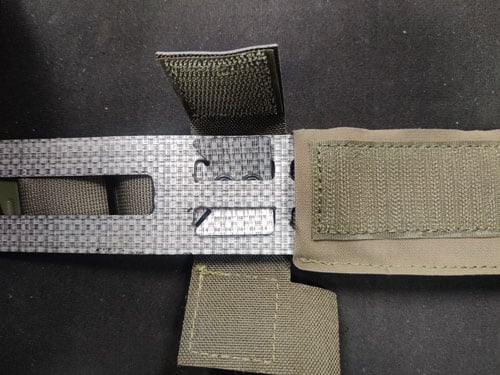
The locking flaps slide into the designated slots, which locks that section of the belt firmly into place.
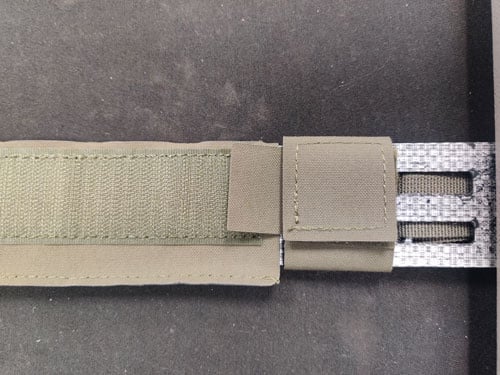
Once installed, use the stitched fabric flap to cover the locking area for a clean finish. (See Pic 5)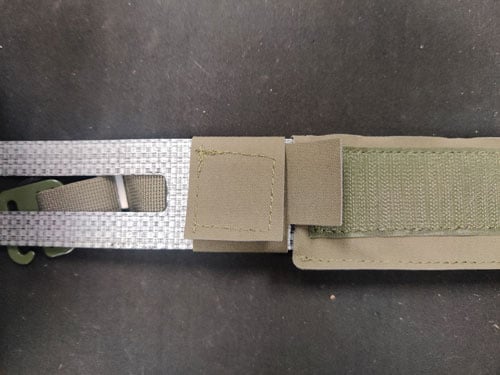
Step 2: Adjust Belt Size with Middle Sections
Next, determine how many middle sections you’ll need for proper fit.
If you’re on the slimmer side, you may not need any middle sections—or just one. (See Pic 6 & Pic 7)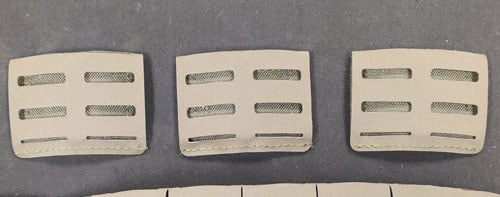
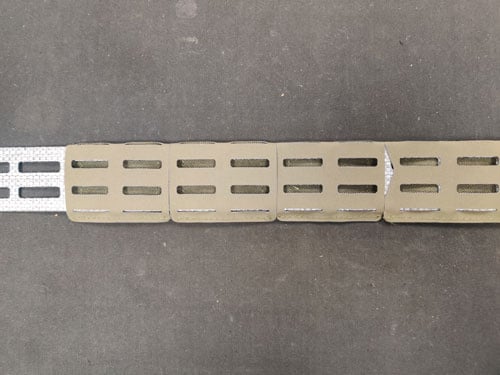
If you’re… let’s say “well-fed,” you might end up using all three. (Looking at you, Lawrence—your wife must cook really well.)
Add or remove sections as needed to ensure a comfortable and secure fit.
Step 3: Attach the Final Belt End
Once you’ve dialed in your sizing, install the final belt end and lock it into place using the same method as before. (See Pic 8, Pic 9 & Pic 10)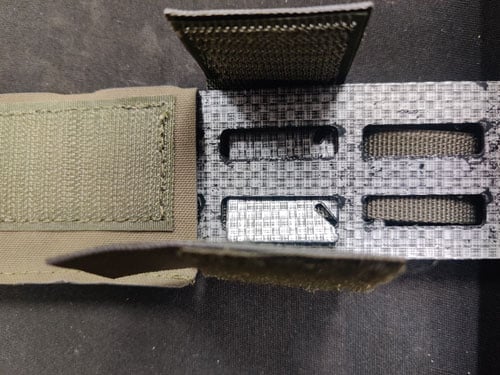
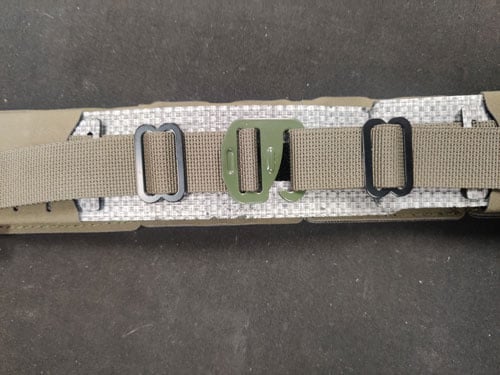
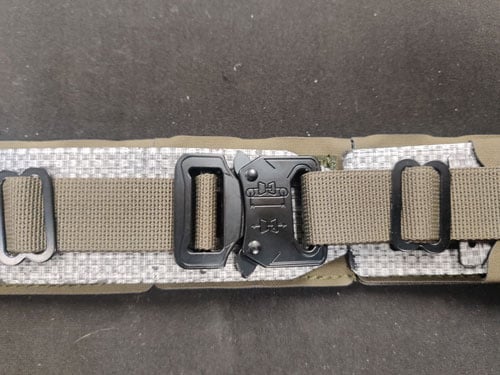
Step 4: Choose Your Buckle Setup
Now it’s time to decide how you want to run your belt buckle.
You have two options:
- G-Hook (pre-installed)
- Cobra-style buckle (included)
Select the option that best fits your preference and play style. (See Pic 11, Pic 12 & Pic 13)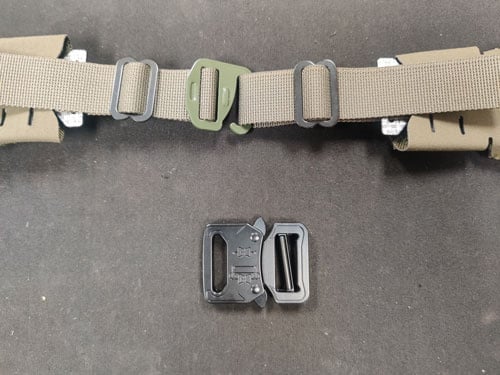
Build Your Loadout
Once your belt is fully assembled, you’re ready to add your gear—holsters, magazine pouches, radio pouches, dump pouches, and more—to complete your tactical loadout.
Final Thoughts
We hope this guide helps eliminate any frustration you might have experienced when first setting up your belt.
If you’re still having trouble, stop by any of our Airsoft Extreme locations in Rancho Cordova, Santa Clara, Los Angeles, or San Diego, and our team will be happy to help you out.
Take care, and we look forward to seeing you again soon!


