Quick Tip: The Easy Way to Install Magazine Inserts in Your Plate Carrier
- Posted on
- By AEX News
Installing magazine inserts into a plate carrier can be frustrating, especially when hook-and-loop panels keep grabbing everything in sight. This quick tip shows an easy, low-cost trick using two sheets of paper to make installation fast and painless.
How to Install Magazine Inserts in Your Plate Carrier
Welcome back, airsofters of all experience levels!
We hope everyone is doing well, and thank you for joining us for another Airsoft Extreme Tips & Tricks guide.
Today, we'll be going over a simple method for installing magazine inserts into your plate carrier with minimal frustration.
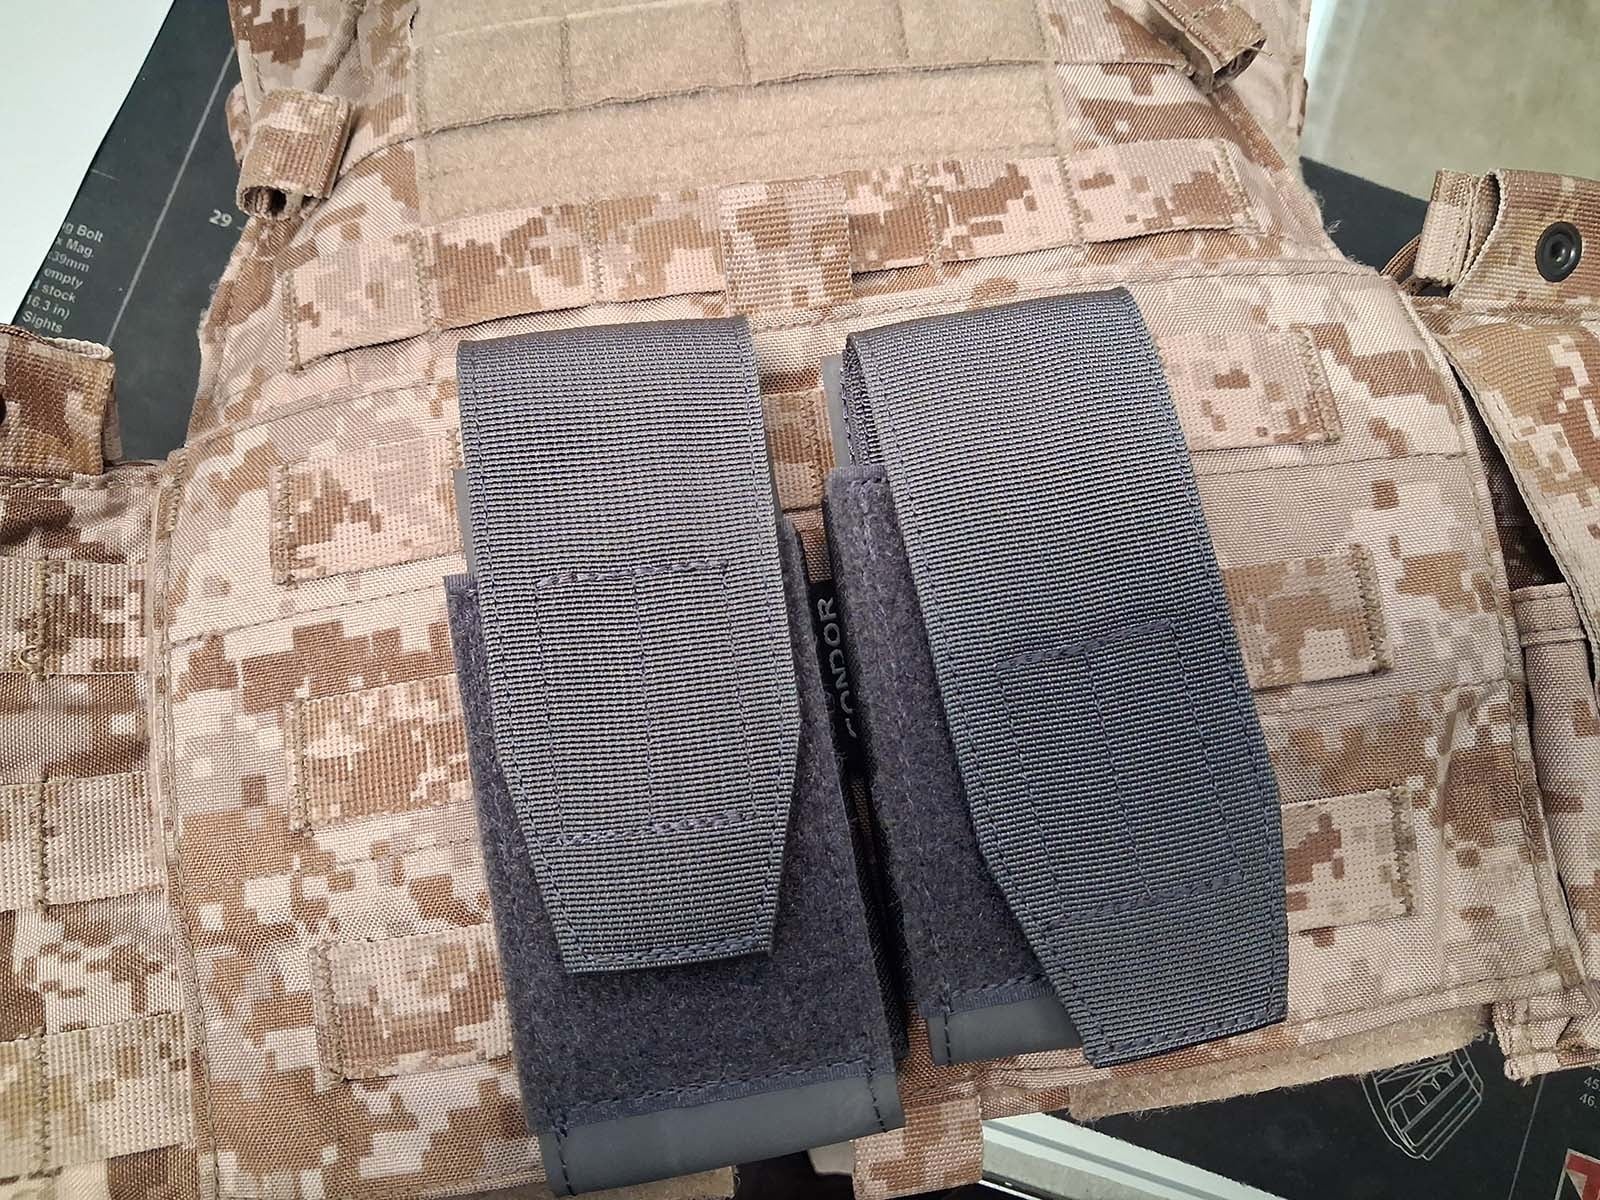
For this demonstration, we'll be using a Condor QD M4 Mag Pouch (221114-027) and Lawrence's Eagle Industries MMAC-R-BB-L-MS-5A1 plate carrier. (See Picture 1)
What You'll Need
The best part? You only need two sheets of paper.
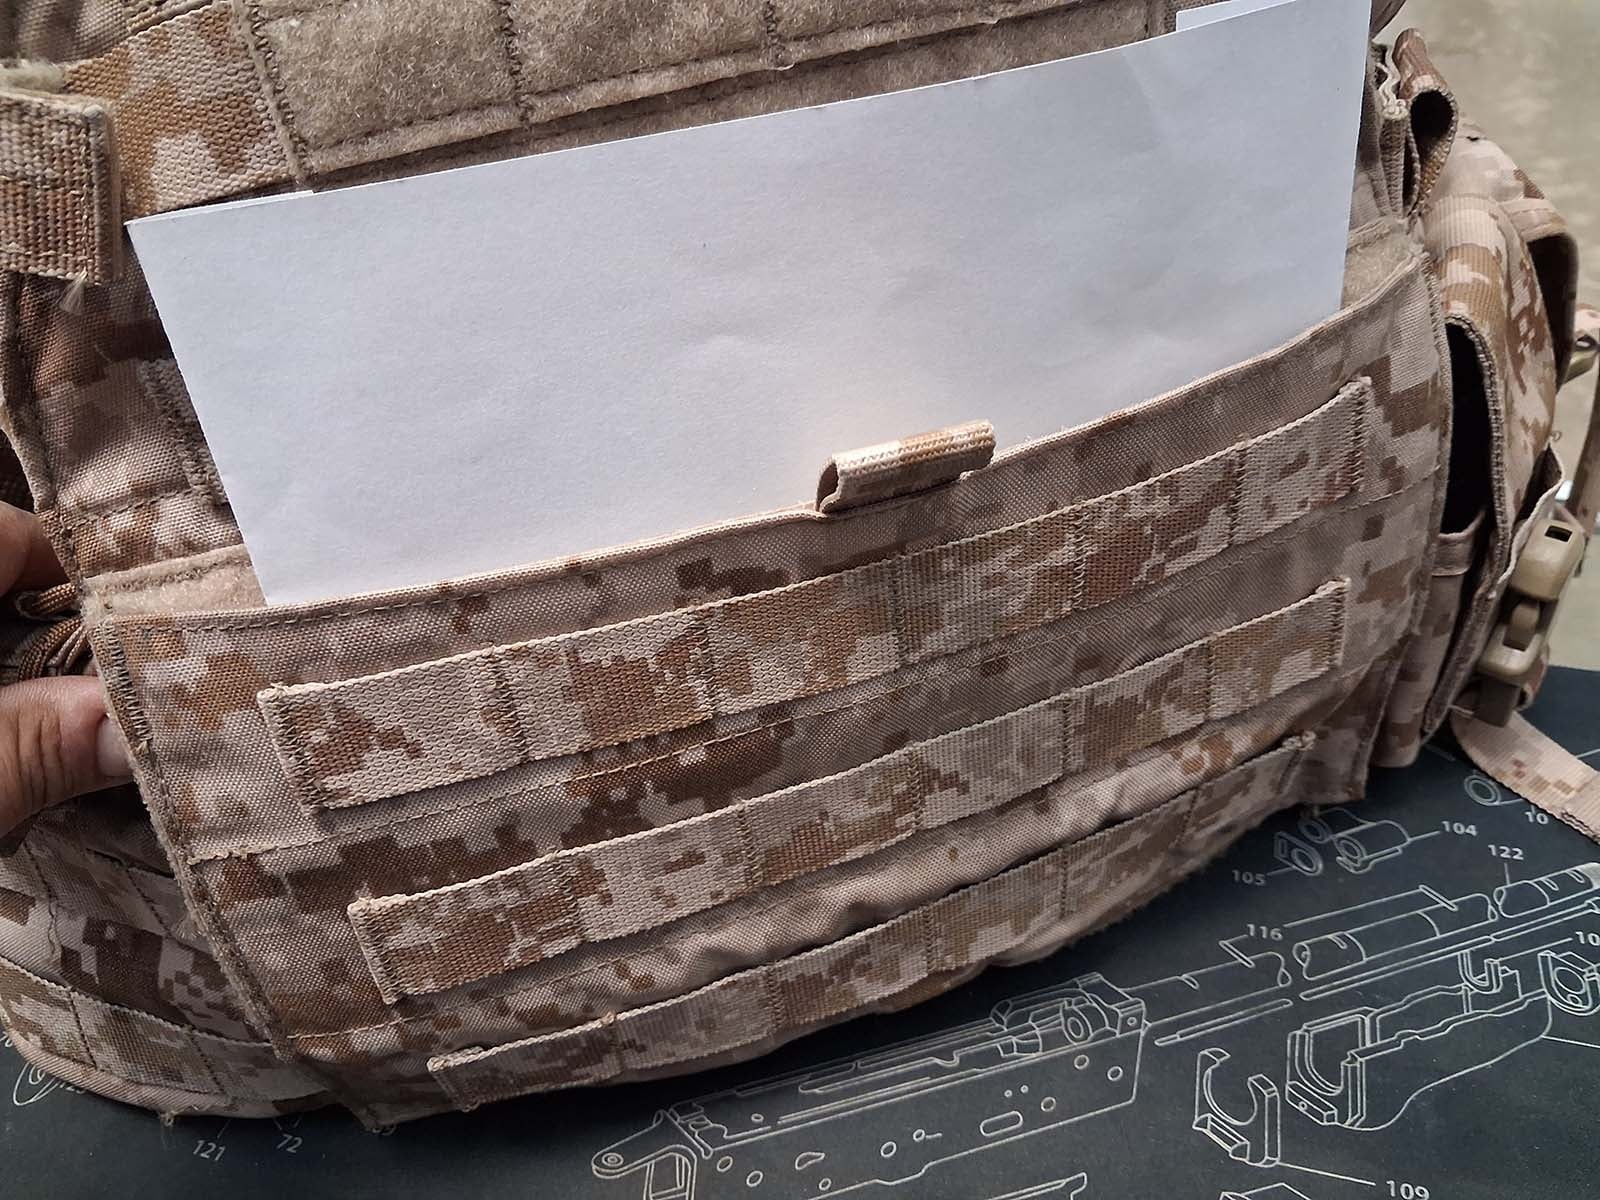
Step 1: Separate the Hook and Loop Panels
Open the magazine pouch and separate the inner hook-and-loop surfaces.
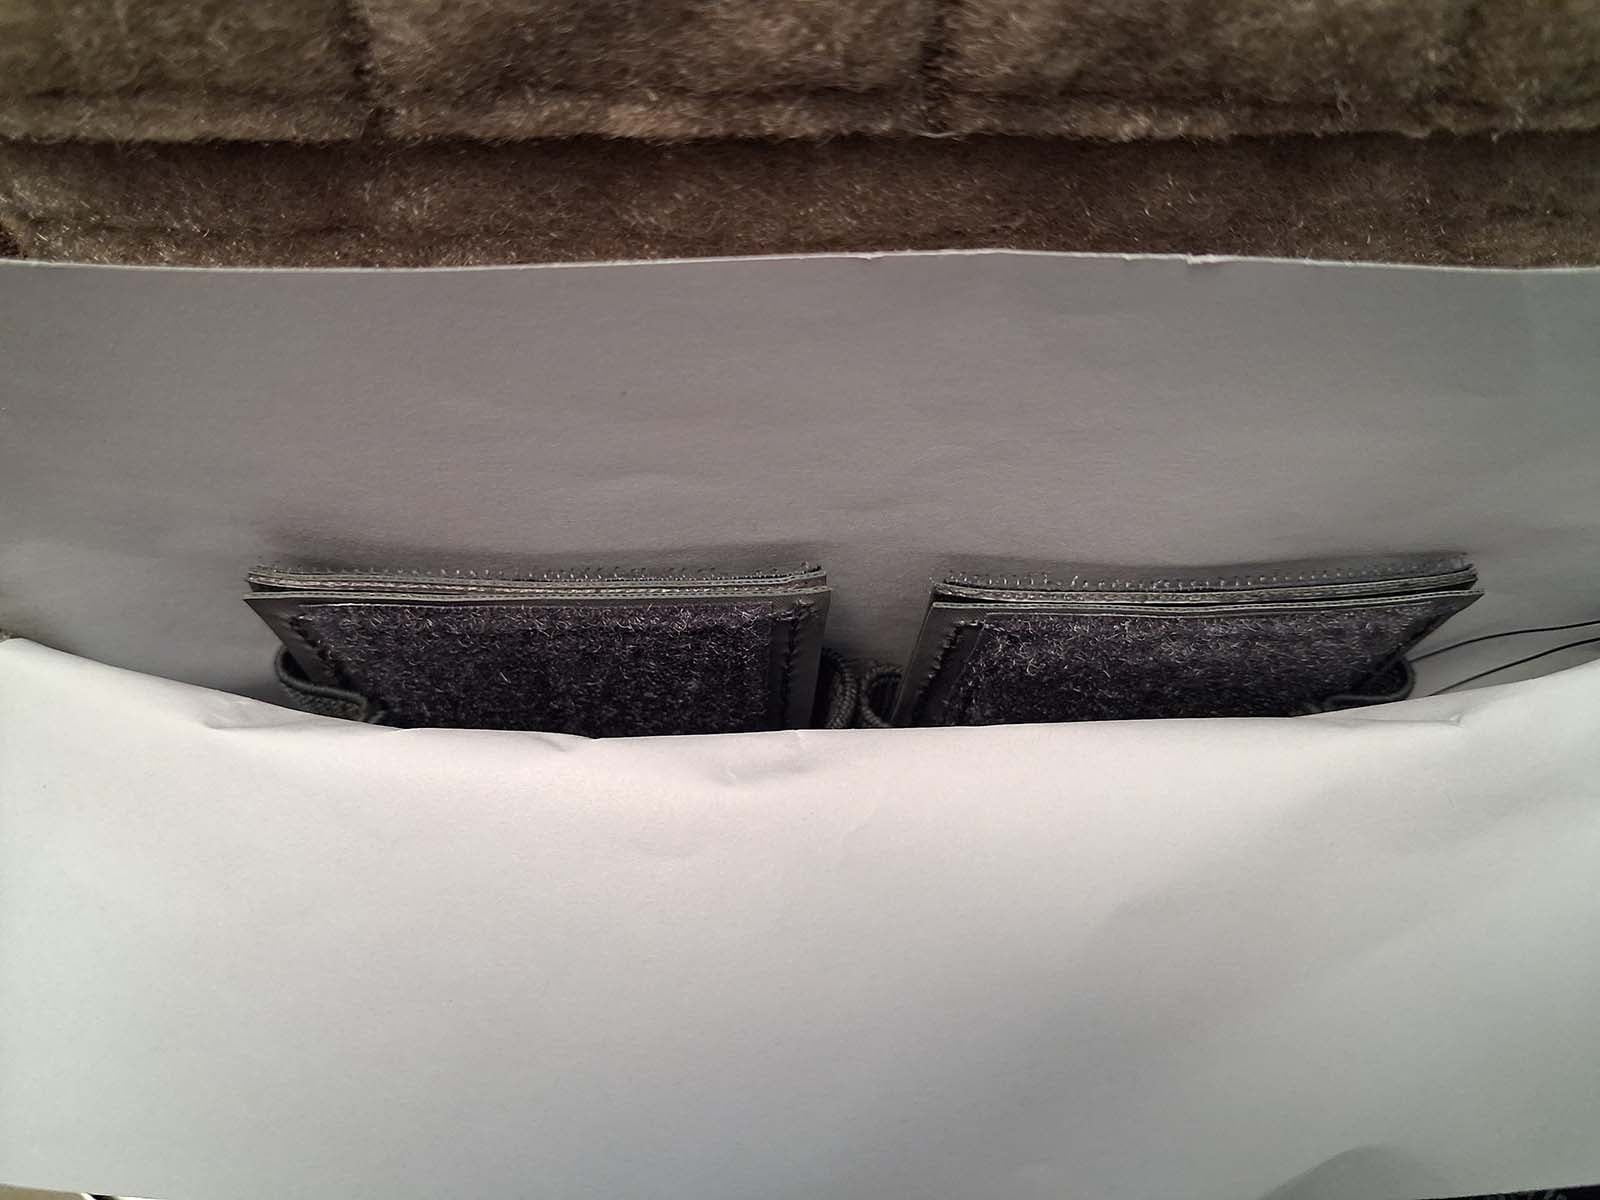
Insert your first sheet of paper between the hook-and-loop panels. This prevents them from sticking back together while you're working. (See Picture 2)
Step 2: Insert the Second Sheet
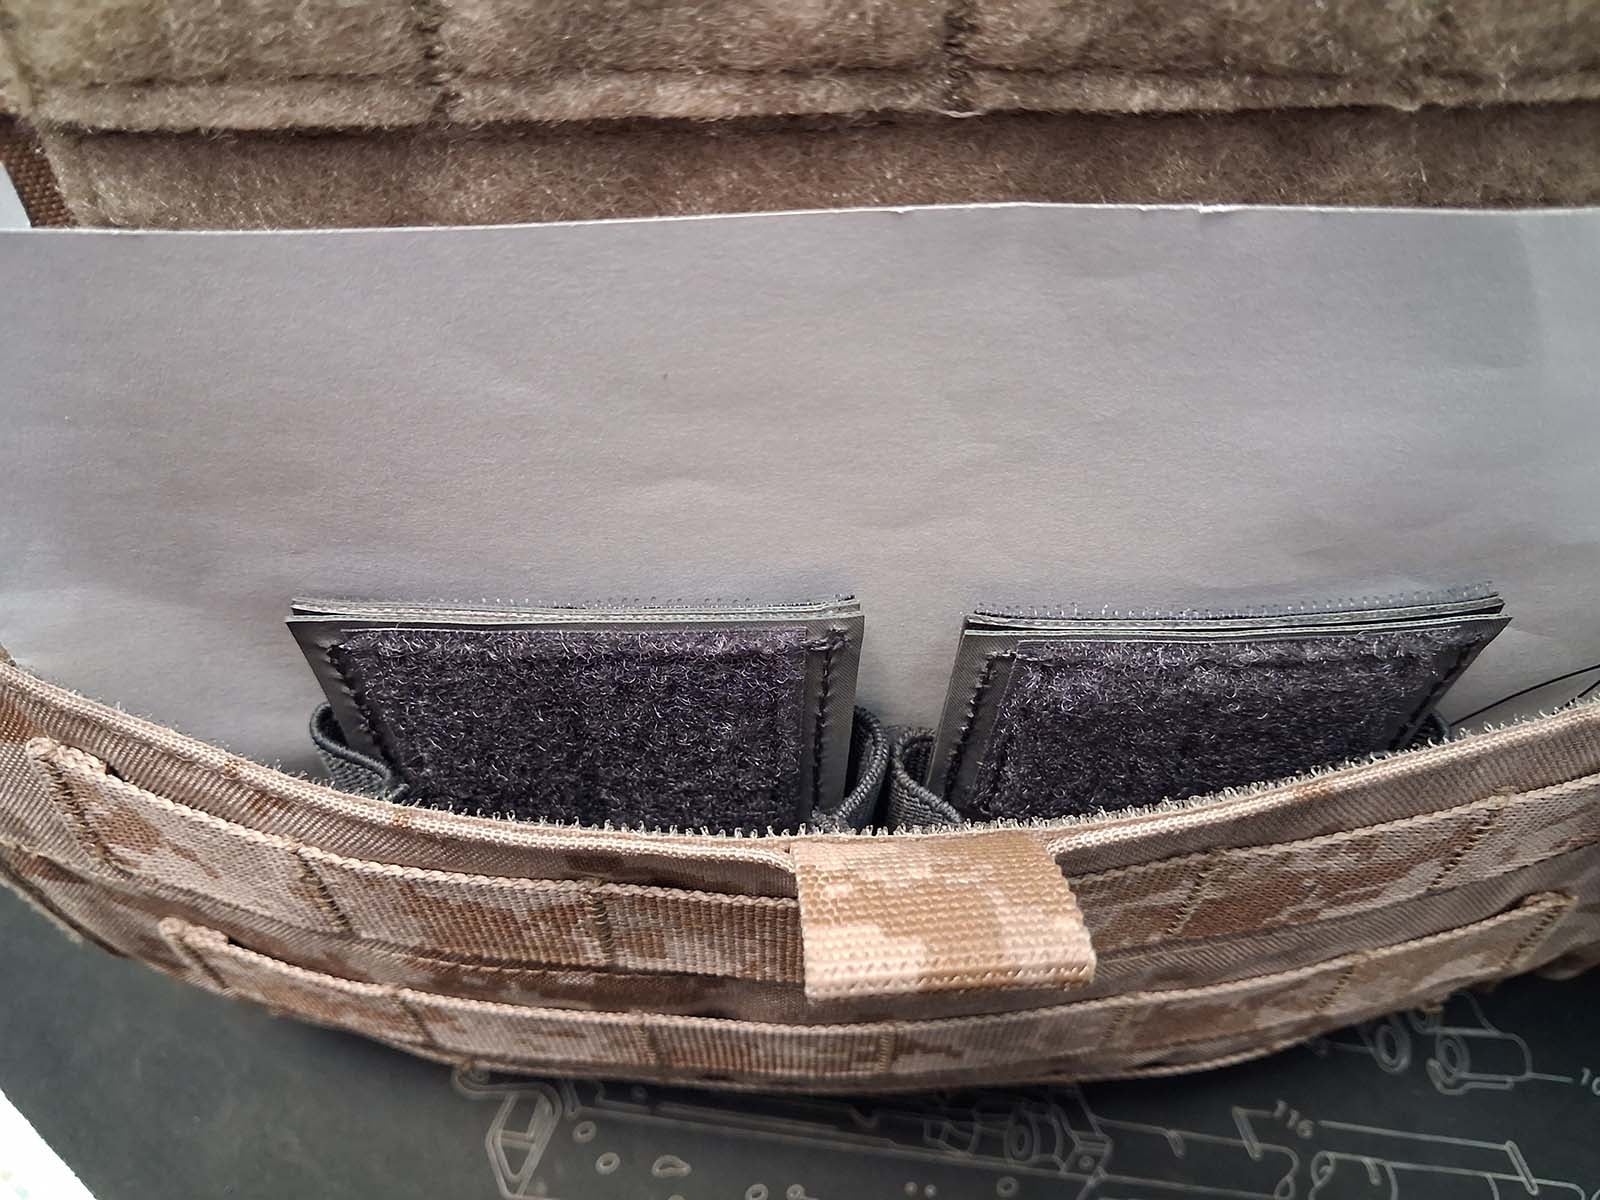
With the first sheet in place, insert the second sheet of paper into the pouch. (See Picture 3)
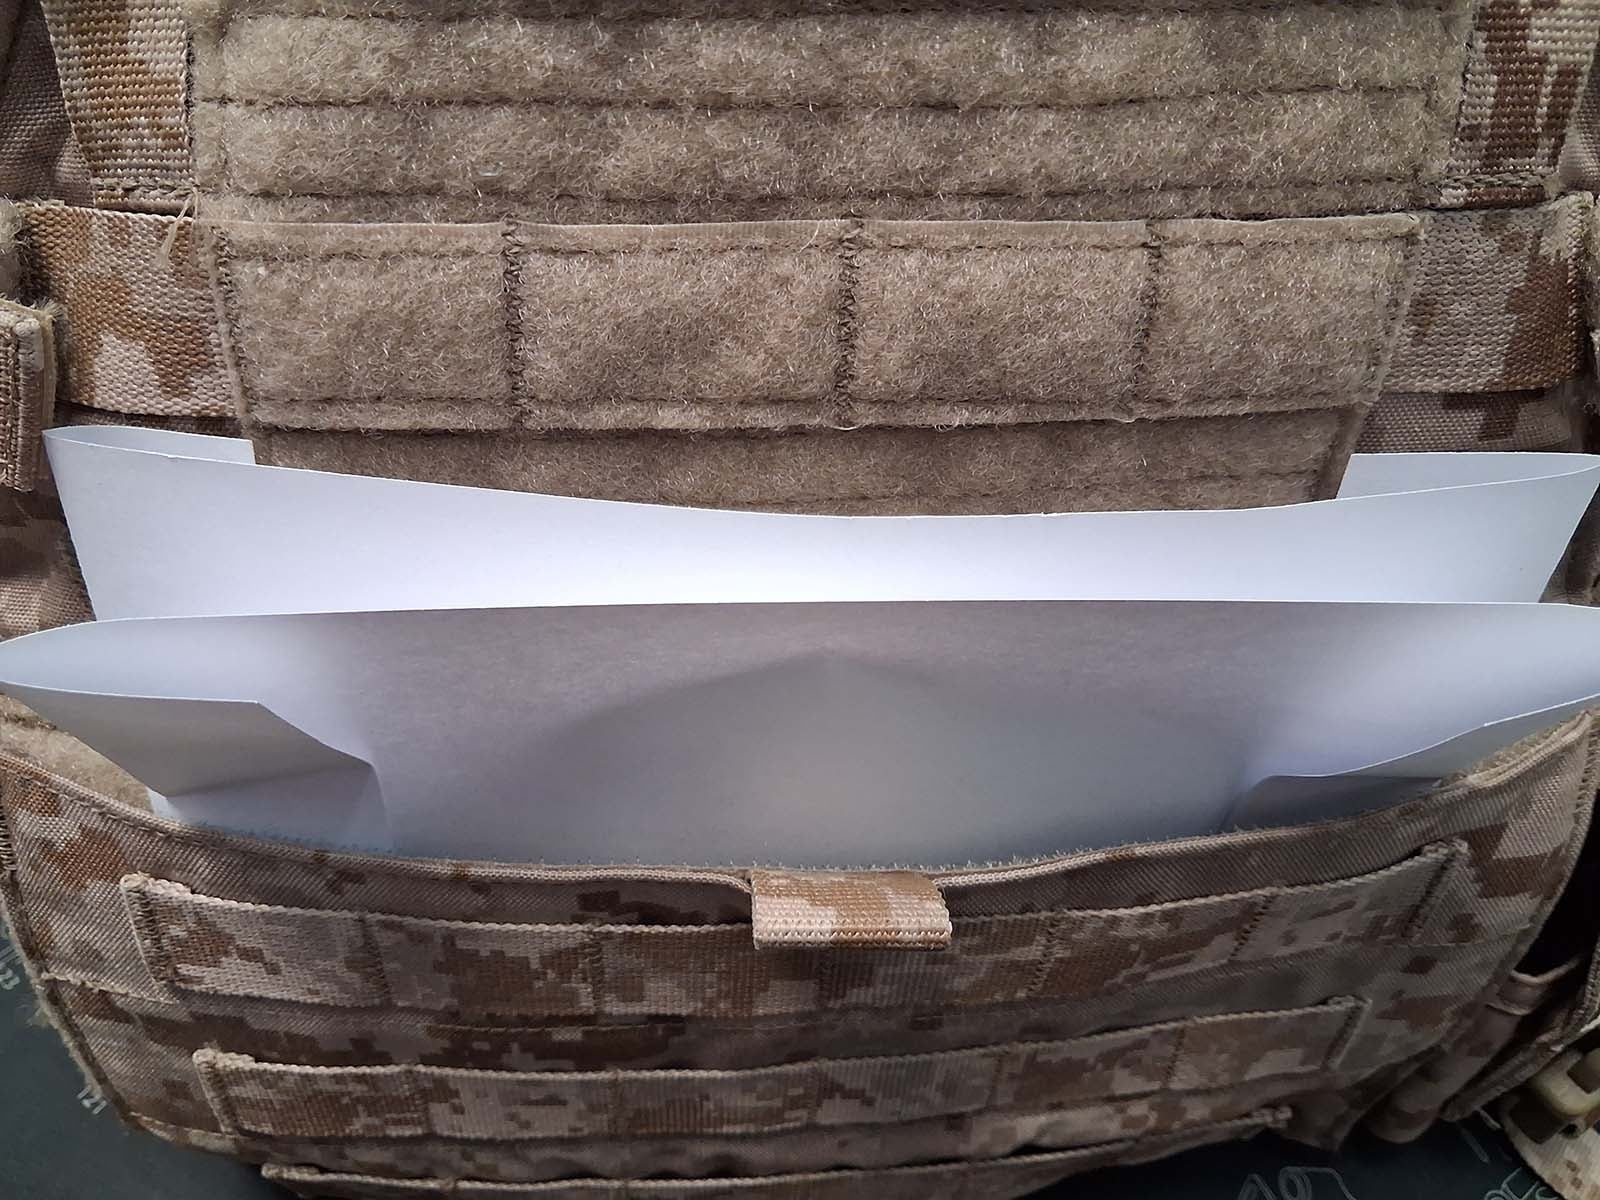
The two sheets now create a smooth channel that allows the insert to slide into place without snagging on the hook-and-loop material.
Step 3: Install the Magazine Insert
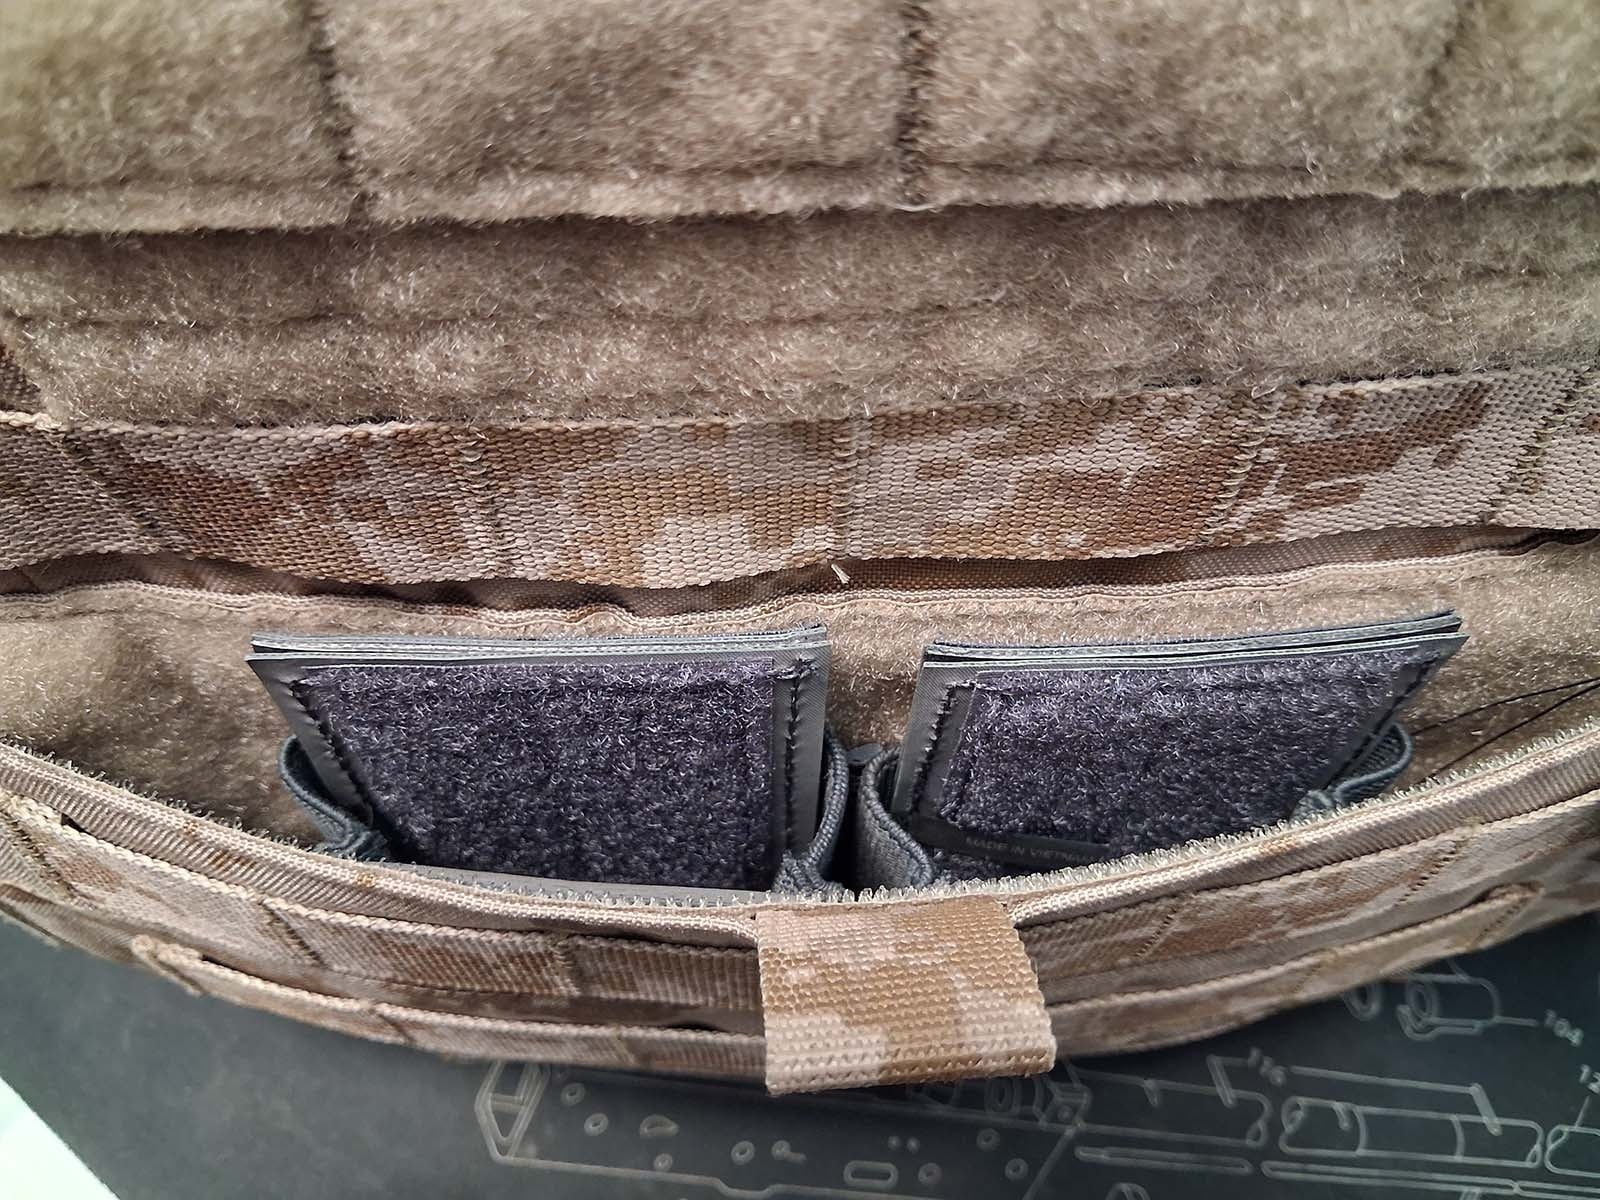
Carefully slide the magazine insert between the two sheets of paper. (See Picture 4)
The paper acts as a temporary guide, making installation significantly easier than trying to force the insert directly into the pouch.
Step 4: Remove the Paper
Once the insert is fully seated, remove both sheets of paper.
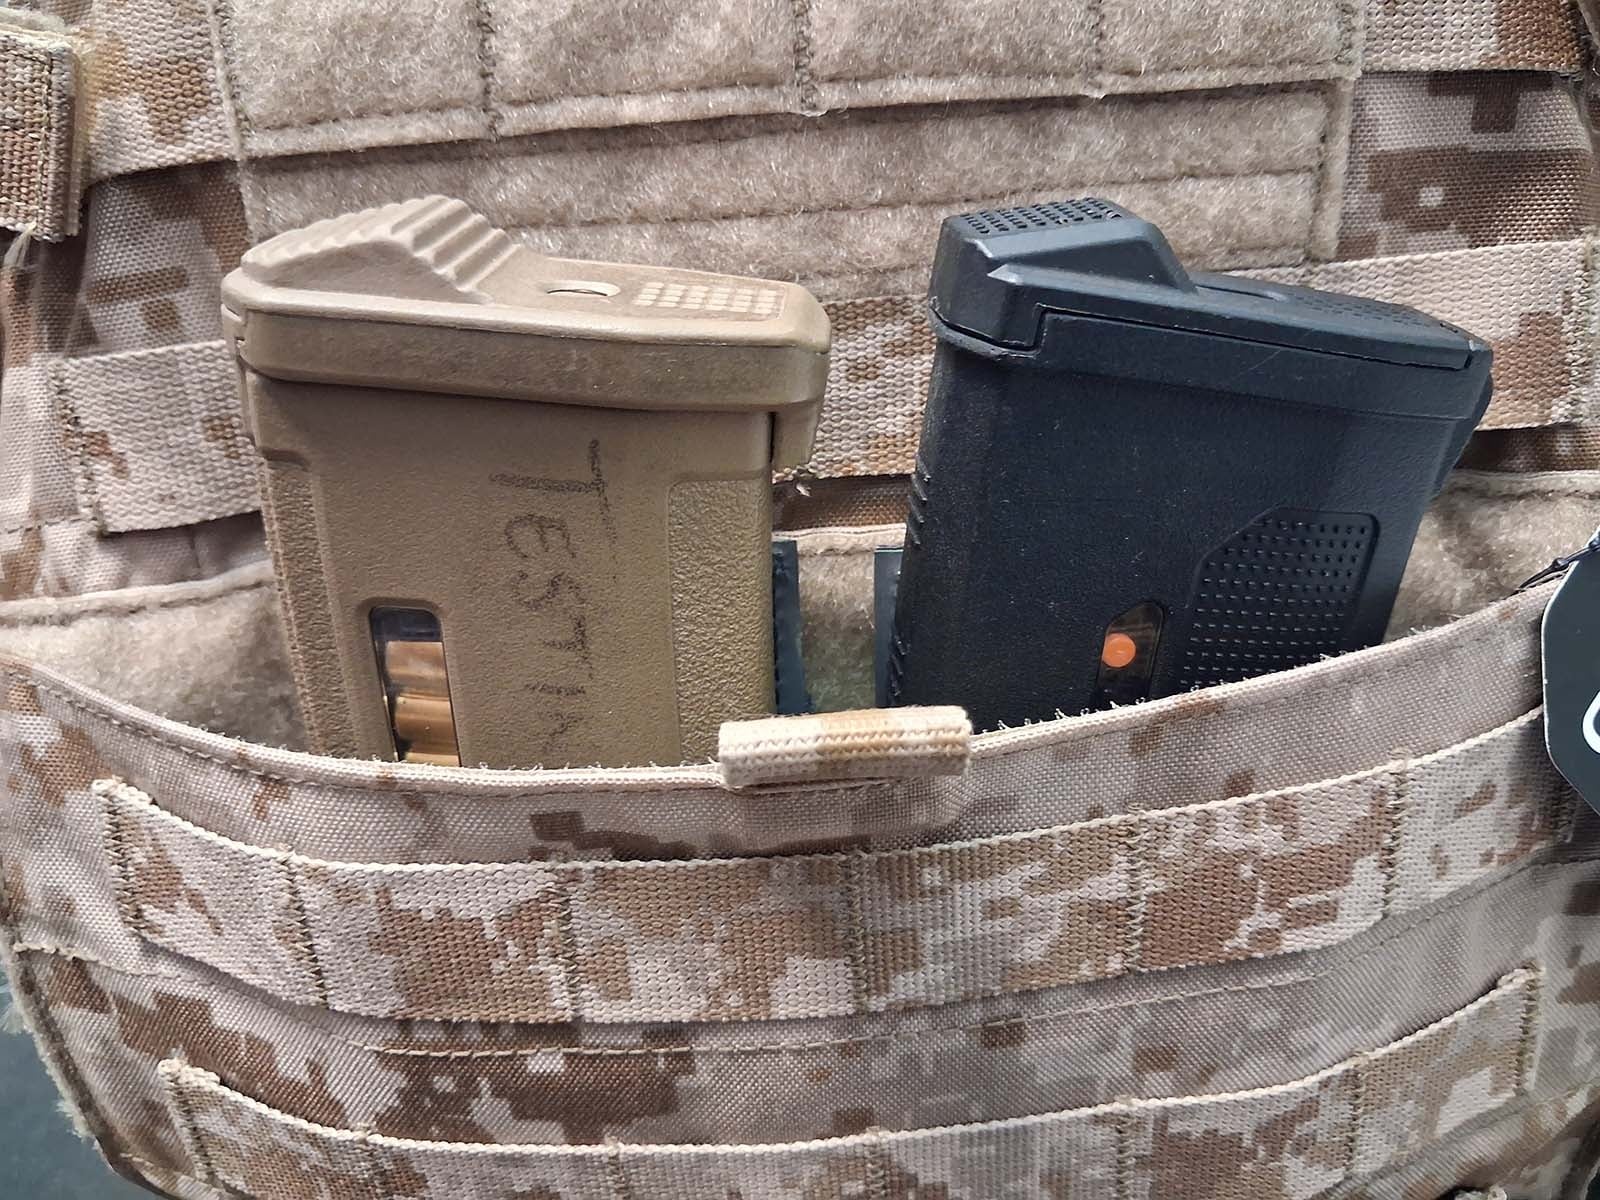
The hook-and-loop material on the front and rear panels will now securely attach to the insert, locking it into place. (See Picture 5, Picture 6 & Picture 7)
Load Up and Go
With the insert properly installed, you're ready to load your magazines and hit the field.
Final Thoughts
Sometimes the simplest tricks are the most effective. We hope this quick tip helps you assemble your gear with less frustration and more time spent playing.
Take care, play safe, and we'll see you next time!


