How to Install a CTM HPA Adapter on Your AAP-01 or Glock Mag
- Posted on
- By AEX News
Want to run M4 magazines on your AAP-01 or Glock-style airsoft pistol? In this Airsoft Extreme tech guide, we walk you through installing the CTM AAP-01 / Glock HPA M4 Adapter step-by-step, including compatibility notes, installation tips, and how to properly seal the adapter for leak-free performance.
How to Install a CTM HPA Adapter on Your AAP-01 or Glock Mag
Welcome back to another Airsoft Extreme blog! We hope you’ve been doing well since your last visit.
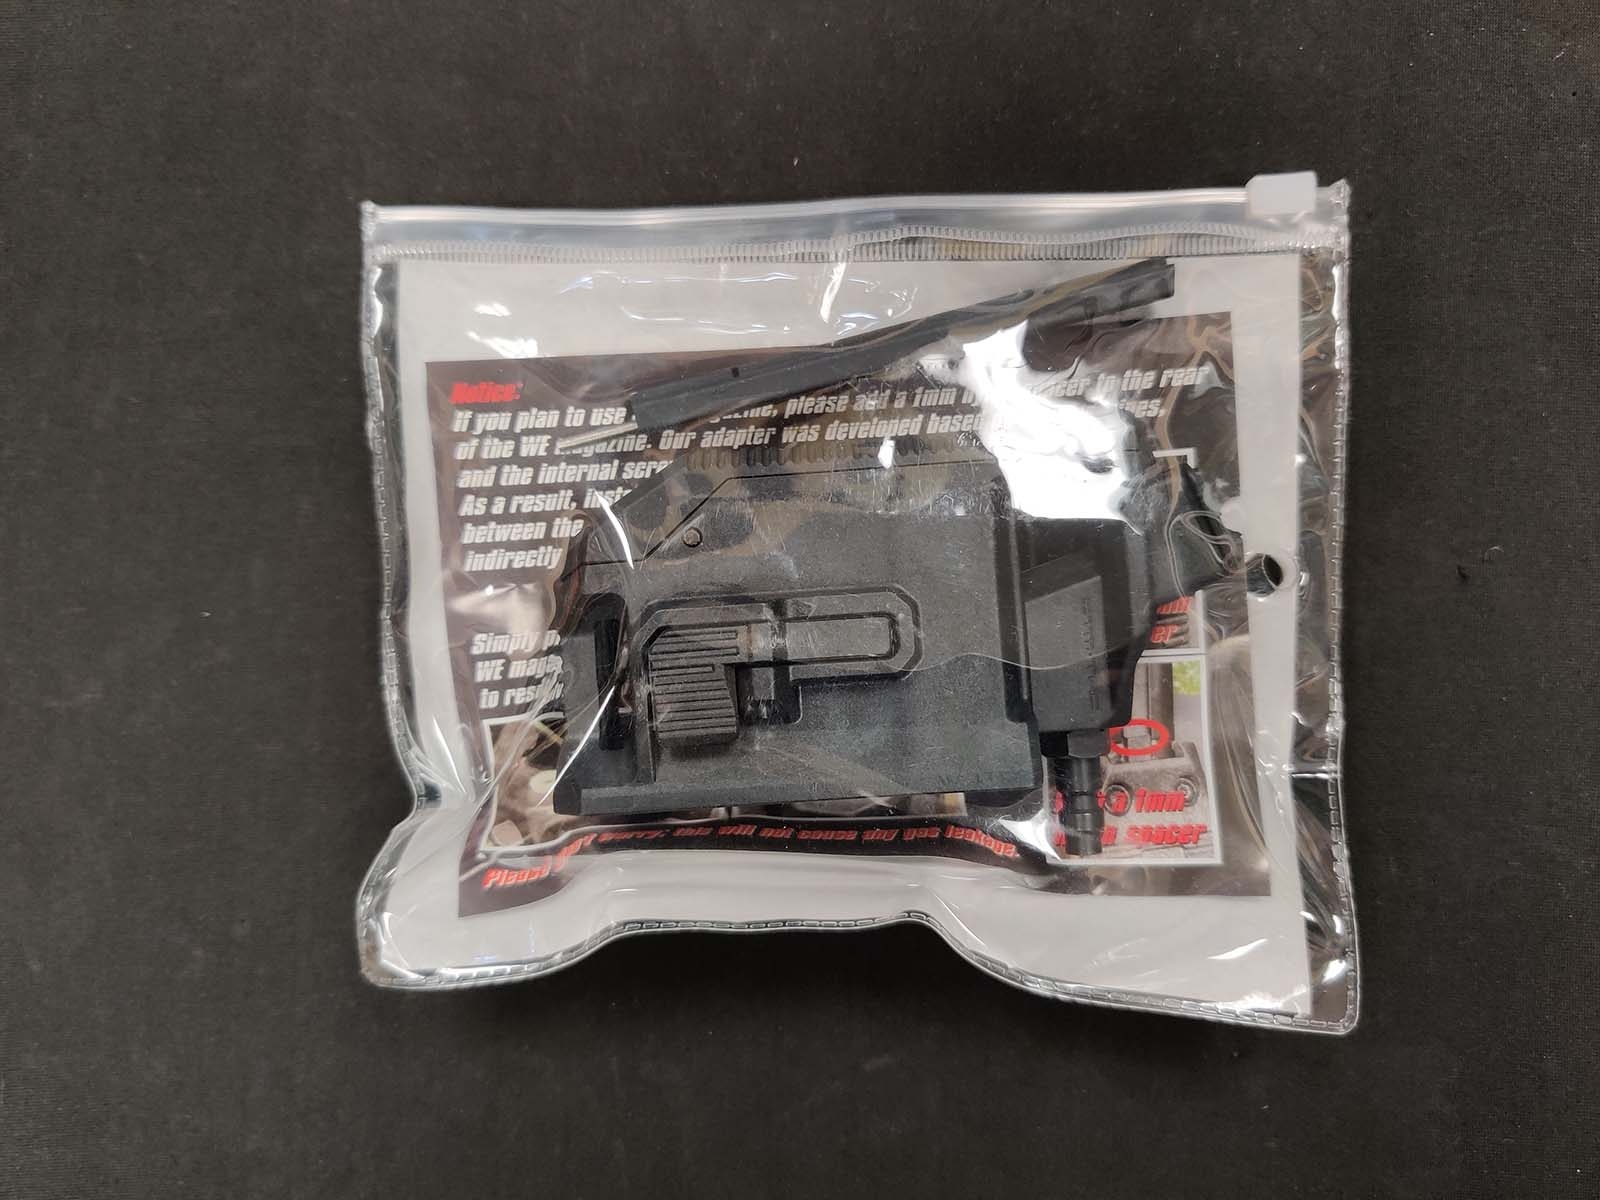
Today, we’ll be going over how to install a CTM AAP-01 / Glock HPA M4 Adapter (Angled Adapter) onto your magazine so you can run M4-style magazines in your AAP-01 or Glock replica. (Picture 1)
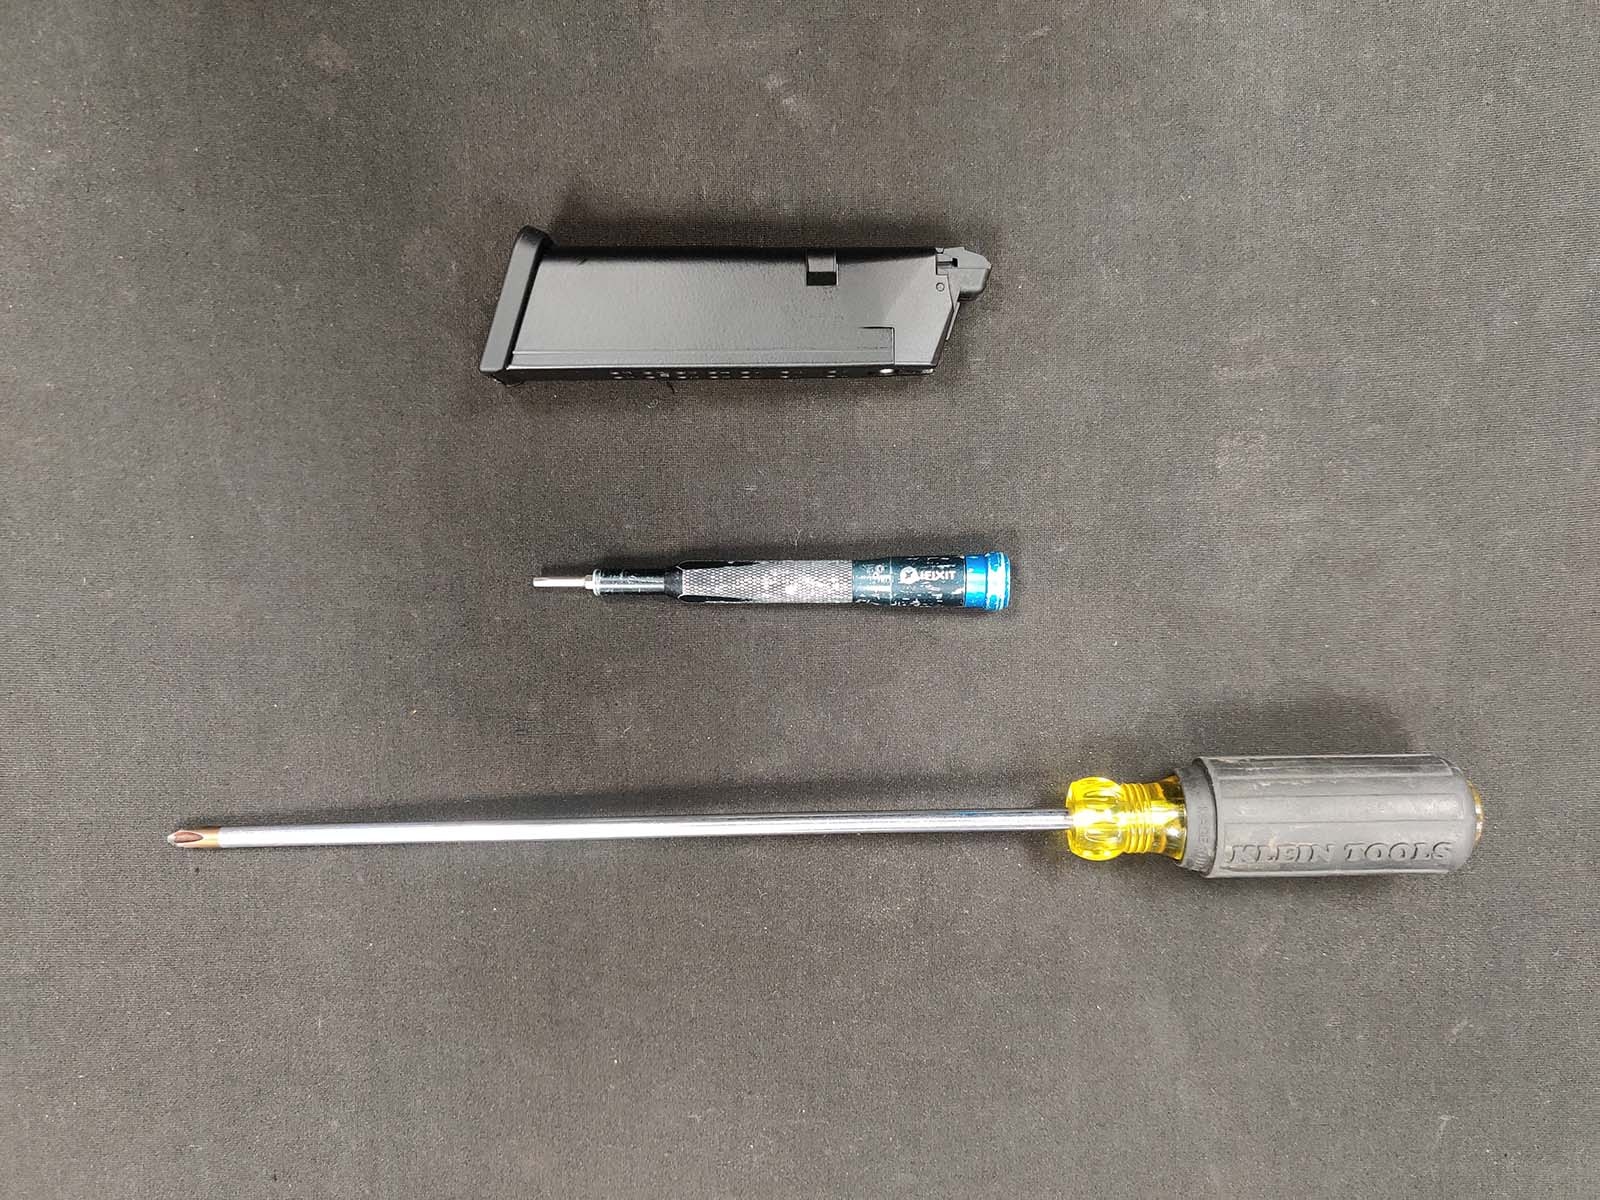
Tools Required
- Phillips screwdriver
- 2.5mm Allen driver
(Picture 2)
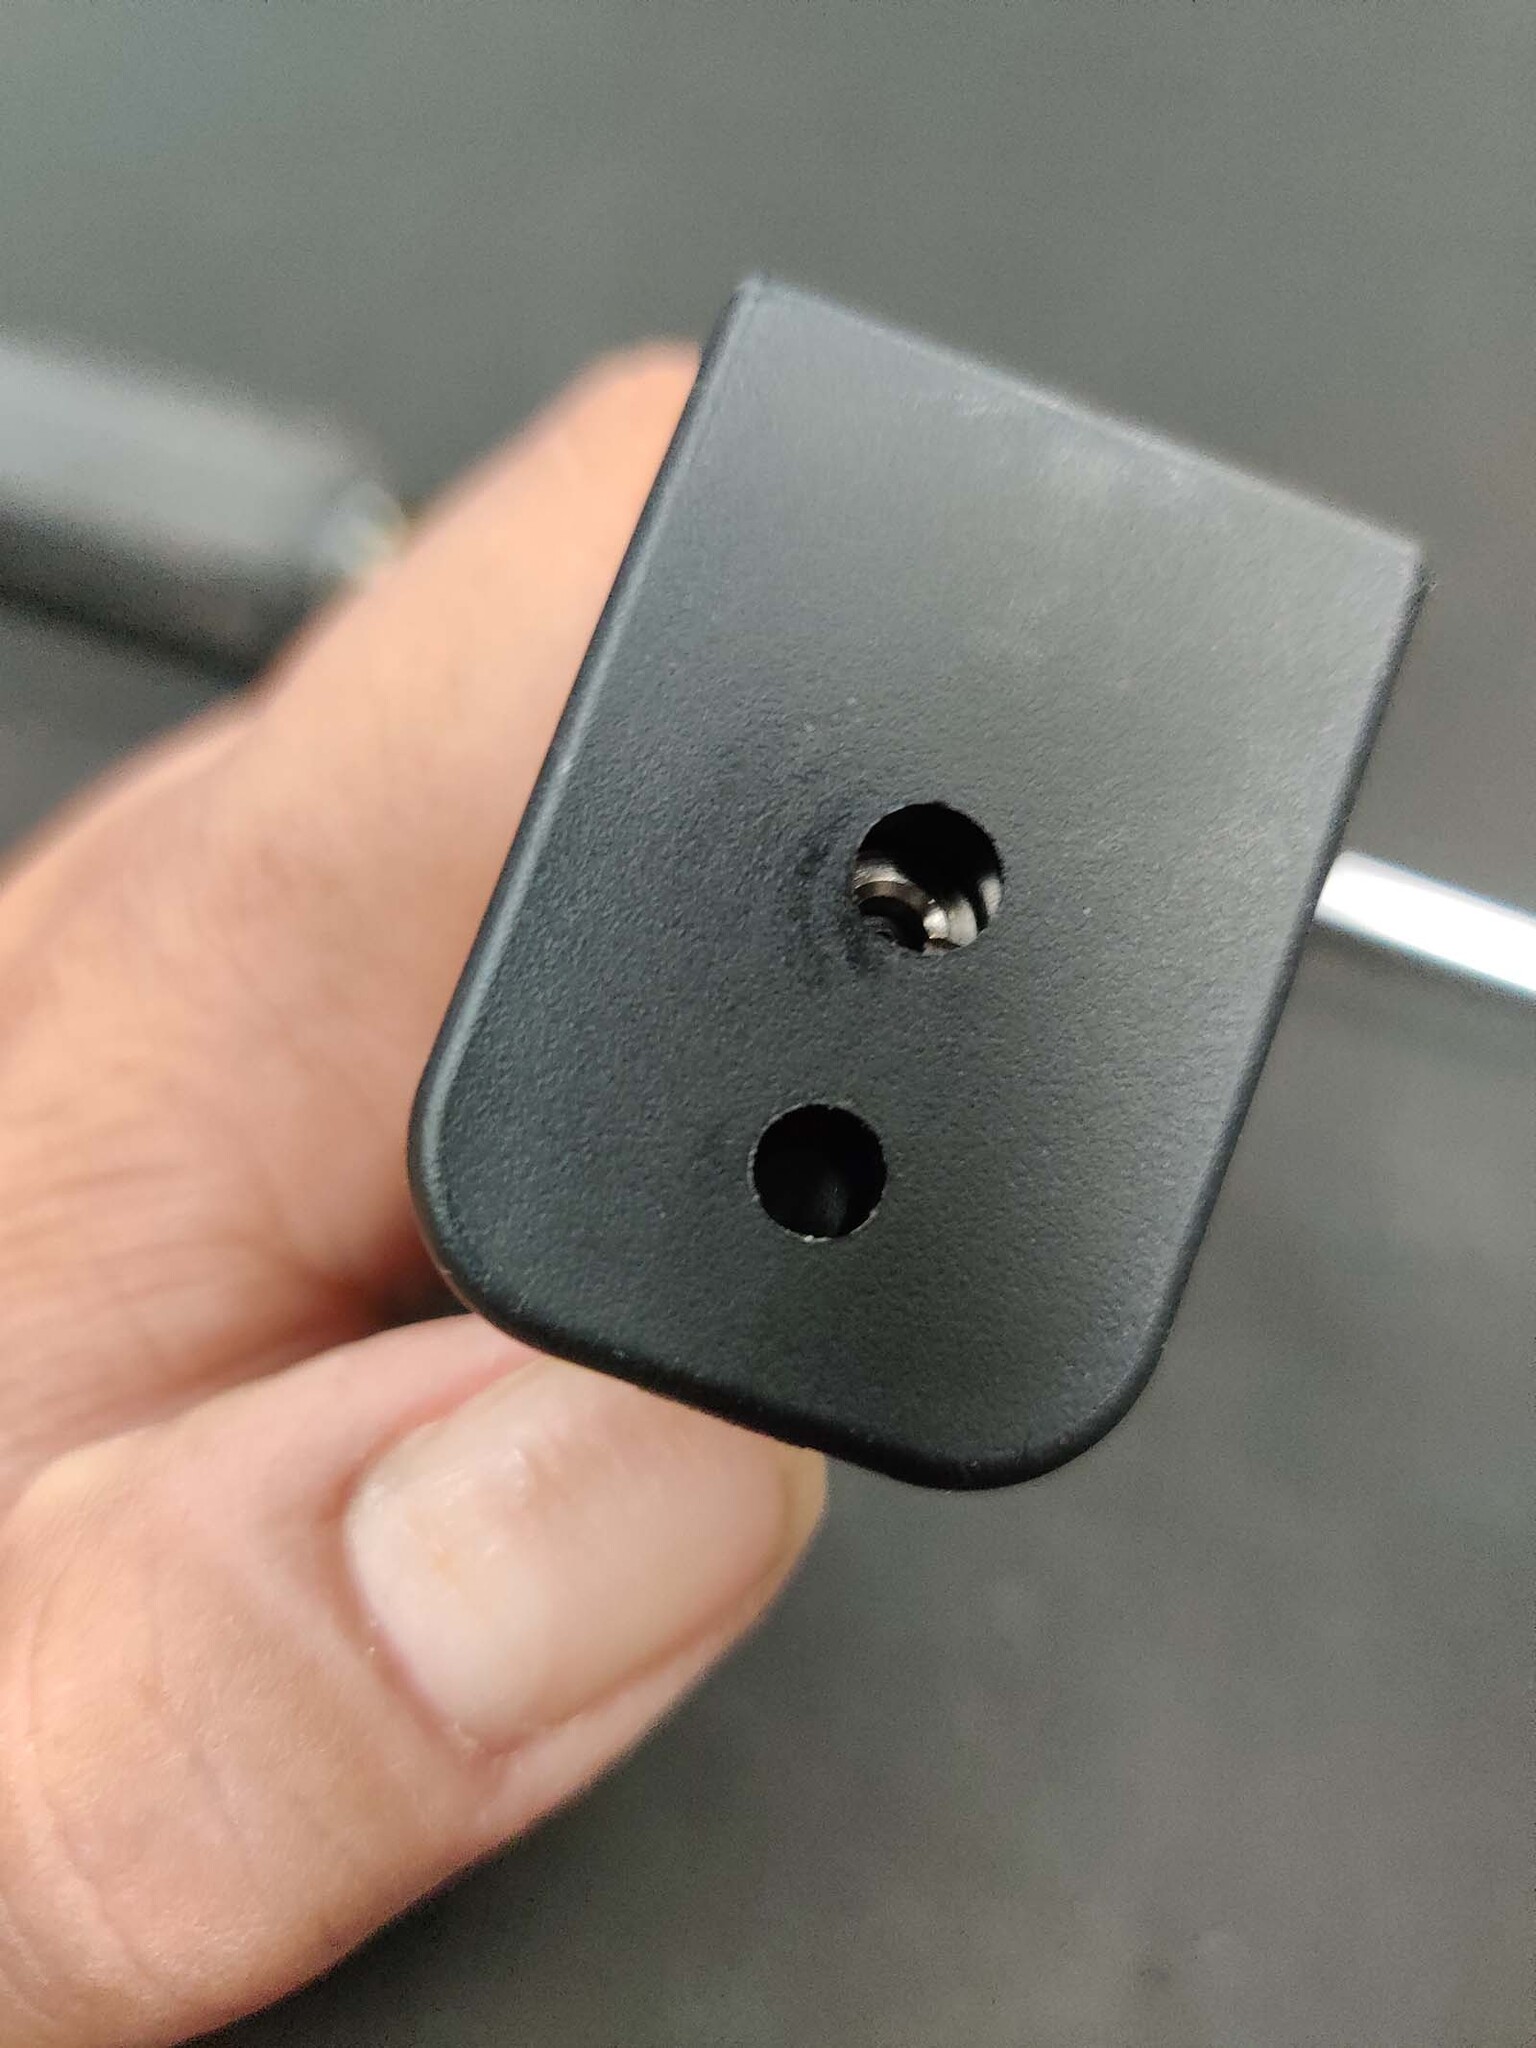
Step 1: Remove the Magazine Base Plate
First, remove the base plate from the magazine. To do this, depress the plunger that locks the base plate in place and slide the base plate off from back to front. (Pictures 3, 4, 5)
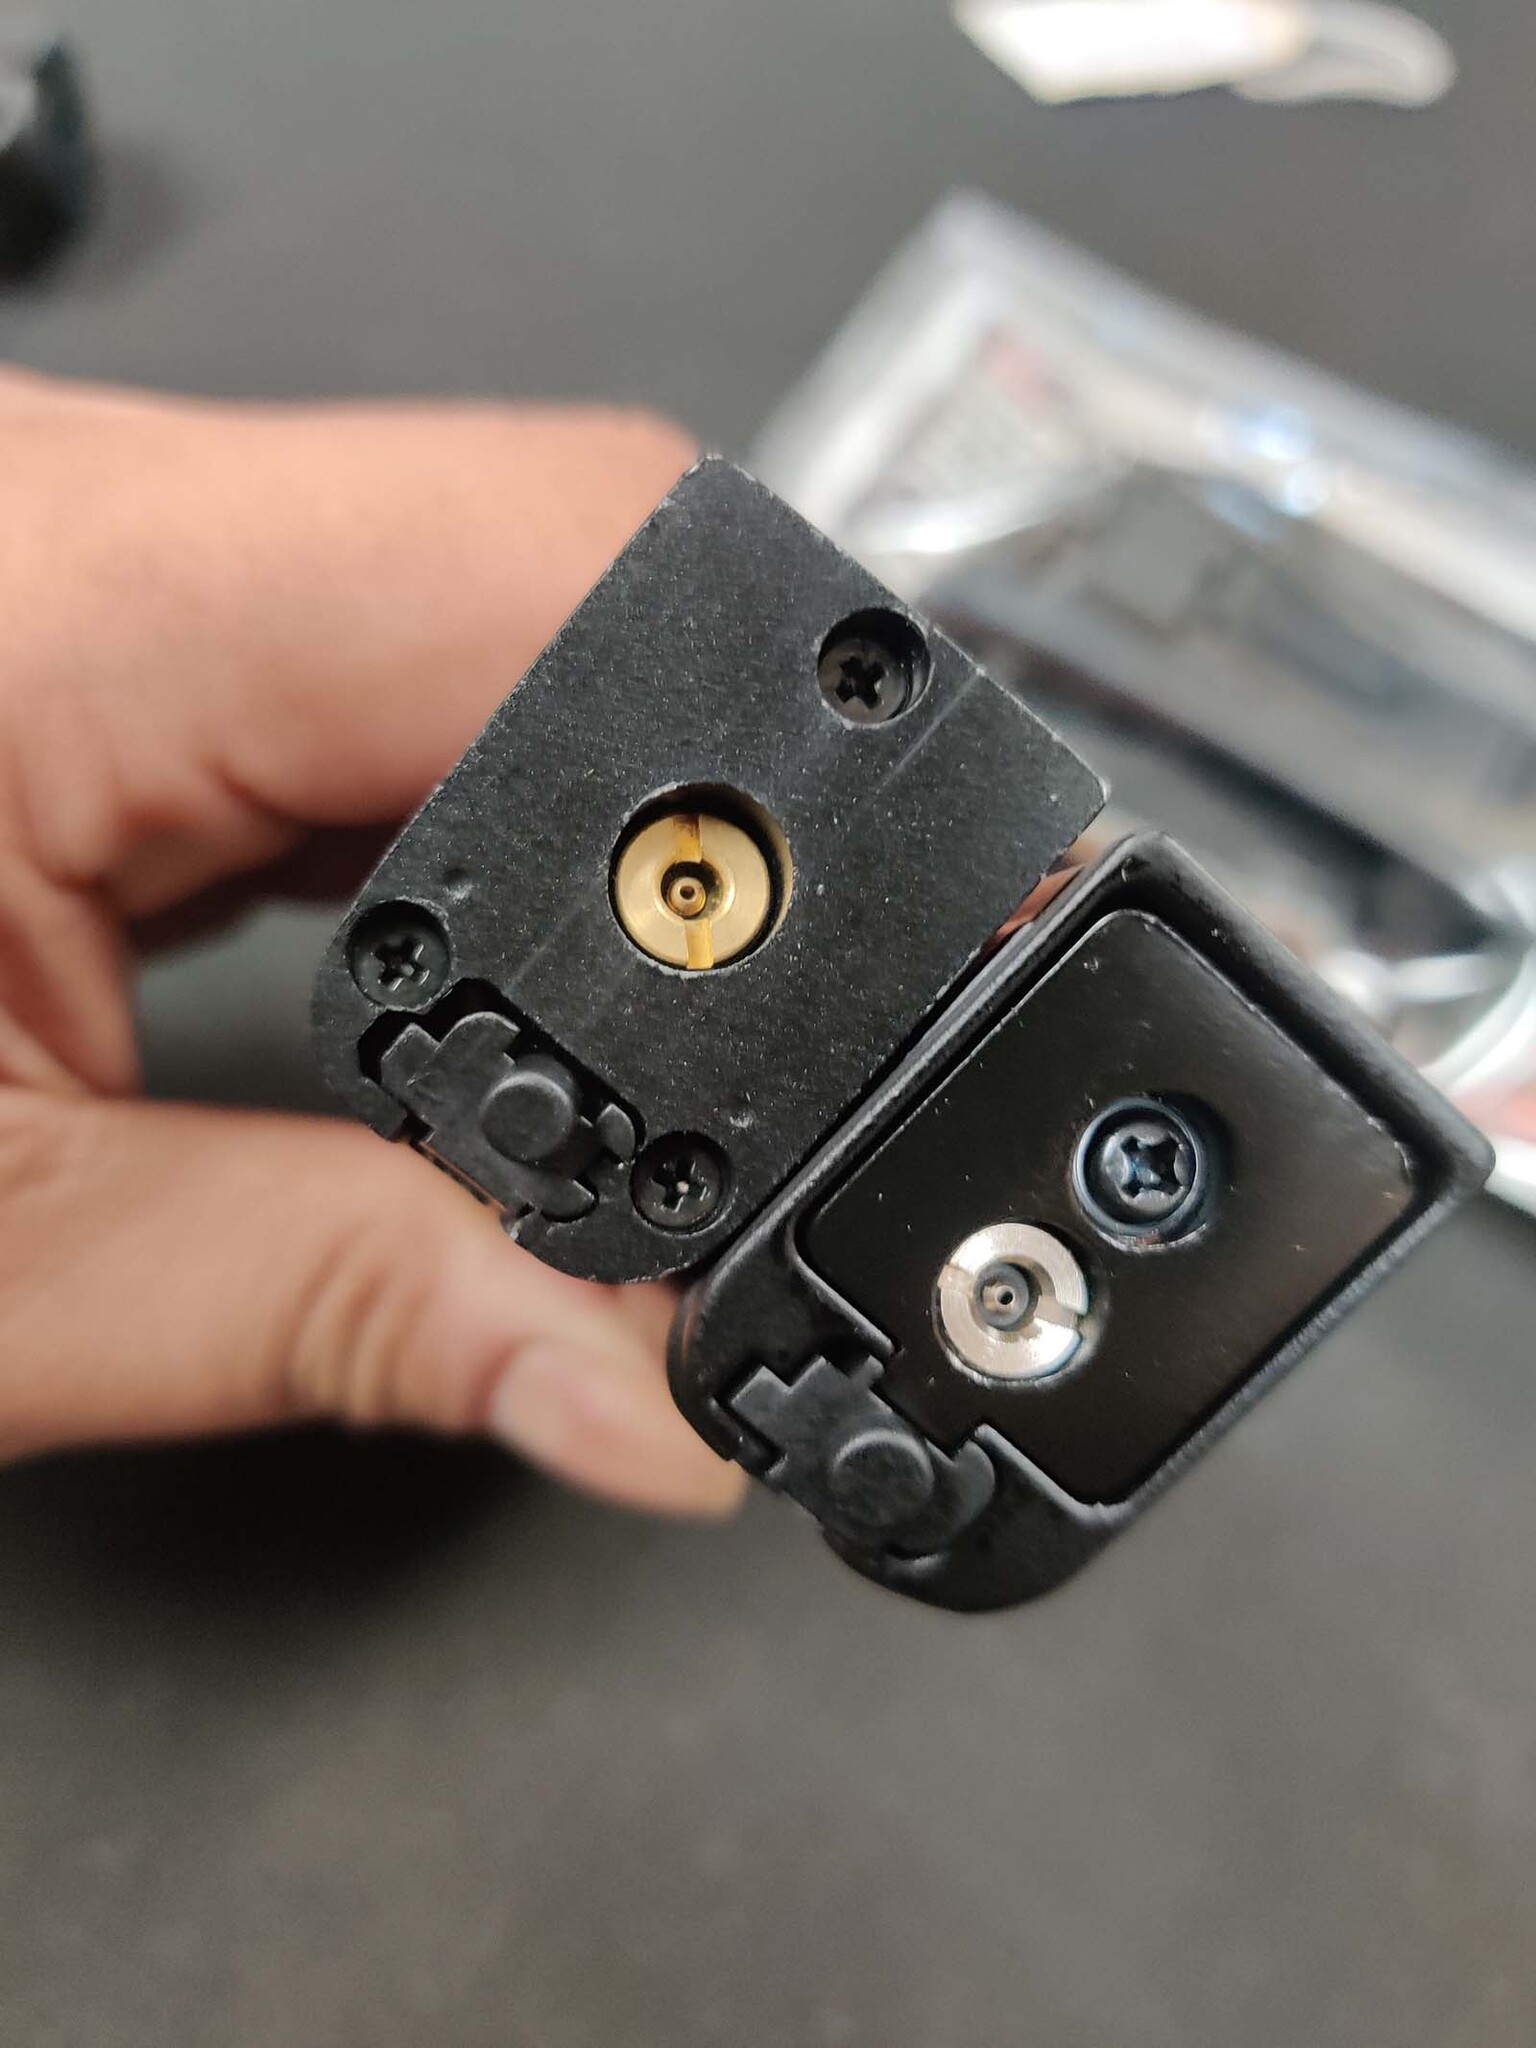
Compatibility Note
Before continuing, let’s answer one of the most common questions we receive:
“Will this adapter work with Umarex Glock 17 magazines?”
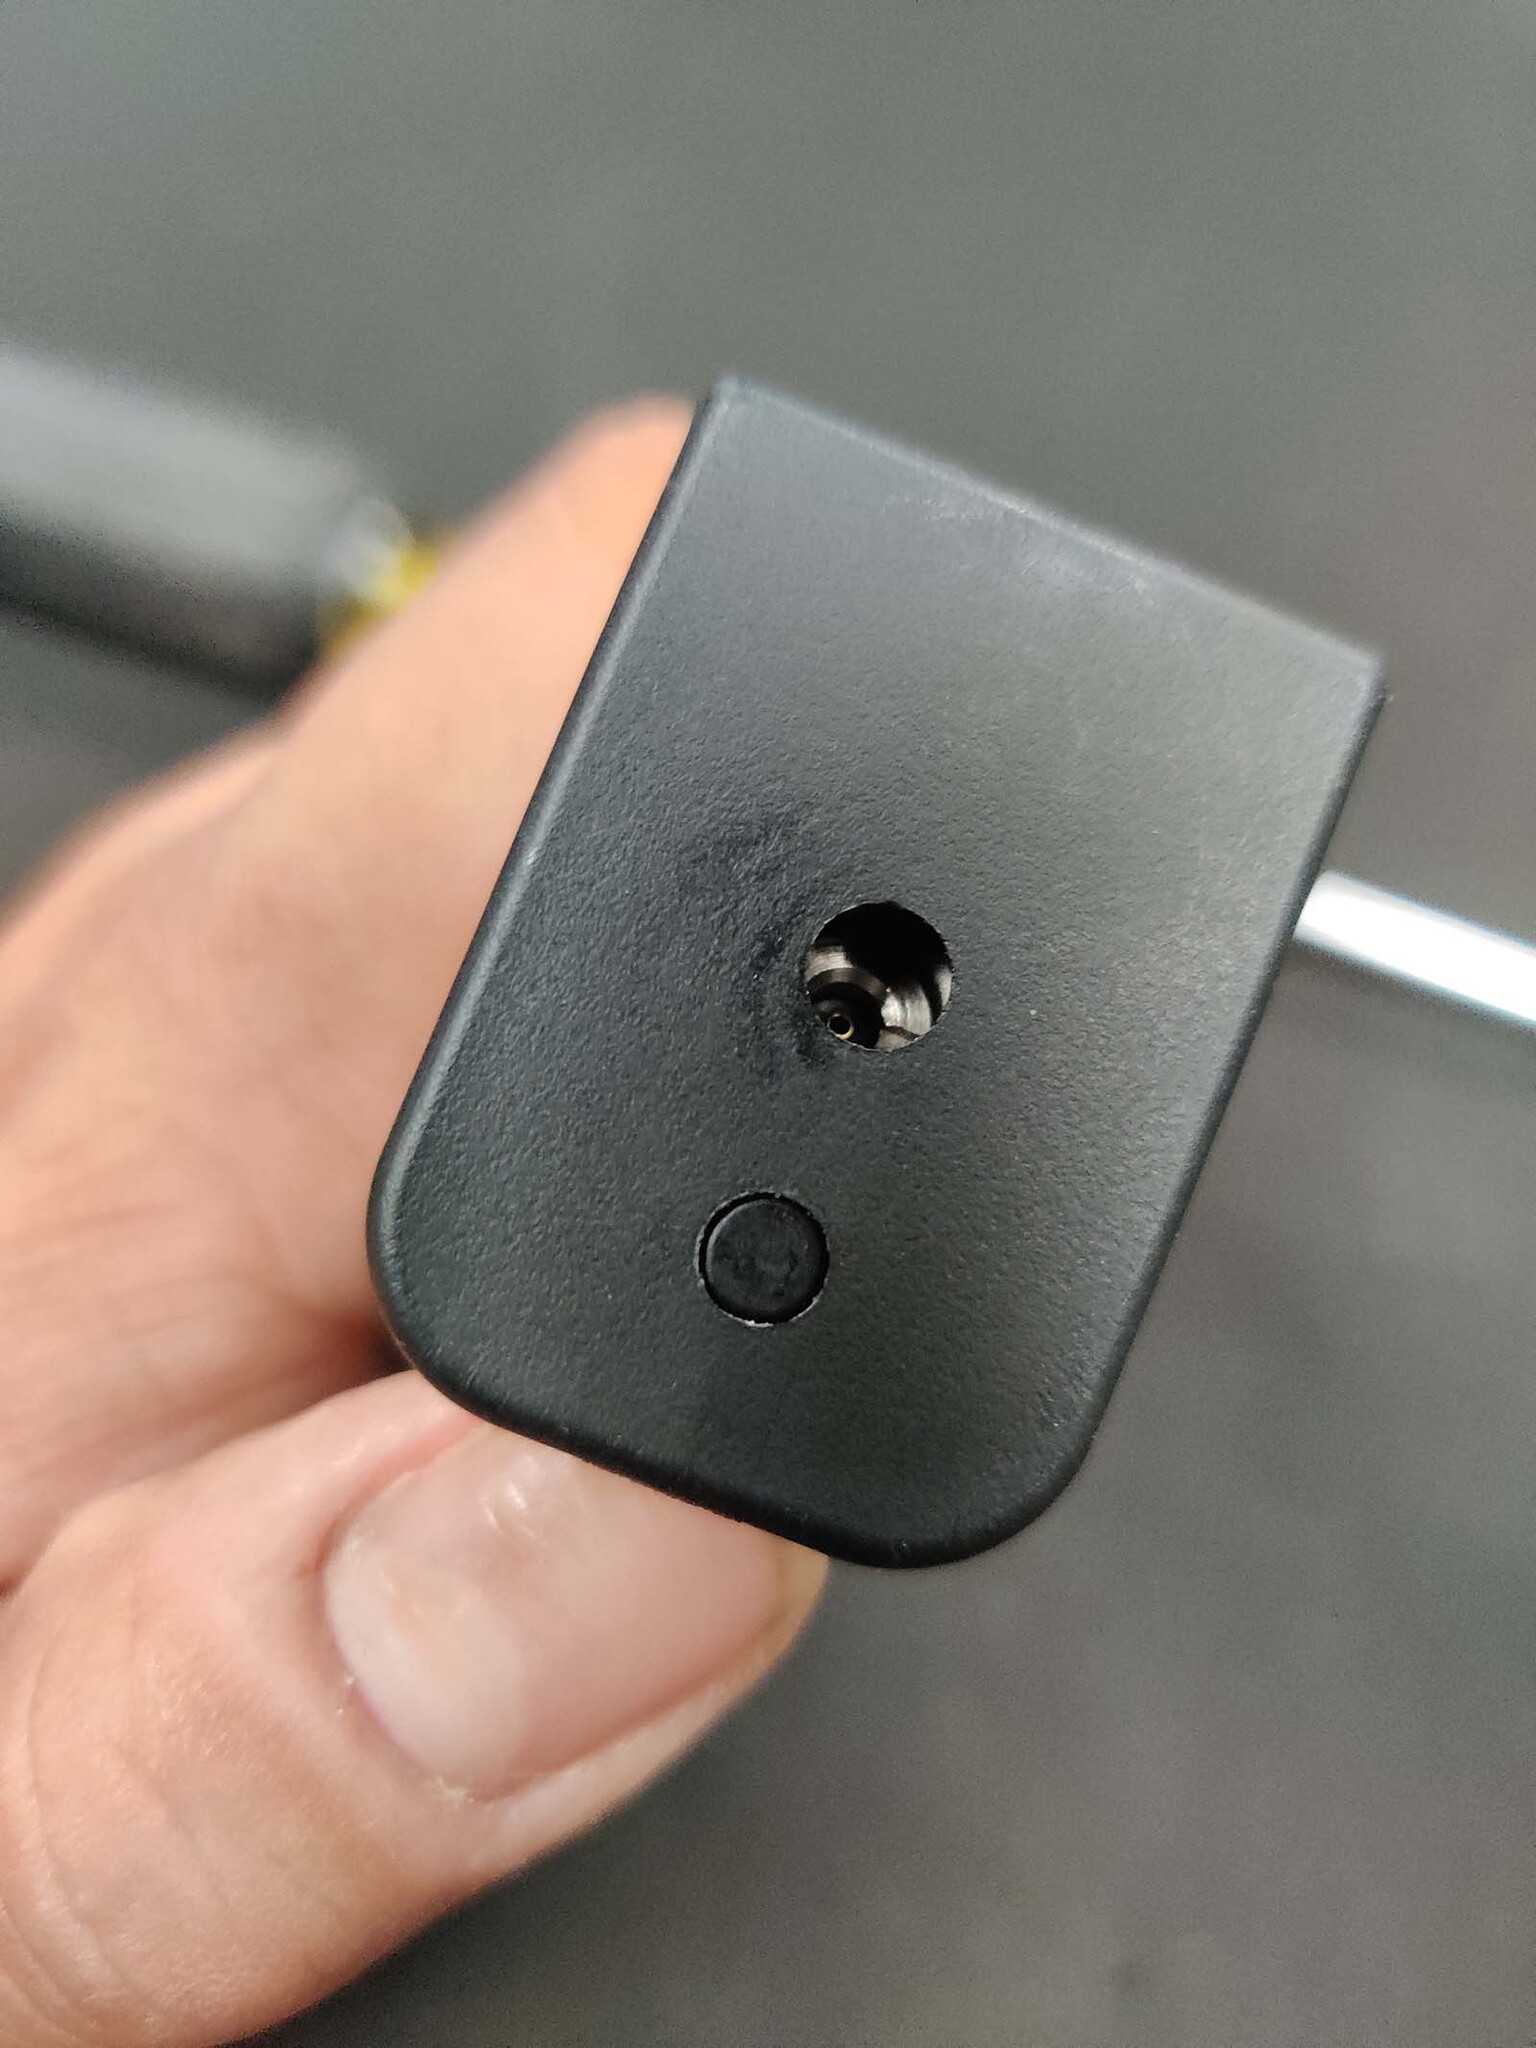
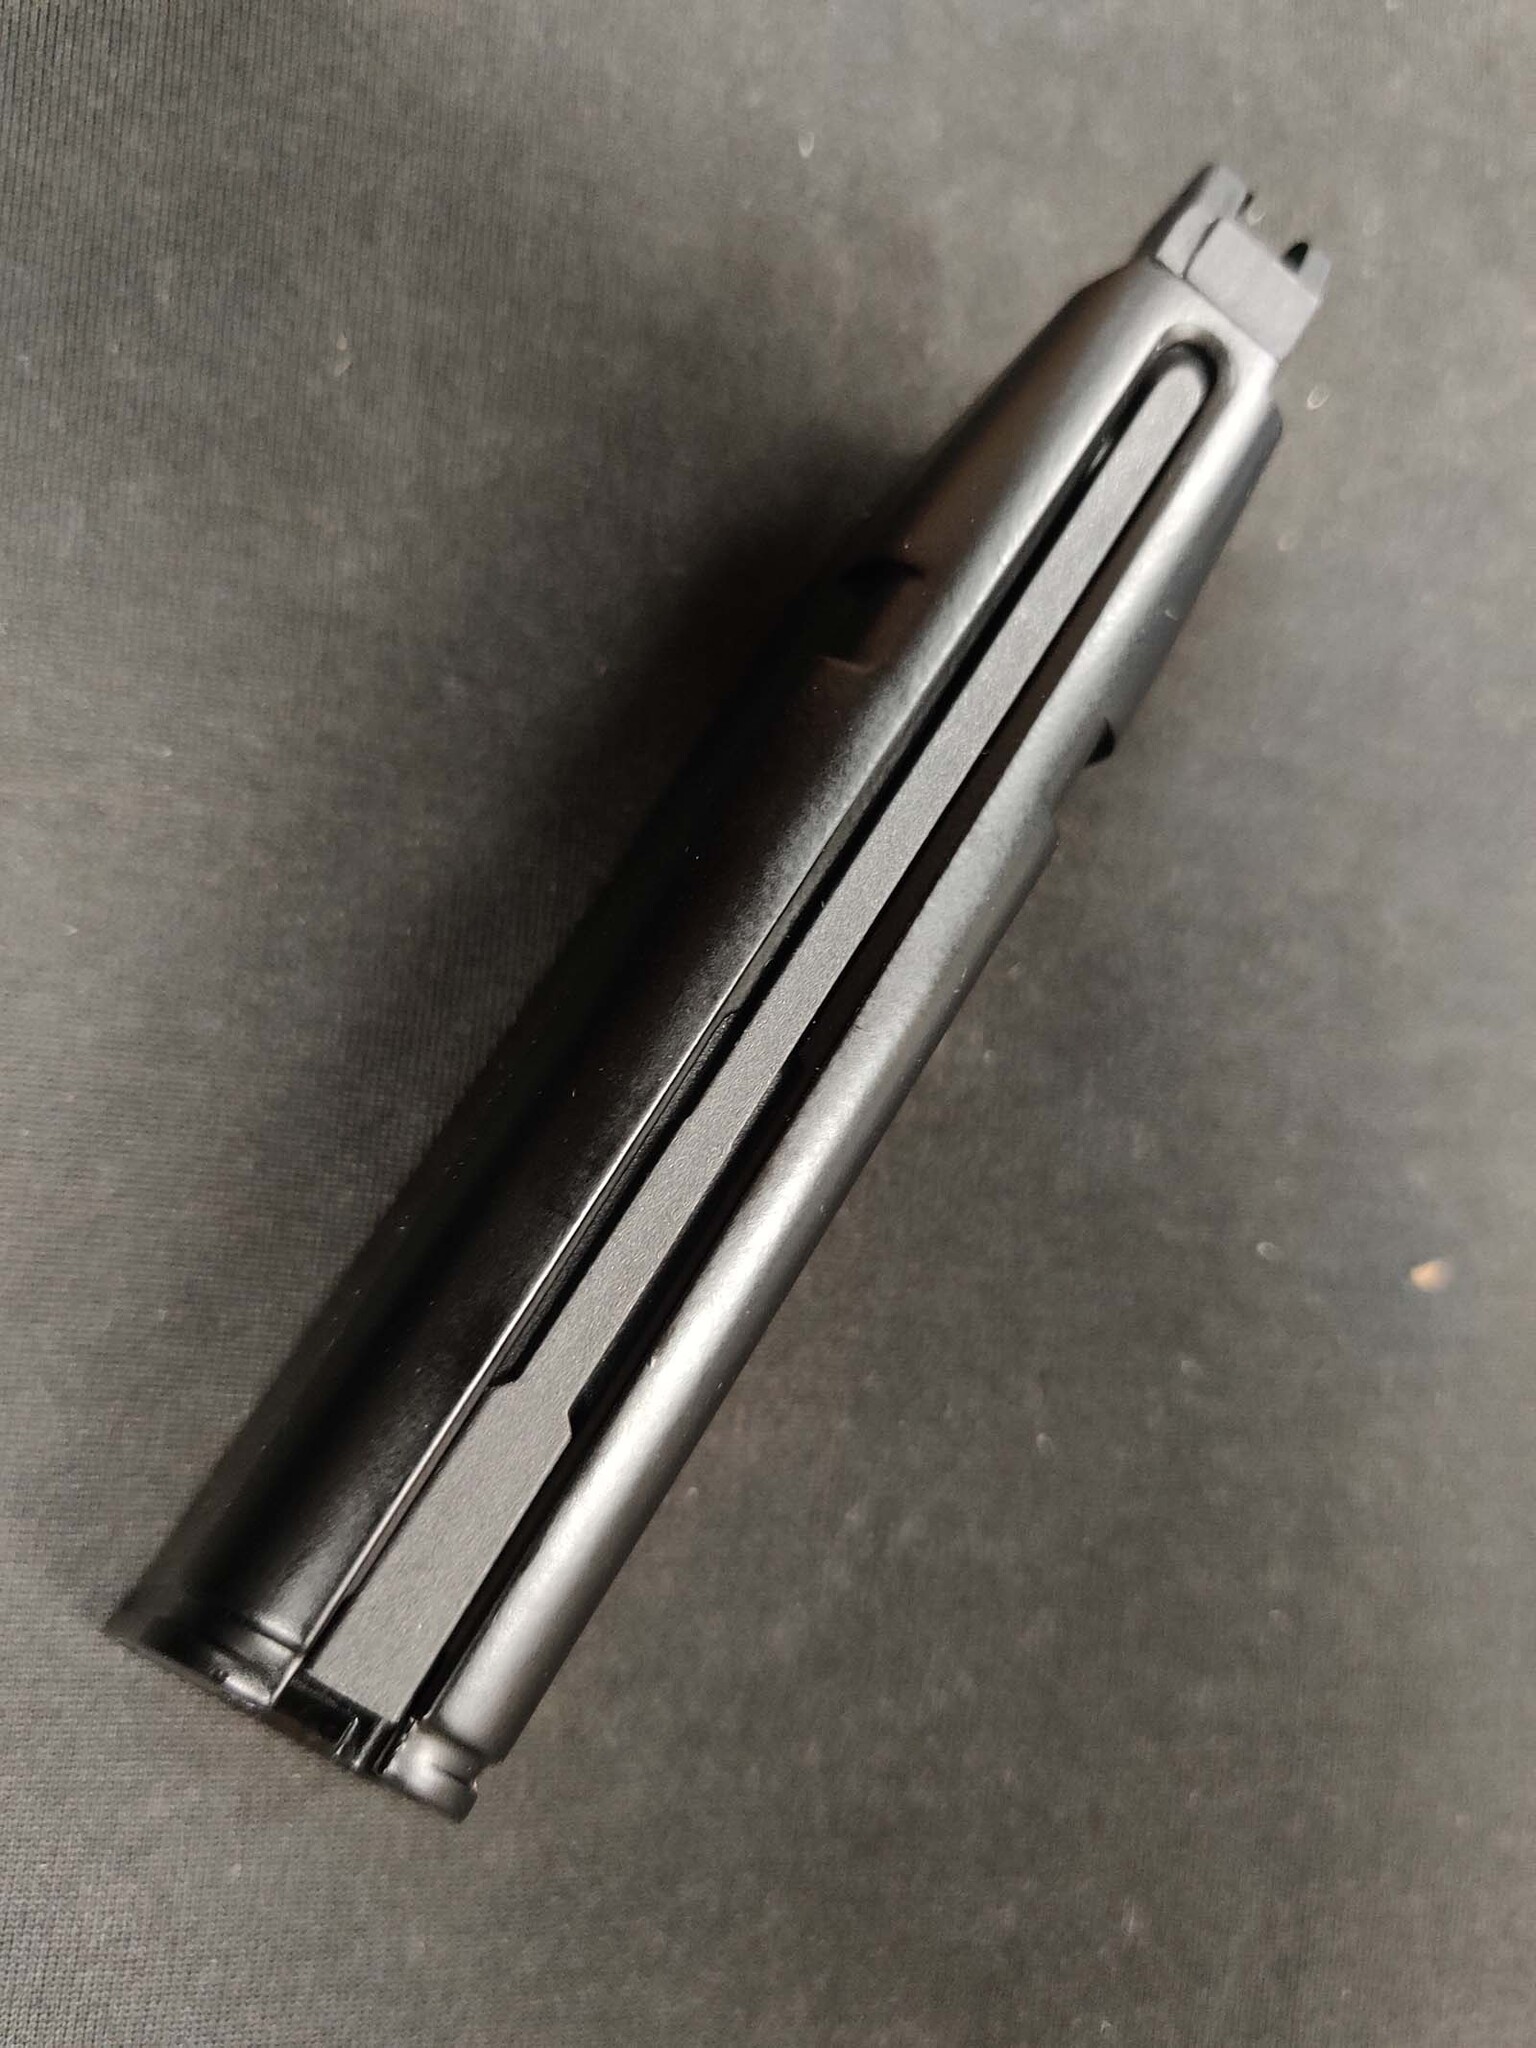
Unfortunately, no. Umarex Glock 17 magazines use a three-screw design to secure the base to the magazine body, while Tokyo Marui, WE, and Action Army magazines use a single center screw design. Because of this difference, the adapter is not compatible with Umarex Glock magazines. (Picture 6)
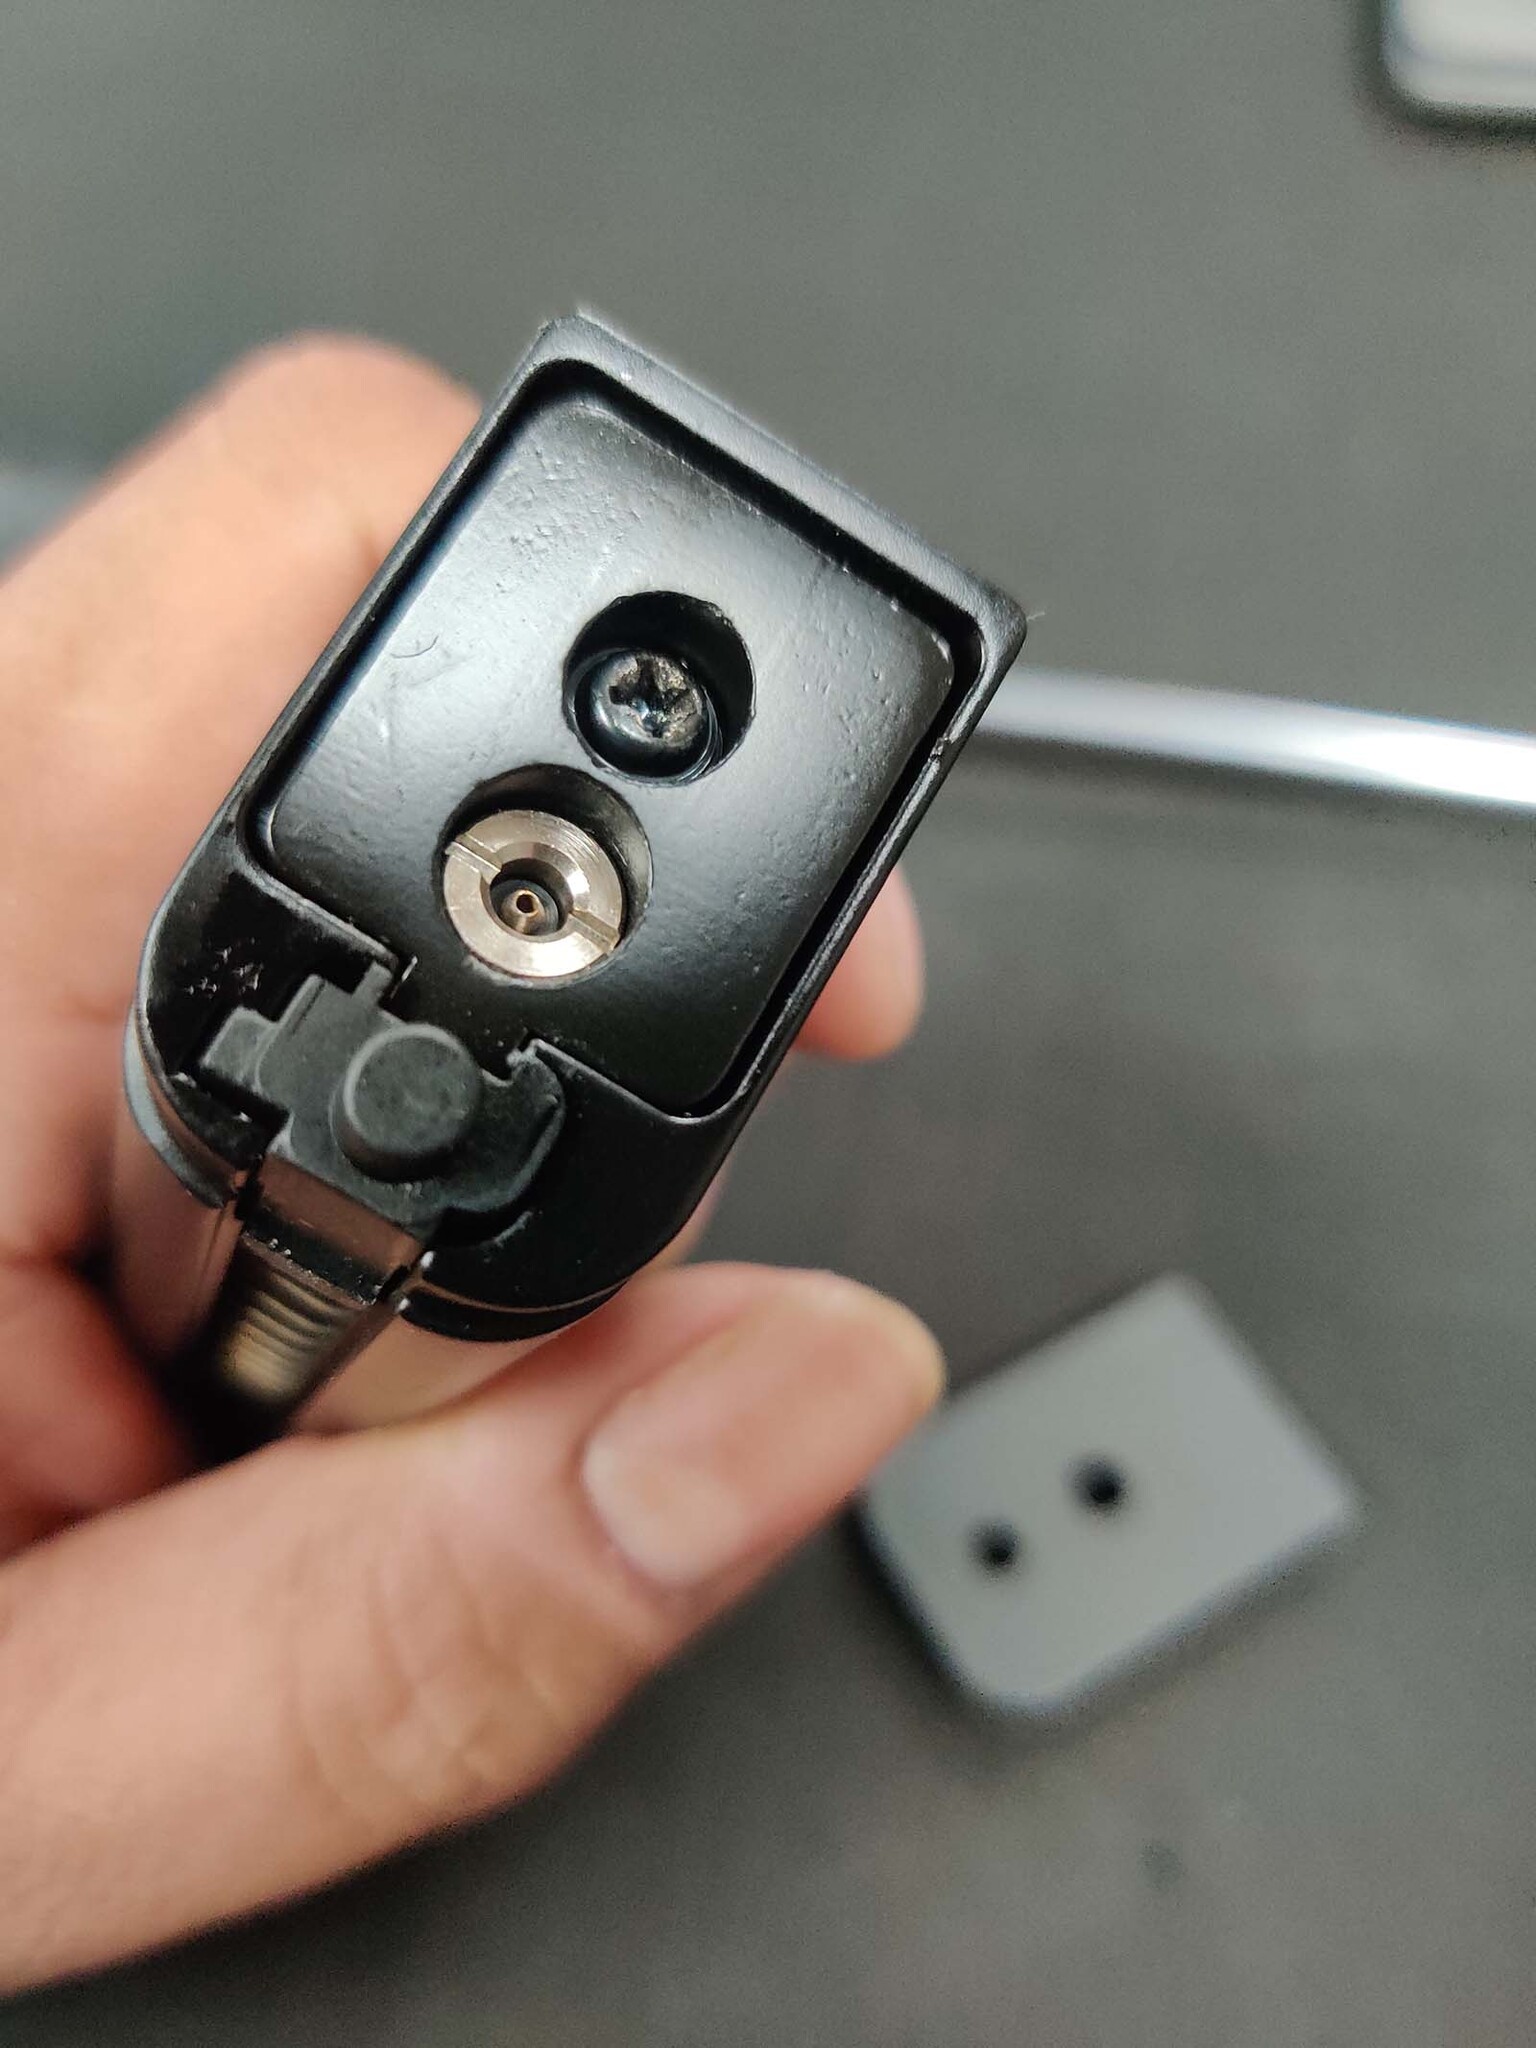
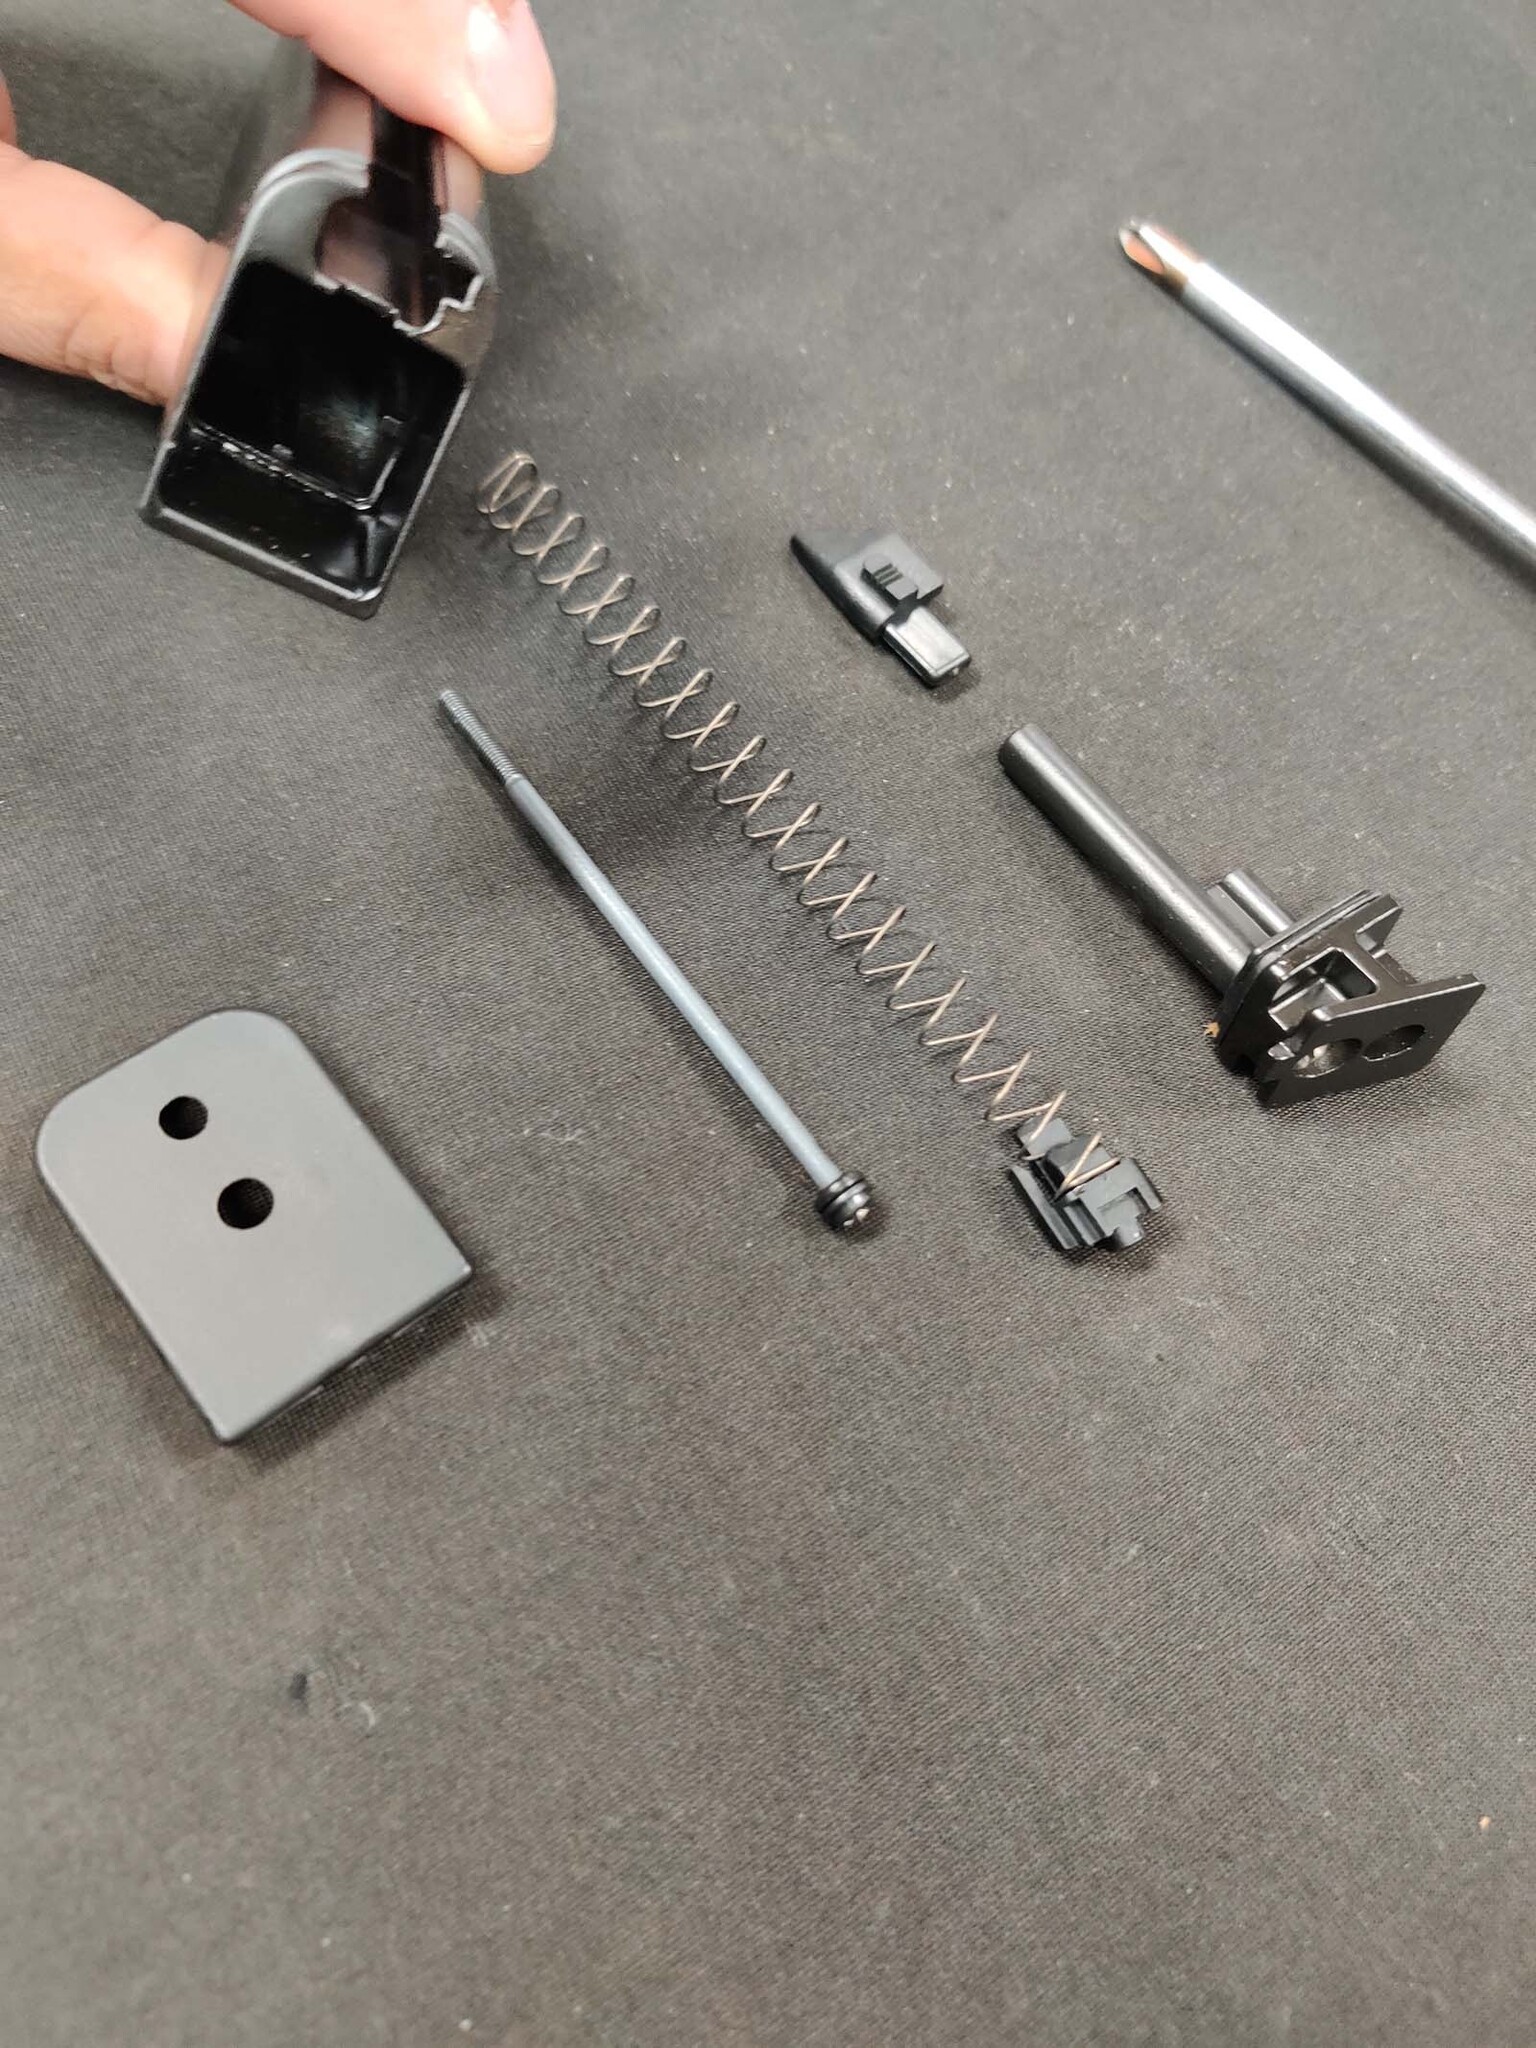
Step 2: Disassemble the Magazine
Using your Phillips screwdriver, remove the center screw holding the base to the magazine body. Once removed, take out the base plate plunger, follower spring, and follower. (Pictures 7, 8)
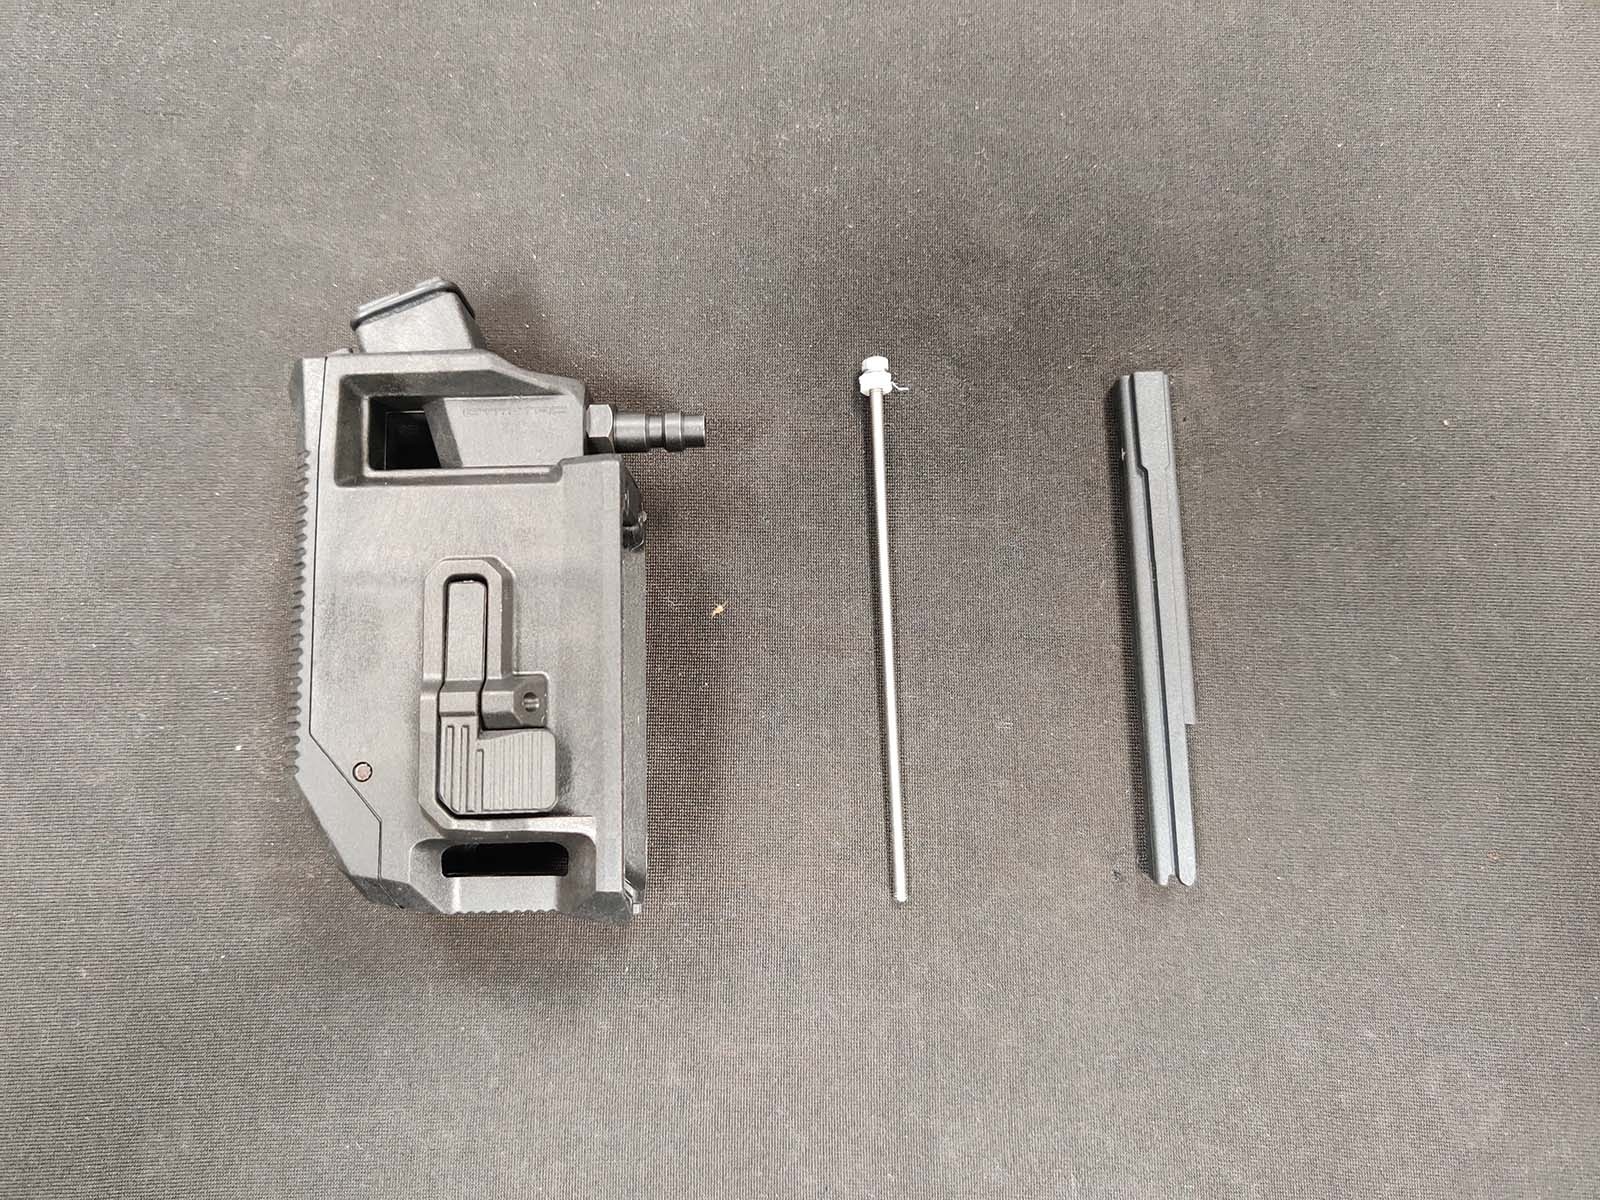
Step 3: Verify Adapter Components
Before installing the adapter, make sure you have all required parts:
- HPA adapter with rubber O-ring seal
- BB guide
- Assembly screw with nylon bushing
(Picture 9)
Step 4: Install the BB Guide
The first part to install is the BB guide. Slide it into the magazine body and ensure it is fully seated all the way to the top. Proper placement is important for correct adapter fitment. (Picture 10)
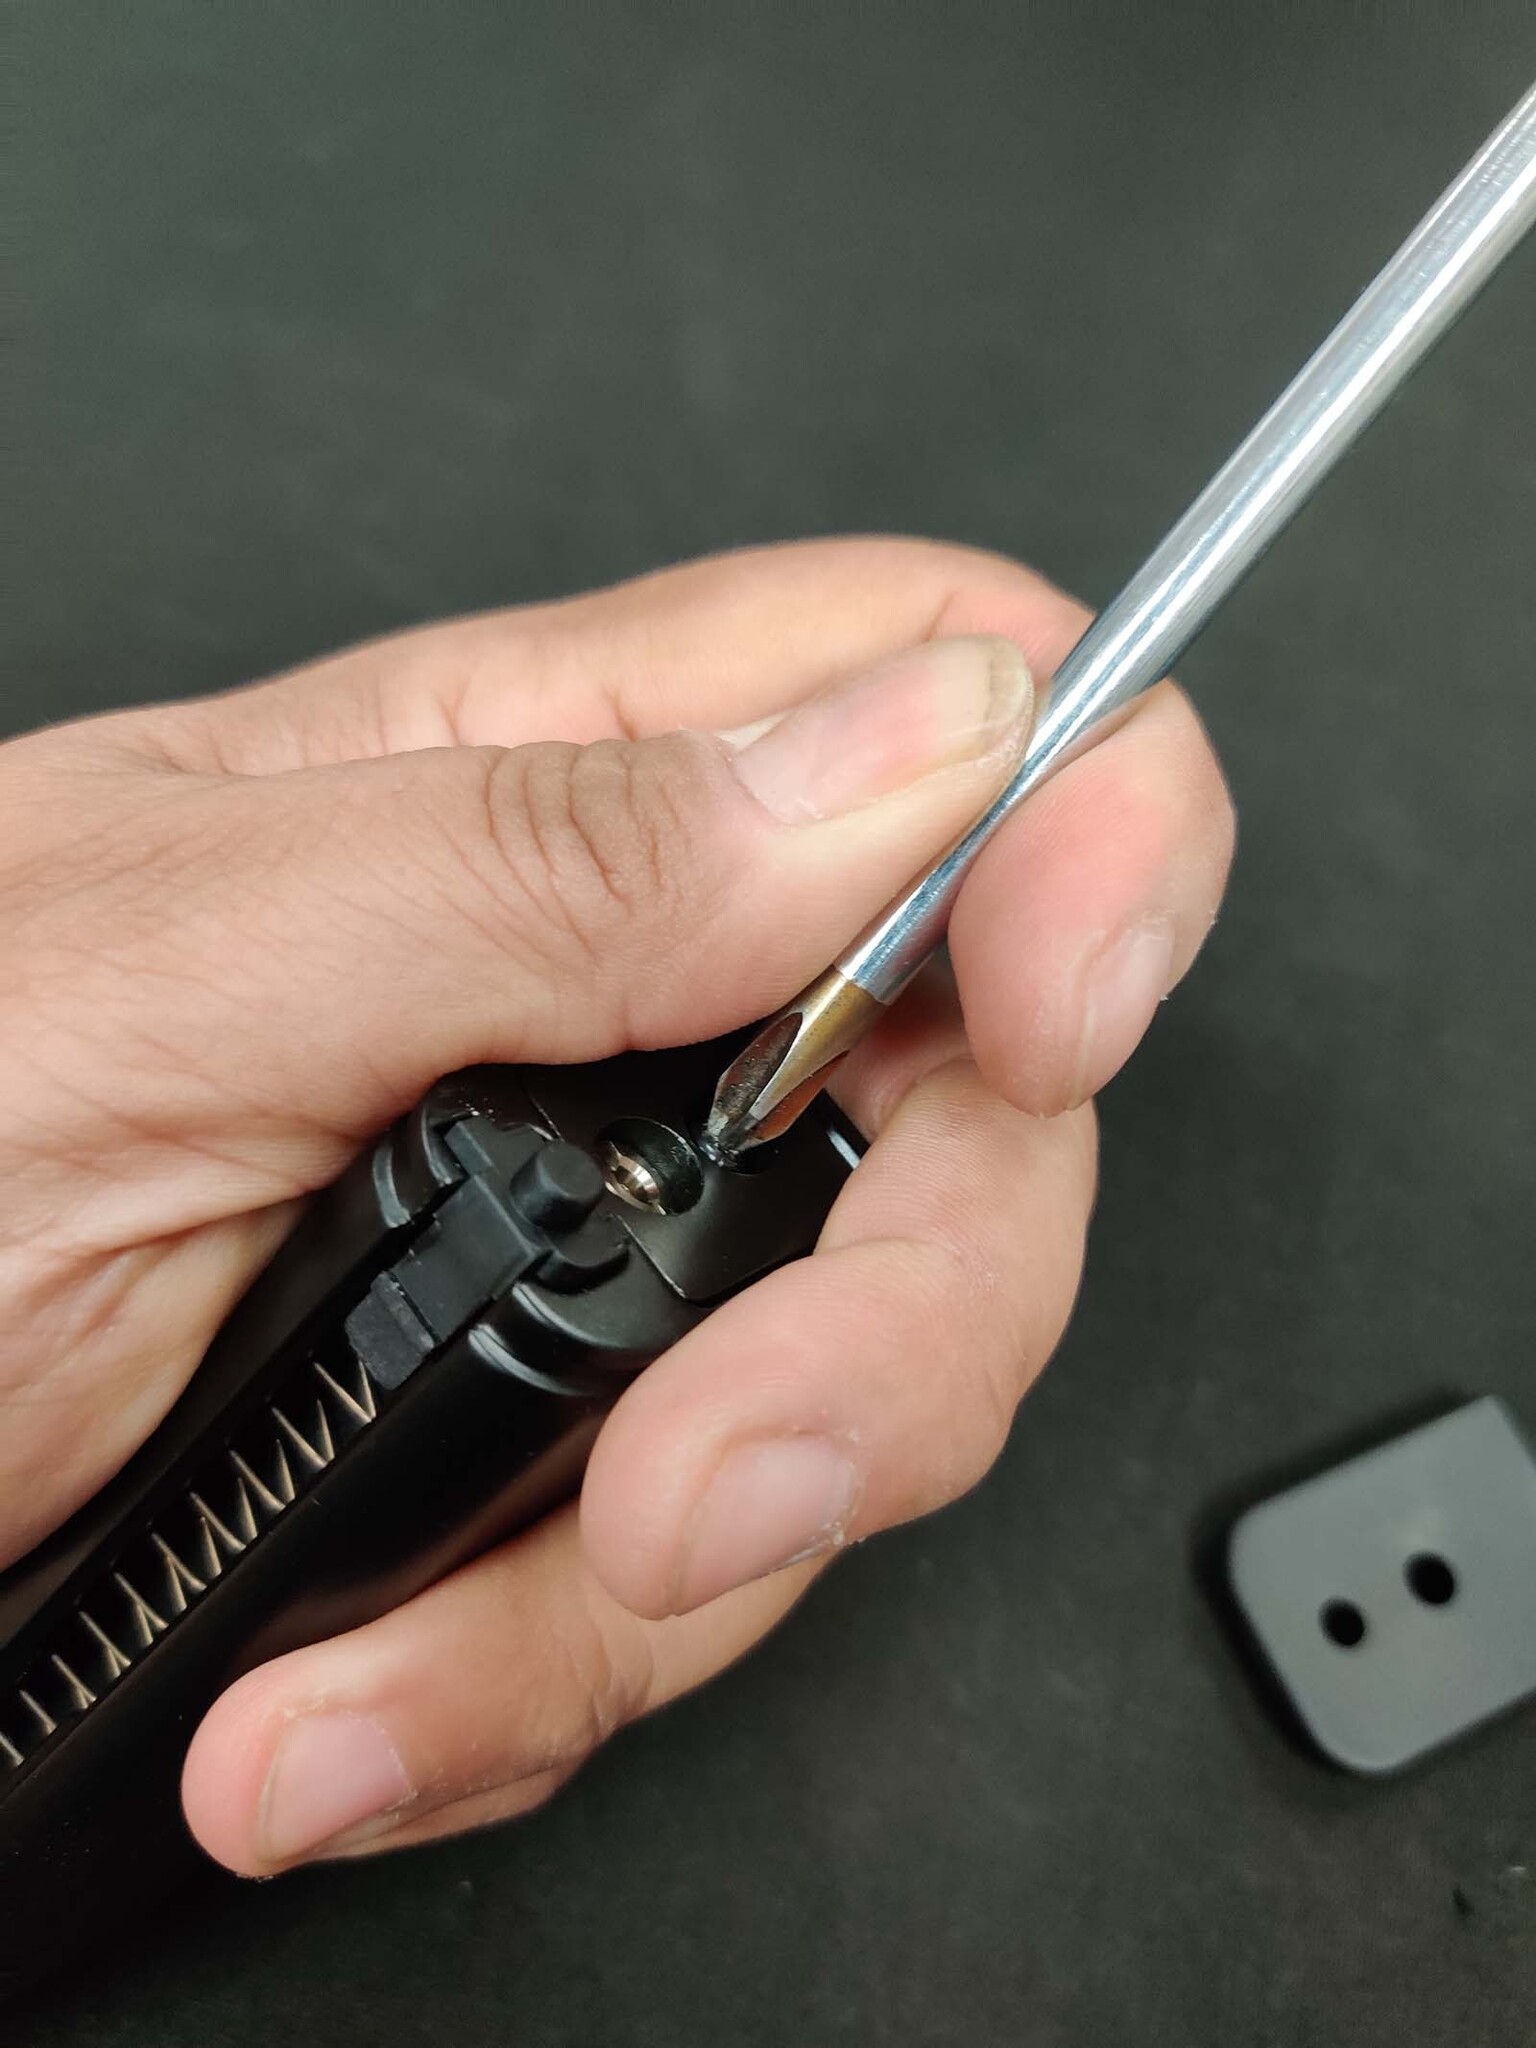
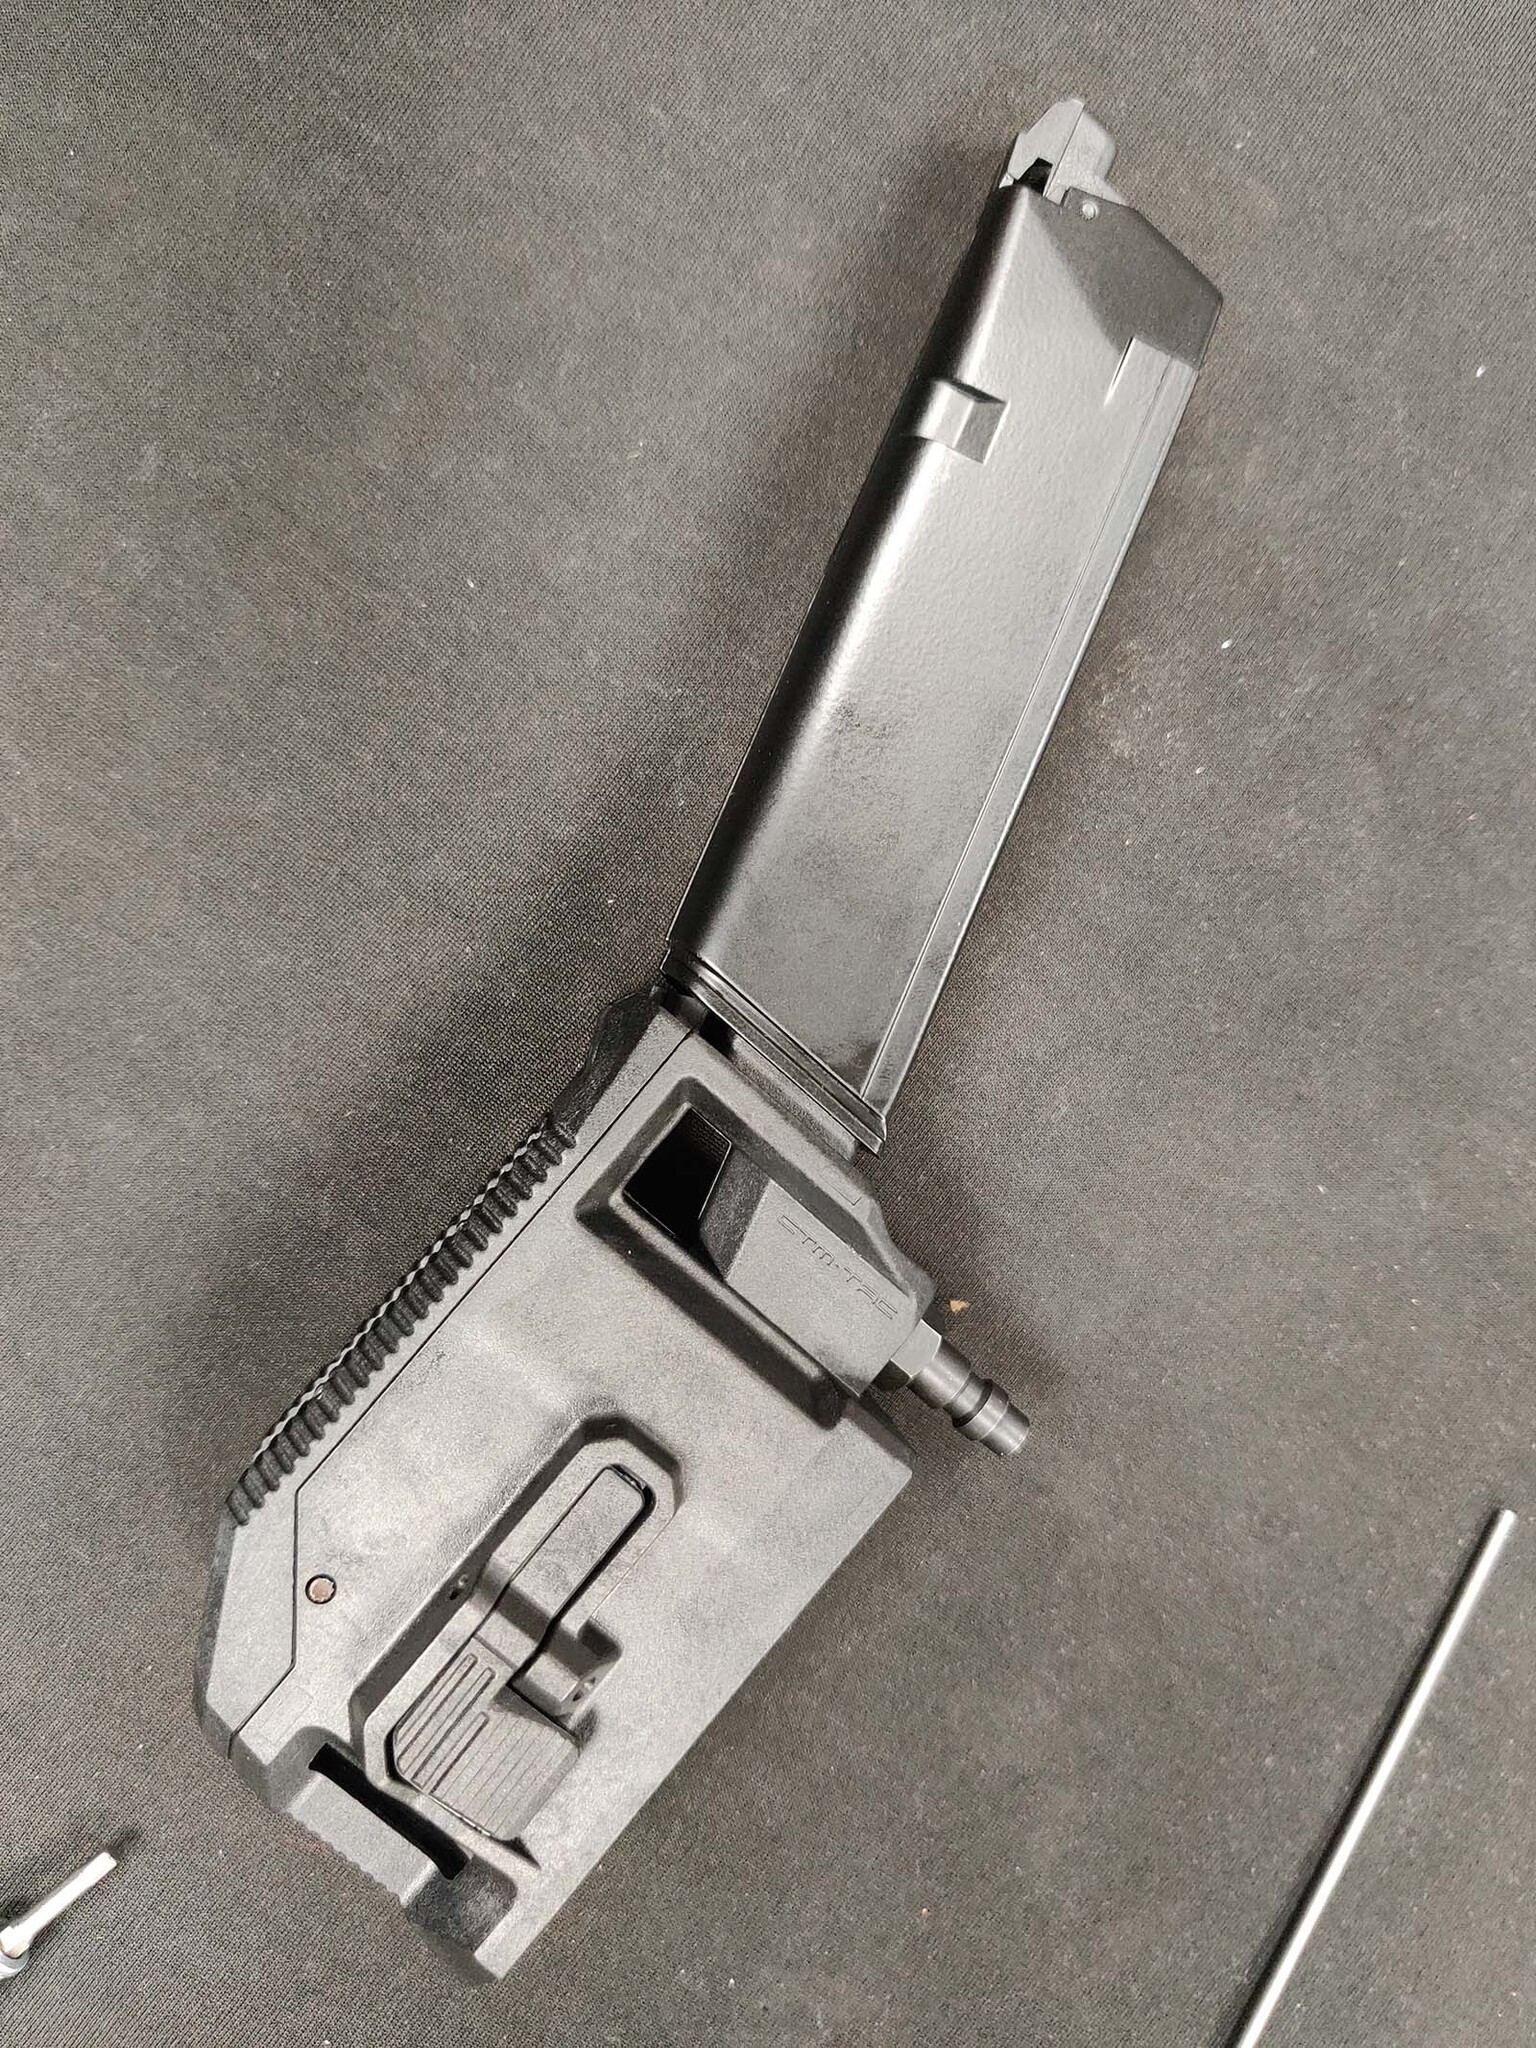
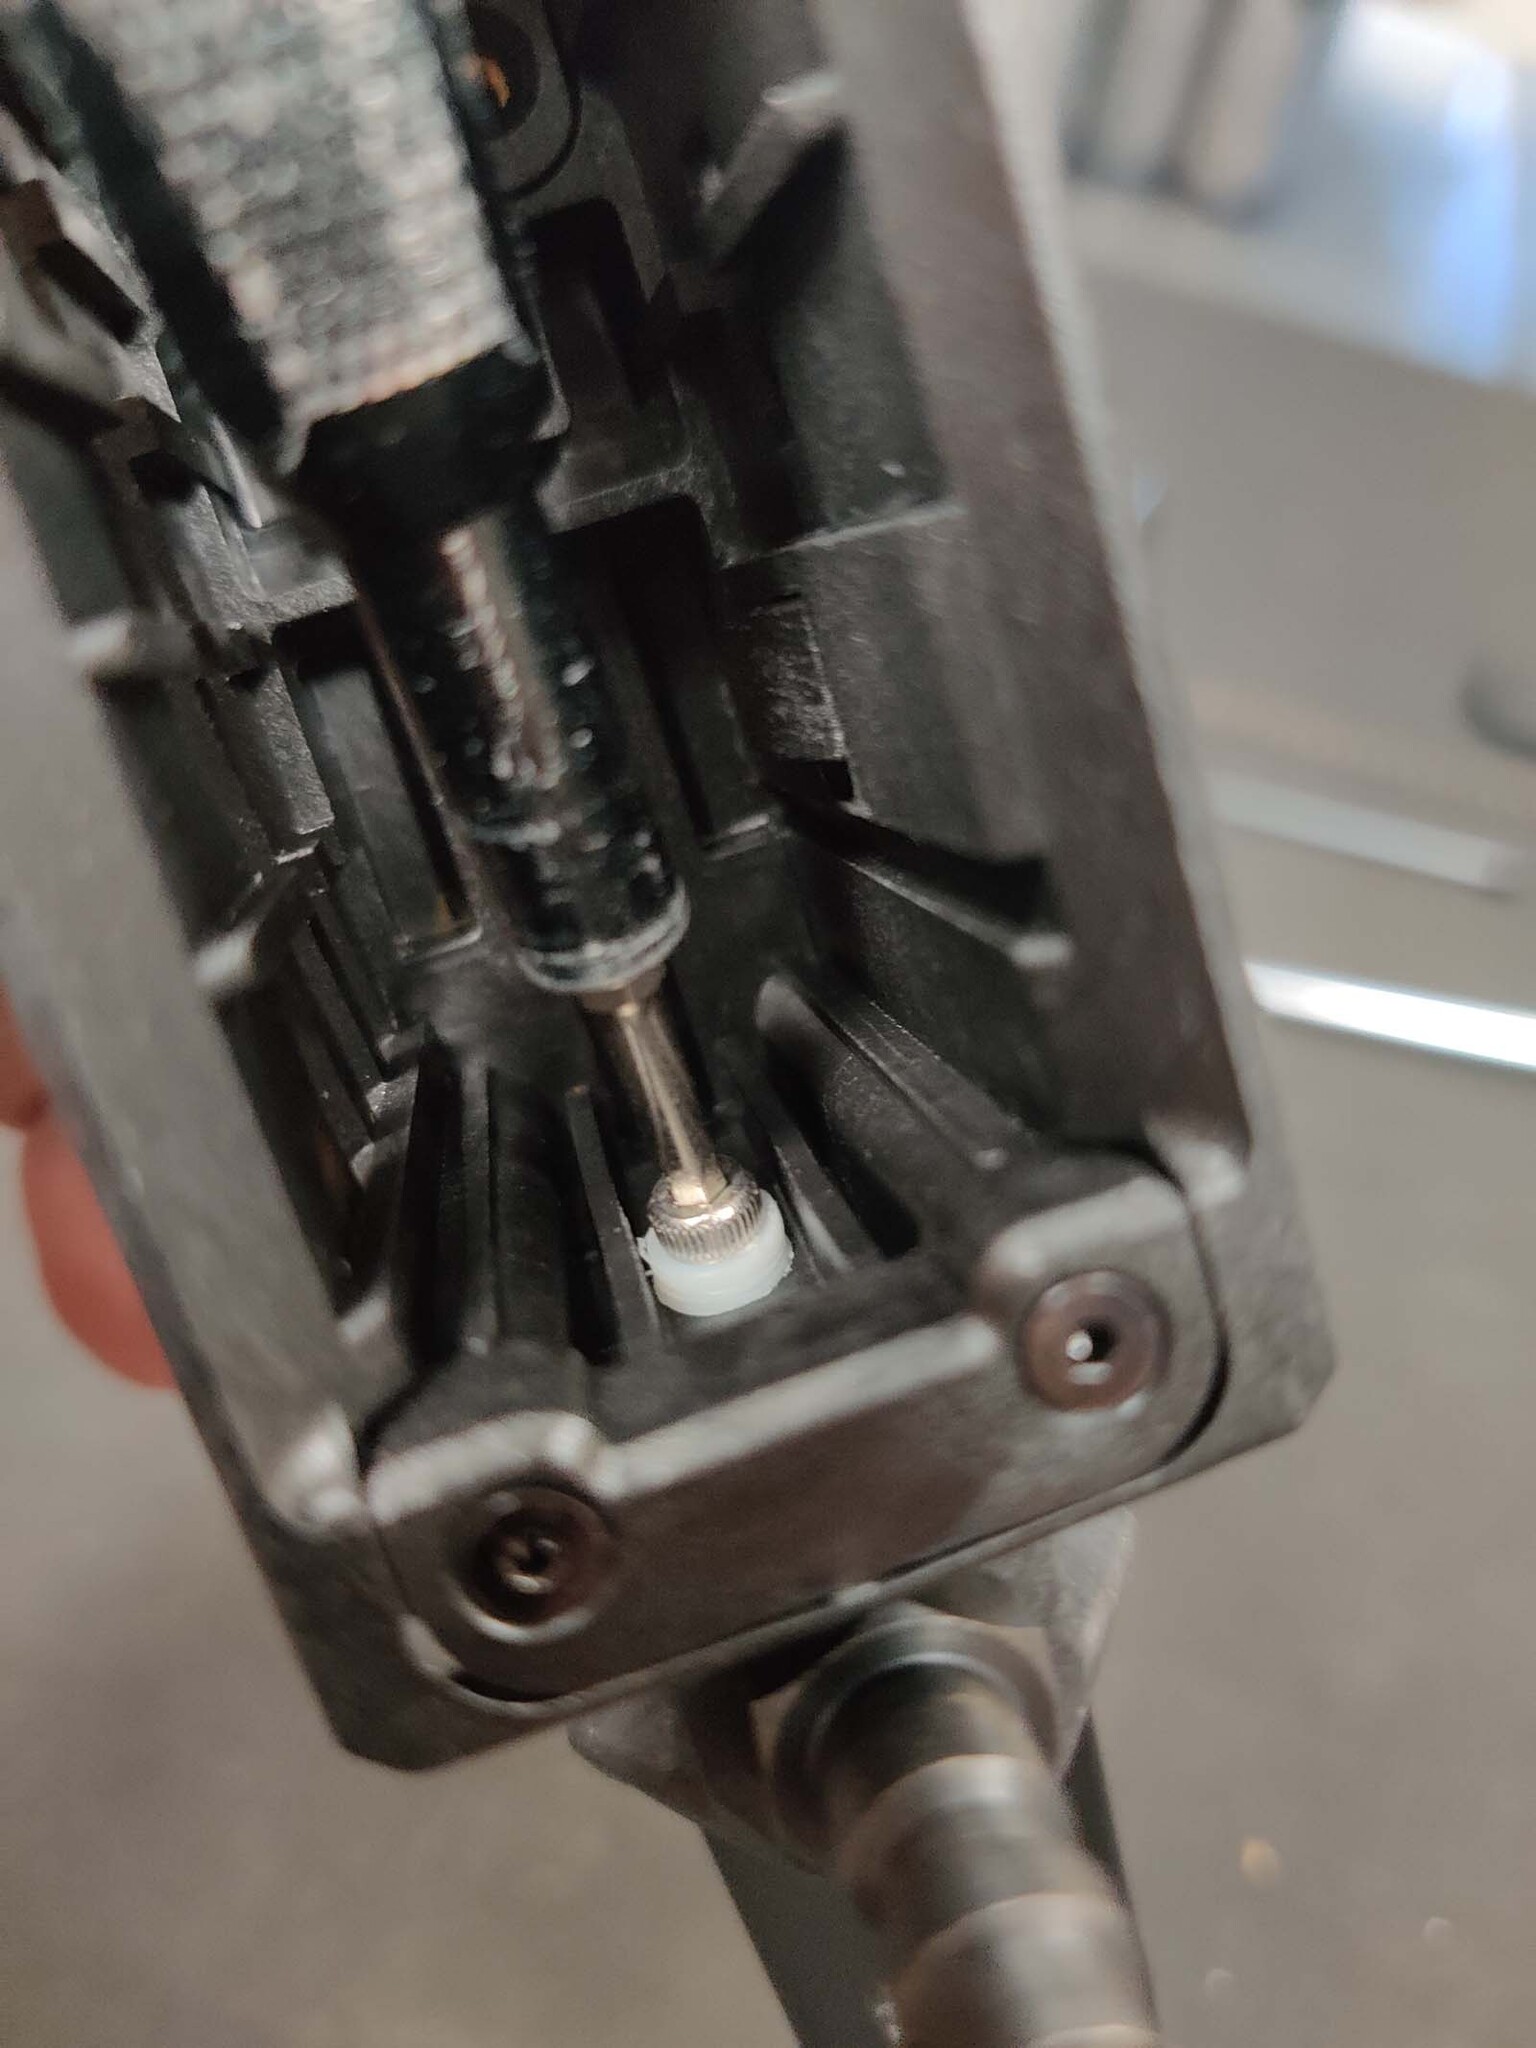
Step 5: Install the HPA Adapter
When installing the adapter, make sure to leave a small gap at the bottom of the magazine. This gap allows the assembly screw to align correctly with the threaded hole inside the magazine body.
If the adapter is pushed completely flush too early, the screw may bypass the threaded hole, making installation frustrating. (Picture 11)
Once aligned, use your 2.5mm Allen driver to thread the screw into place. As the screw tightens, the gap shown in Picture 11 will naturally close up. (Picture 12)
Step 6: Test the Seal
After tightening the adapter down, connect your HPA line and test the seal.
If you hear any air leaking, continue tightening the screw slightly until the leak stops and the seal is secure.
Final Thoughts
Thank you for joining us for another Airsoft Extreme Tips & Tricks blog! We hope this guide helps you with the basics of installing your new HPA adapter setup.
If you’re still experiencing issues or need assistance, stop by any of our Airsoft Extreme walk-in locations and our staff will be happy to help.
Have a great rest of your day, and we look forward to seeing you again in a future Airsoft Extreme blog!


