Upgrade Your PEQ Setup: Installing the WADSN Augmented Pressure Pad
- Posted on
- By AEX News
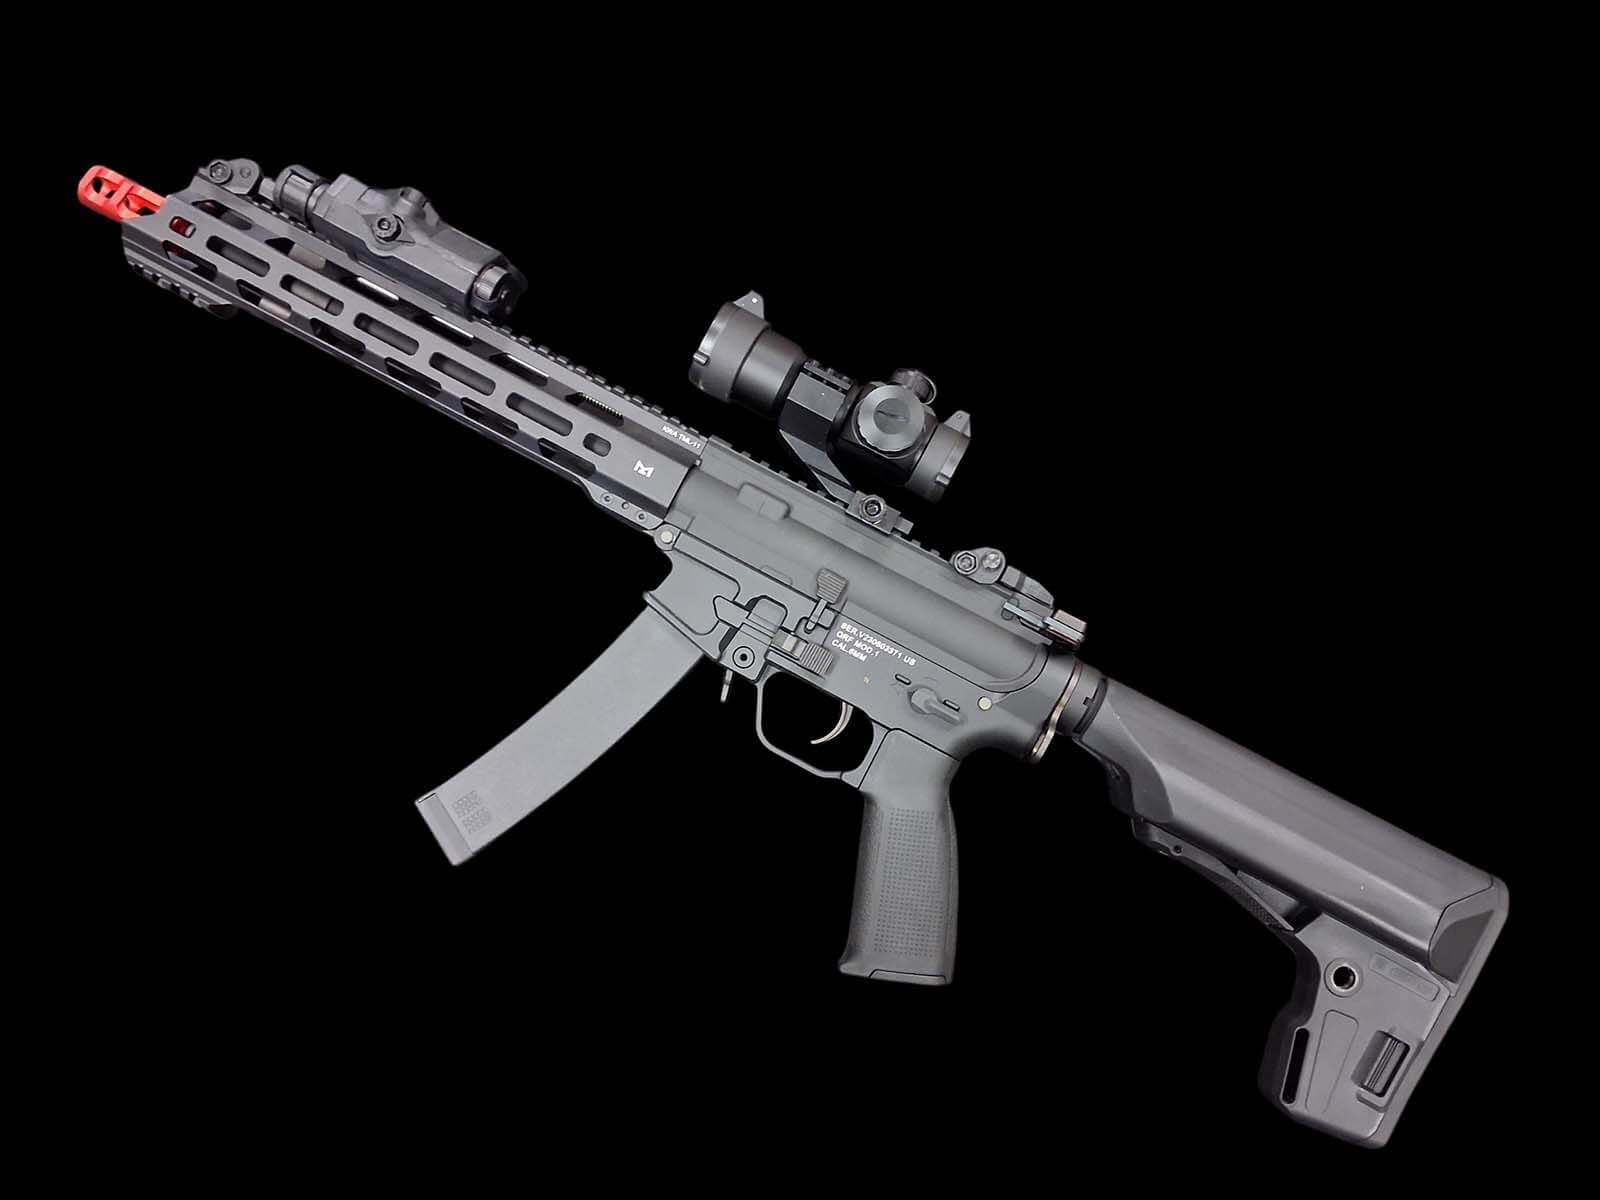
Looking to upgrade the stock pressure pad on your PEQ or DBAL unit? In this Airsoft Extreme Tips & Tricks guide, we walk you through installing the WADSN Augmented Remote 2.5mm Switch on both Picatinny and M-LOK rail systems, including hardware conversion and mounting tips.
Upgrade Your PEQ Setup: Installing the WADSN Augmented Pressure Pad
Hello everyone, and thank you for joining us for another installment of Airsoft Extreme’s Tips & Tricks!
Today, we’ll be going over how to replace the stock pressure pad that comes with your PEQ unit.
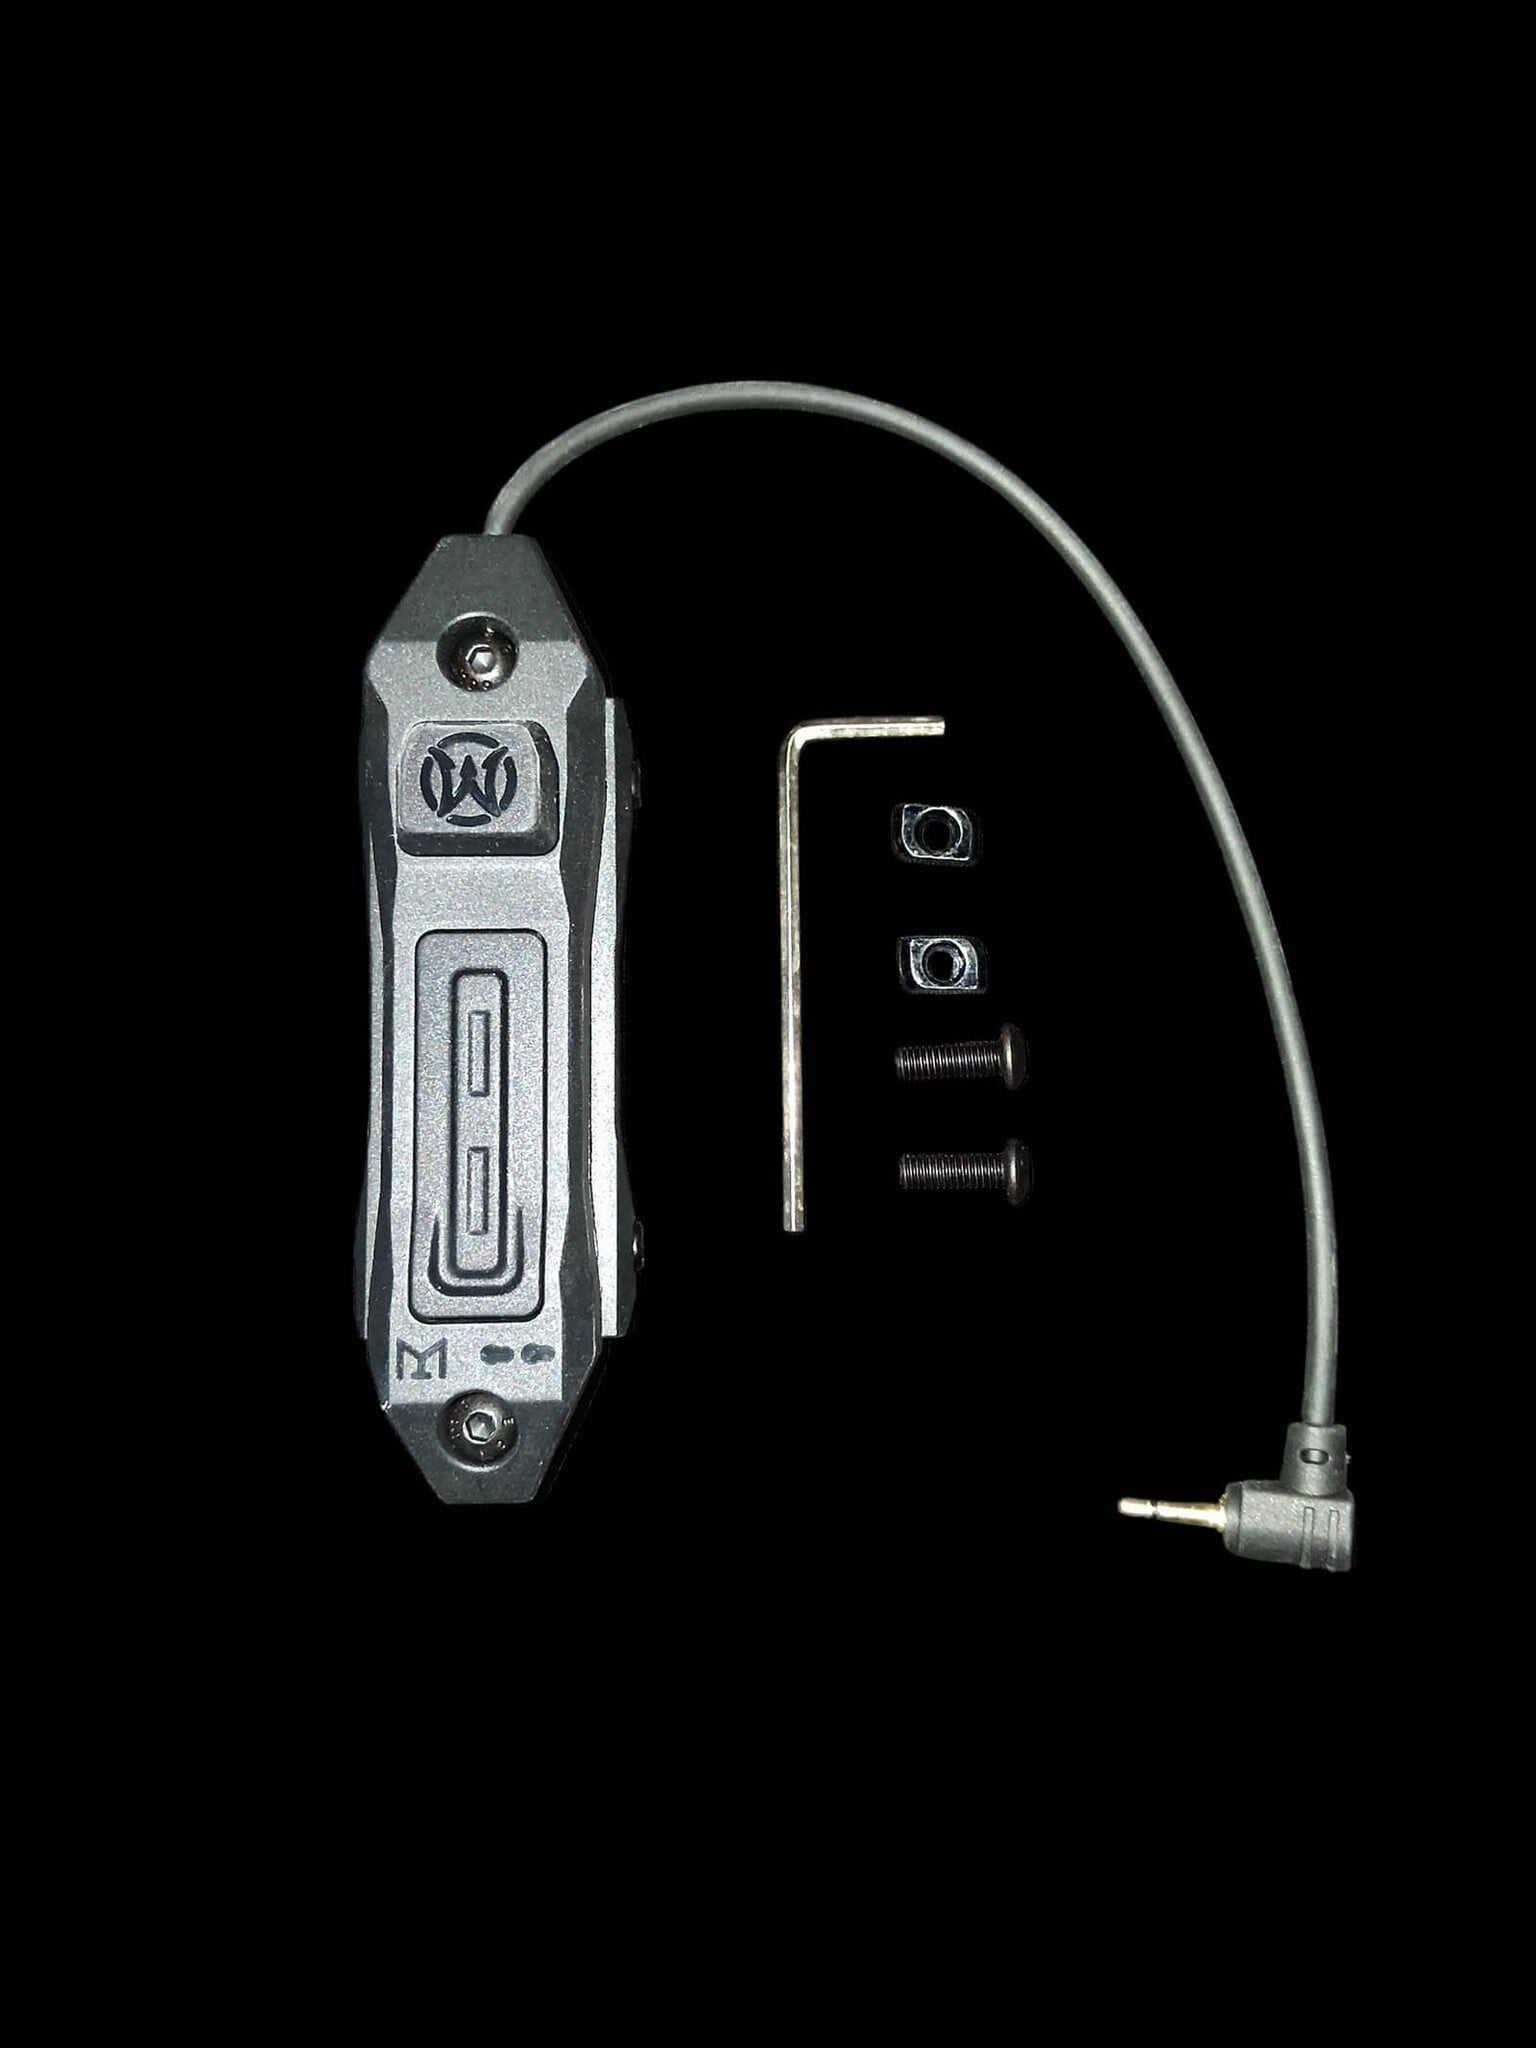
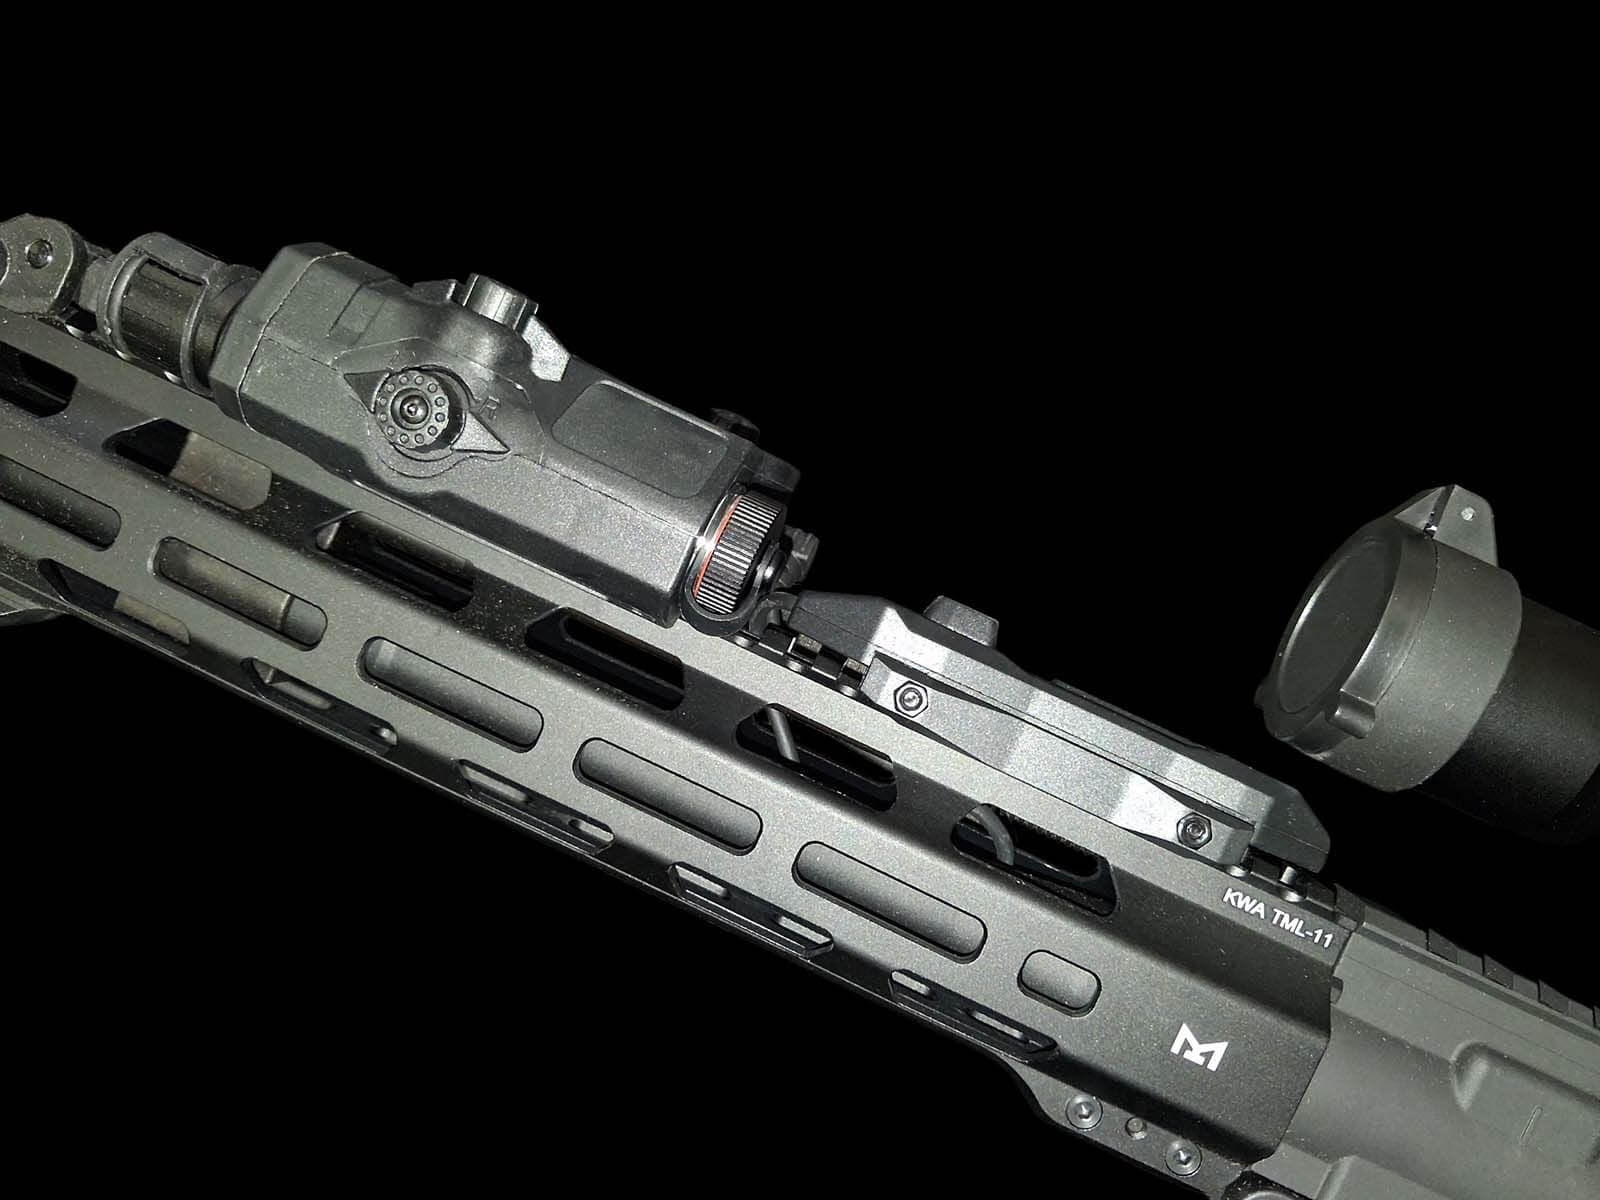
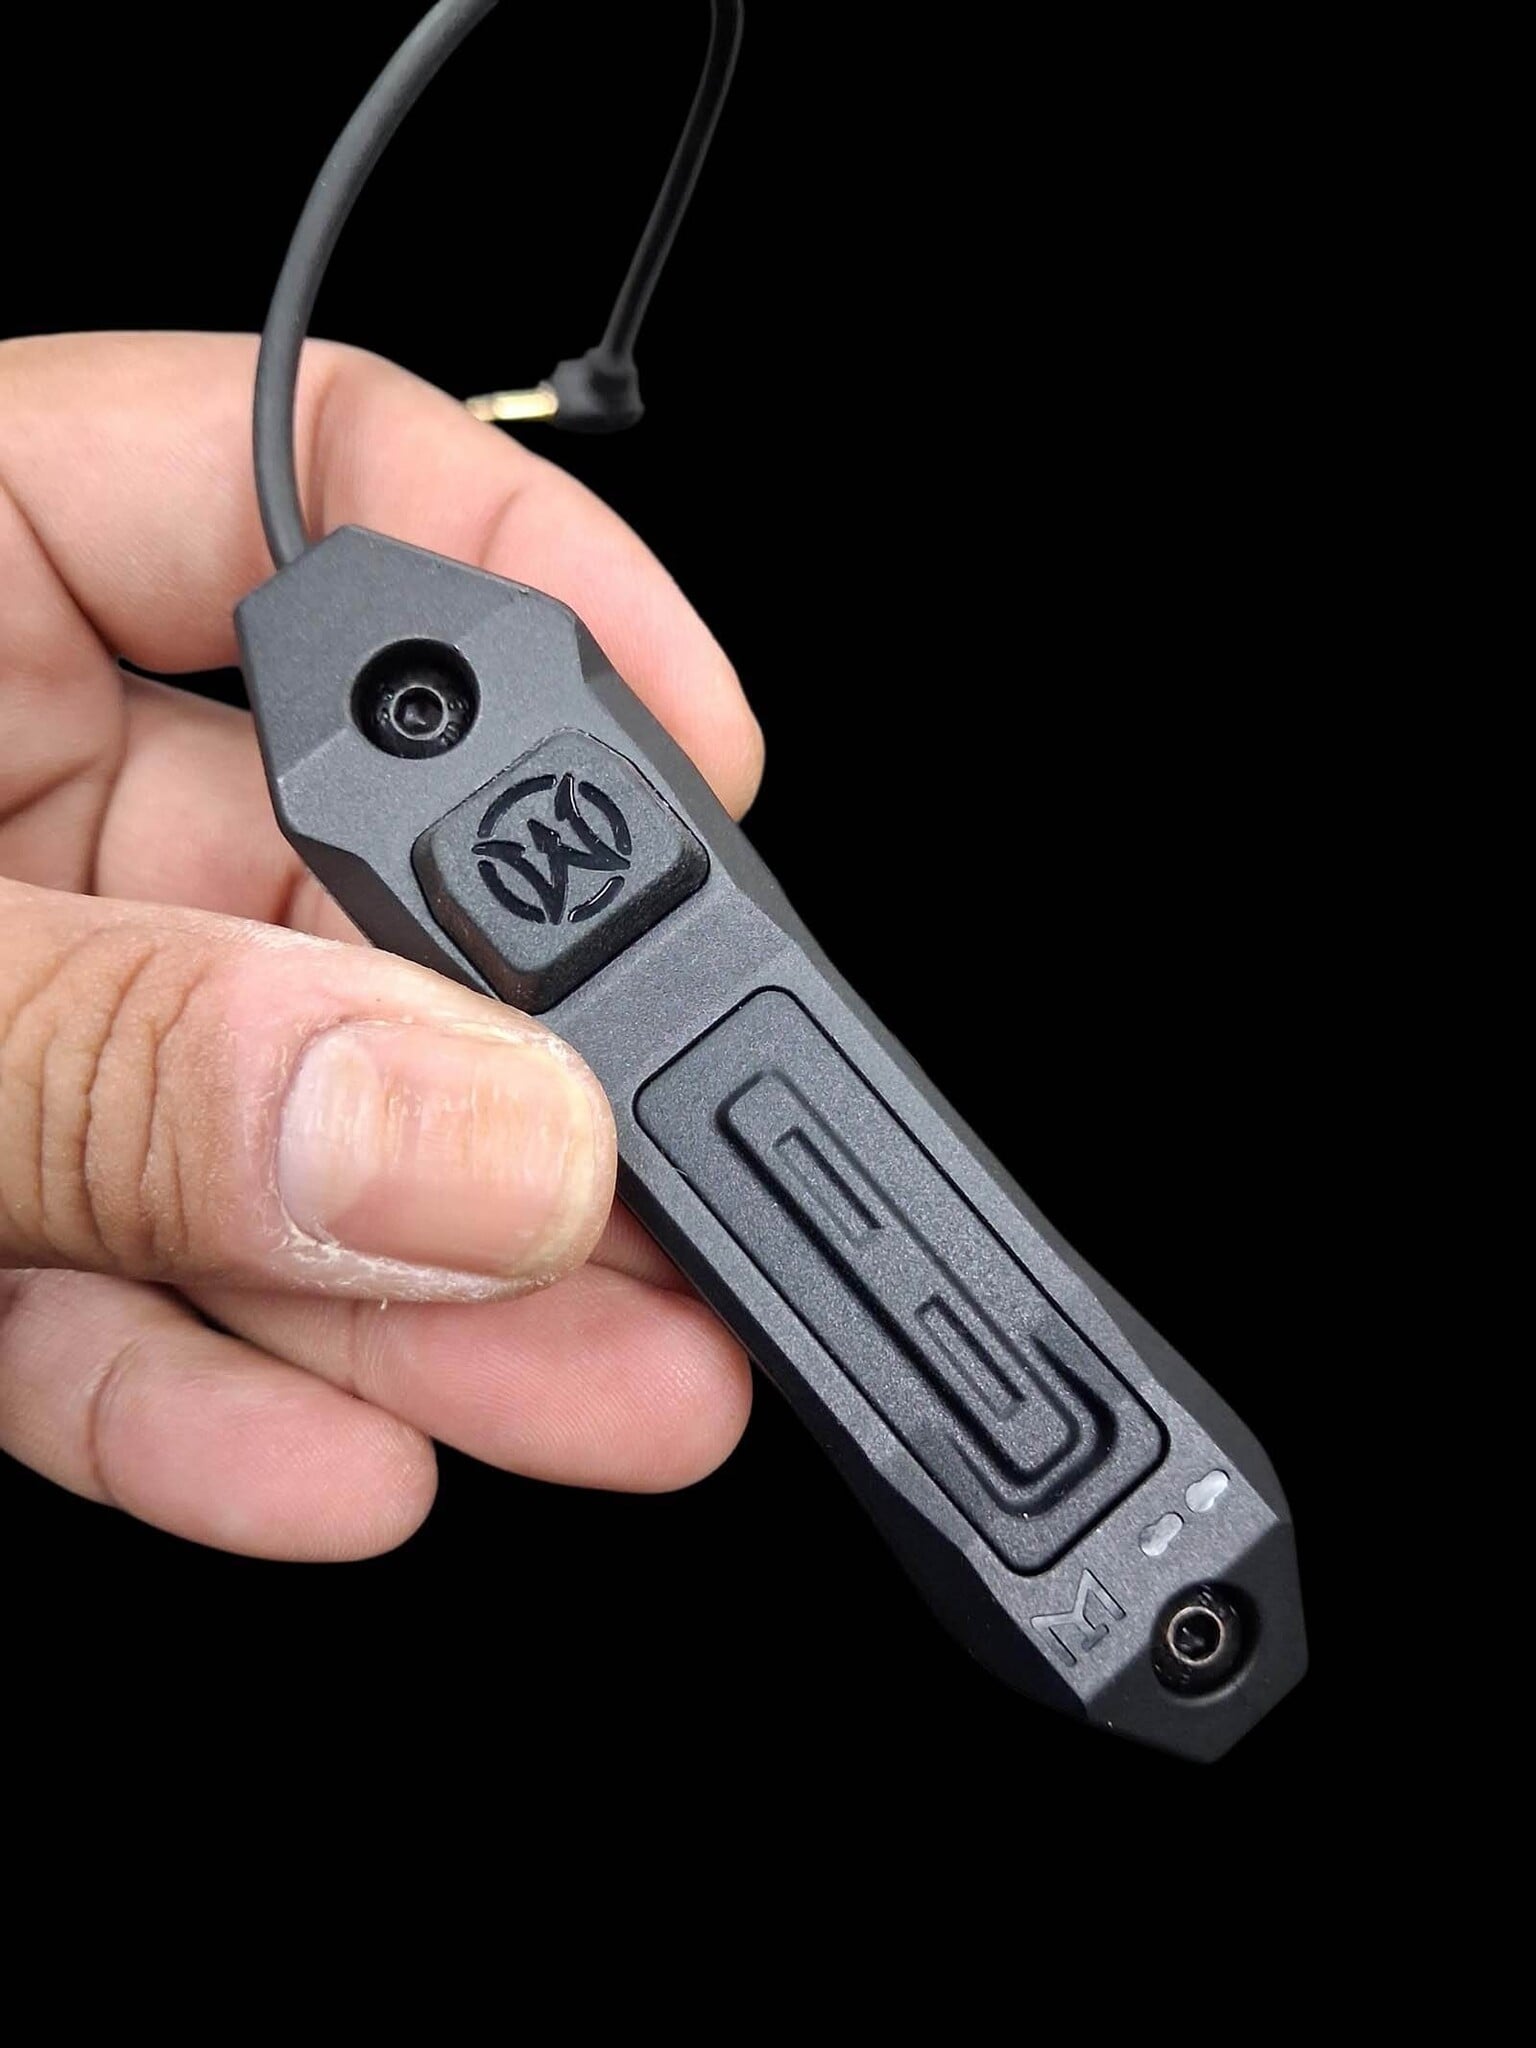
The upgrade option we’ll be using today is the WADSN Augmented Remote 2.5mm Switch for PEQ/DBAL units, compatible with both Weaver/Picatinny and M-LOK mounting systems. (Pictures 1, 2)

What Comes in the Kit?
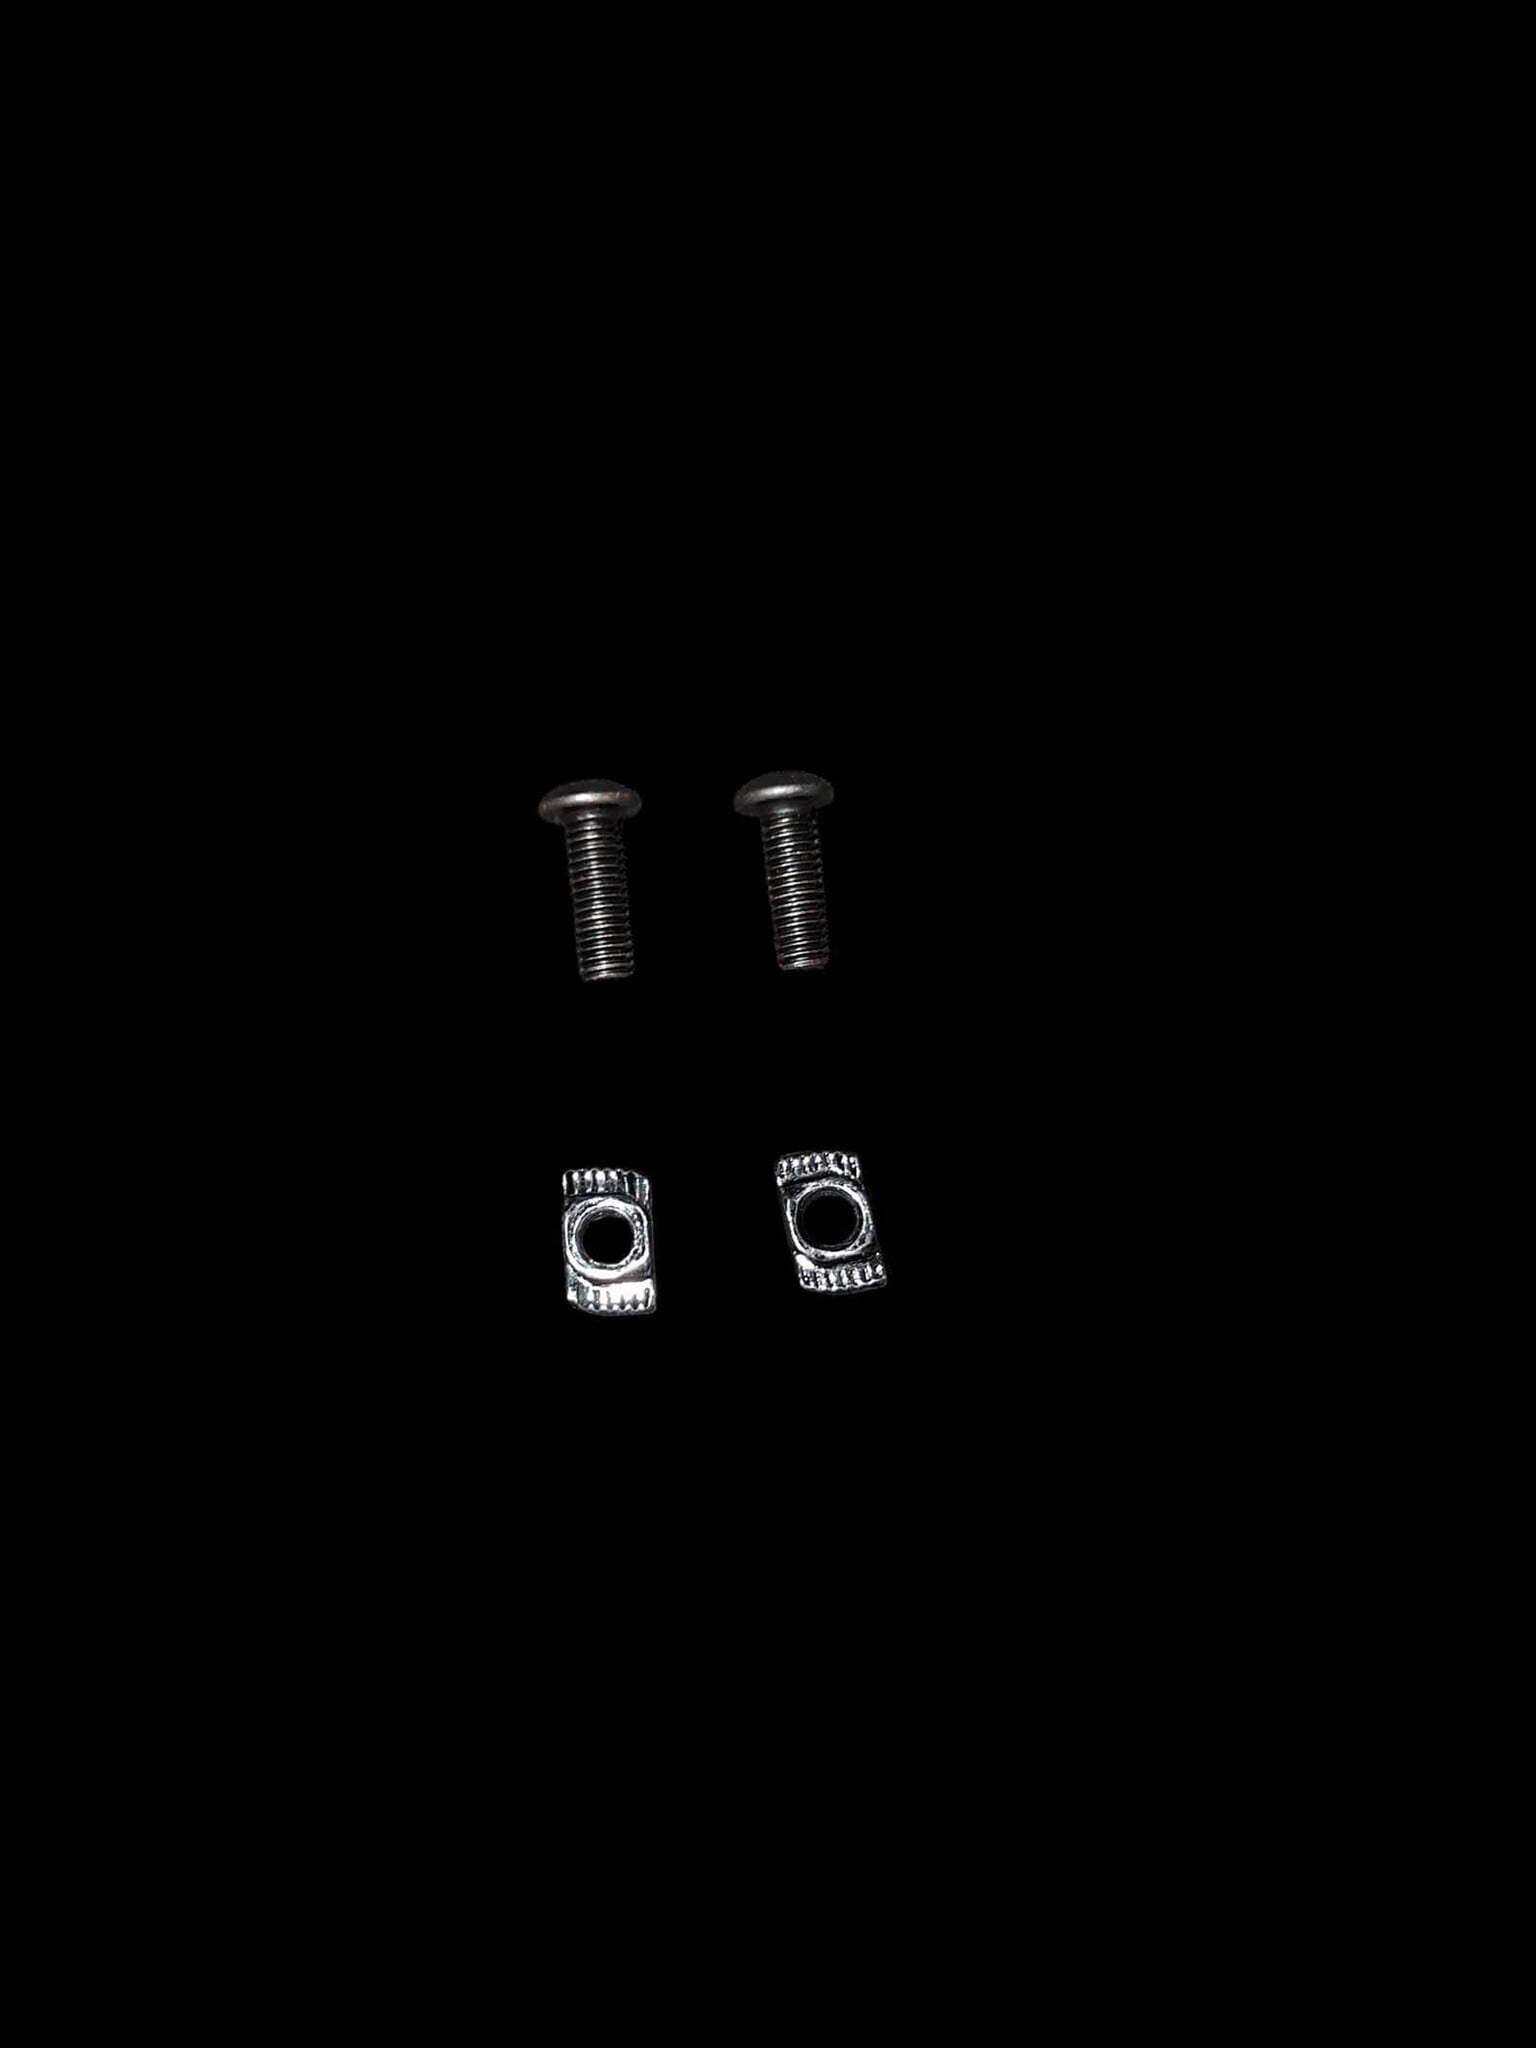
The WADSN kit includes:
- Pressure pad switch
- Allen driver
- 2 M-LOK nuts
- 2 extended bolts
Be sure to place the M-LOK nuts and extended bolts somewhere safe, as you’ll need them later if you decide to mount the pressure pad directly to an M-LOK handguard. (Picture 3)
Installing to a Picatinny Rail
To install the pressure pad onto a Picatinny rail:
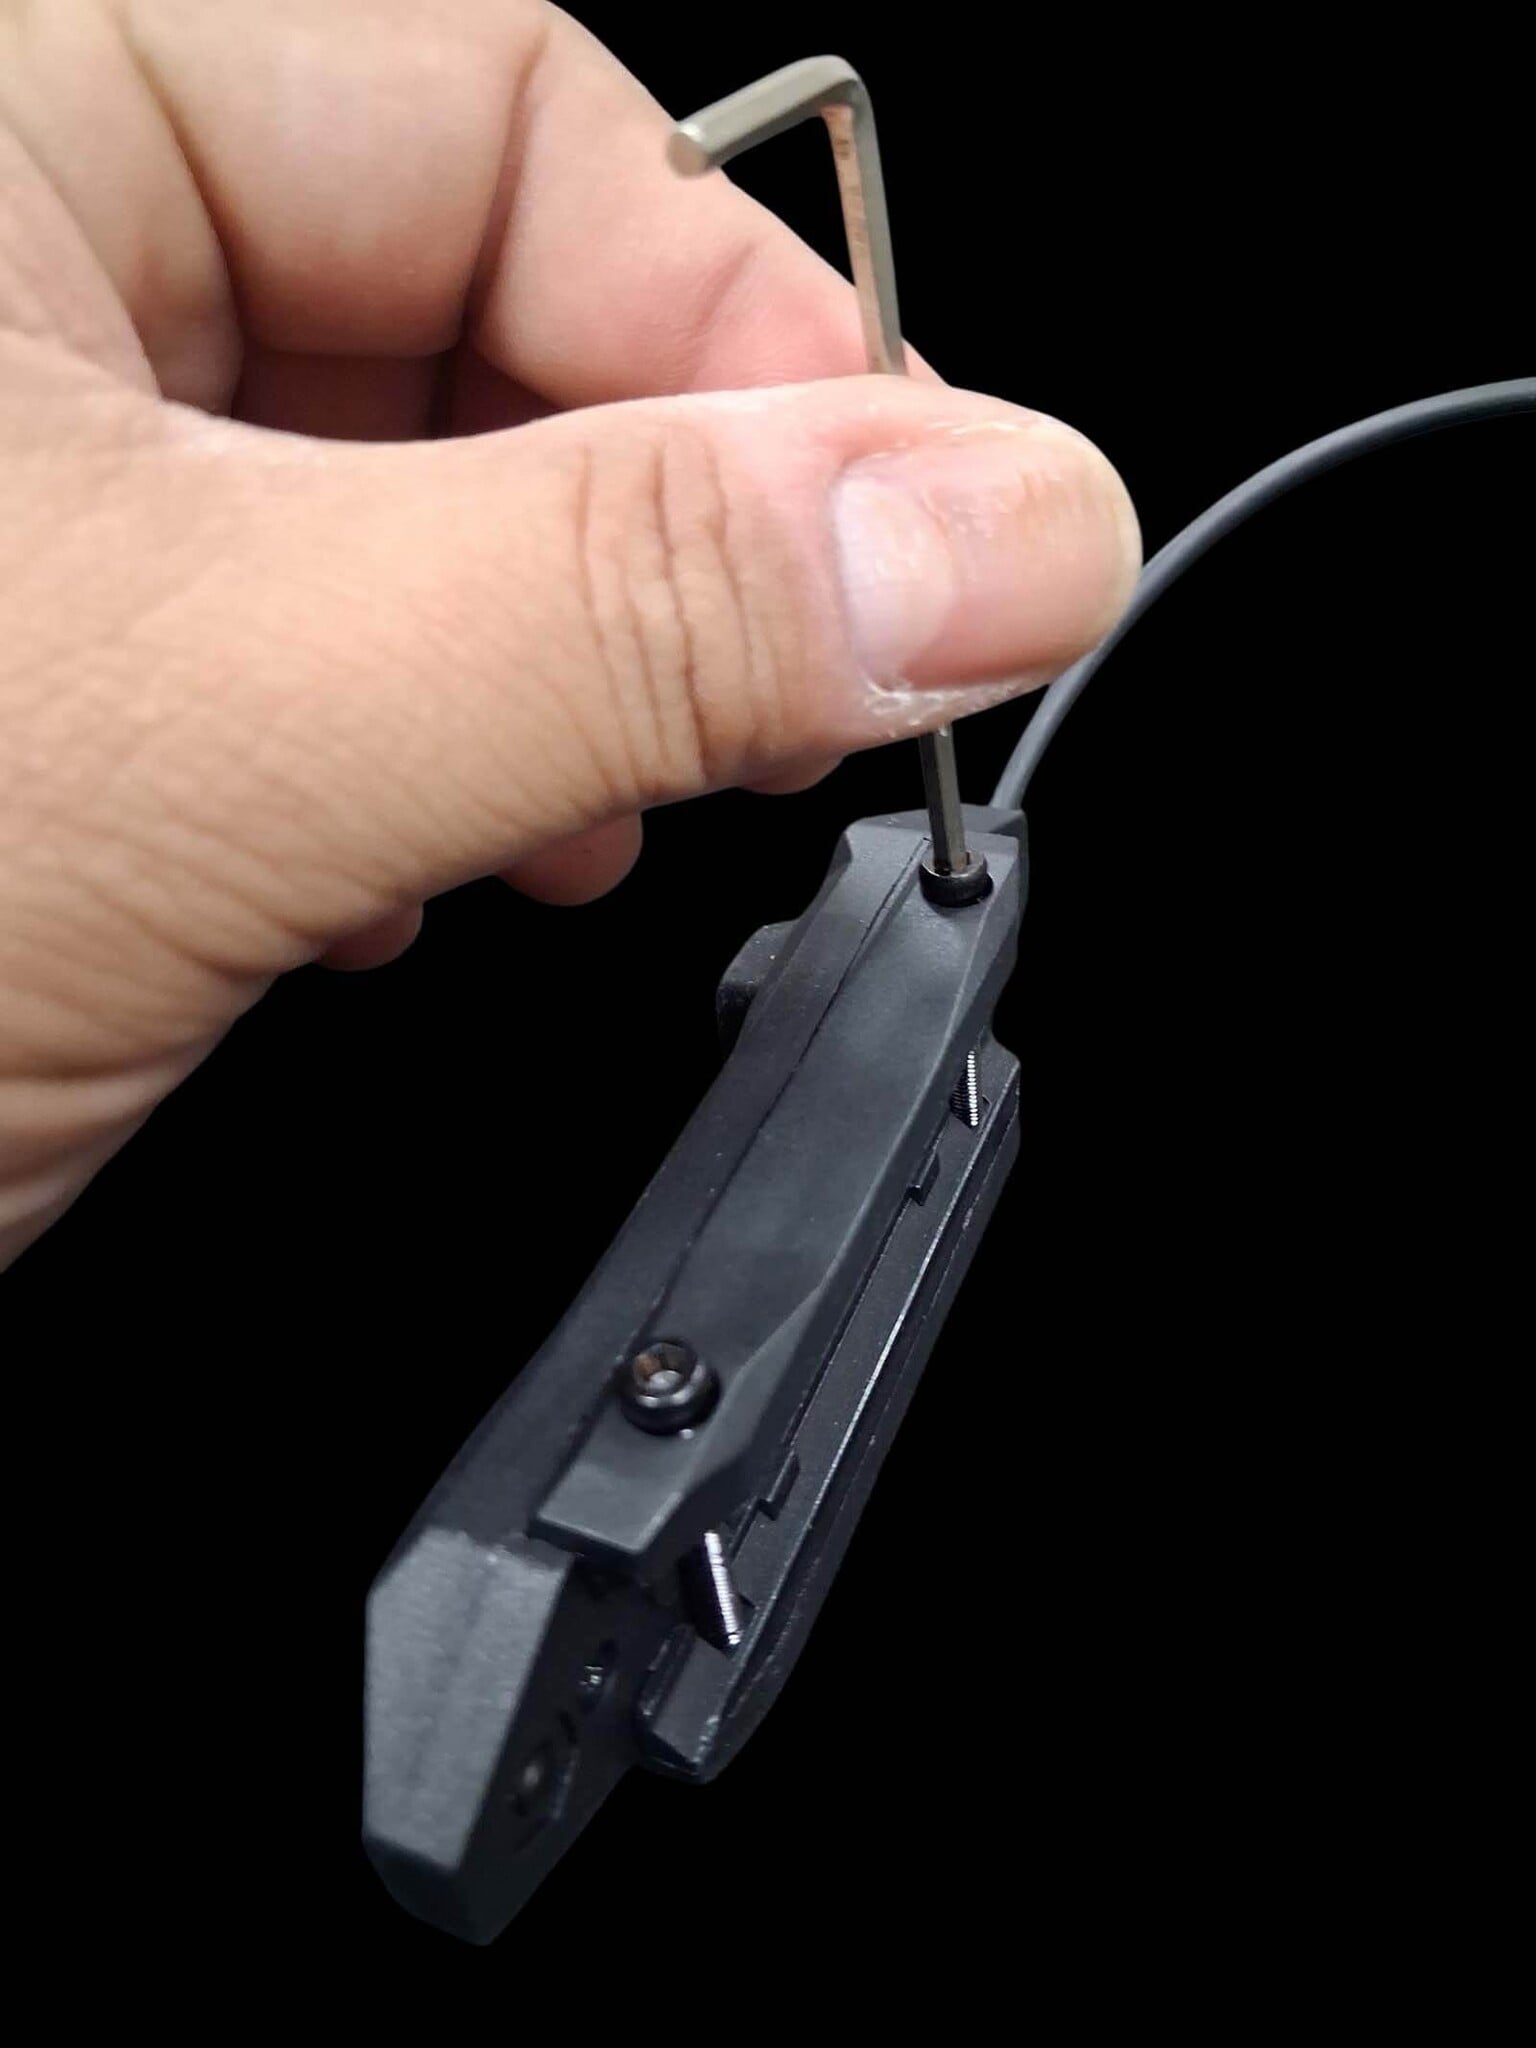
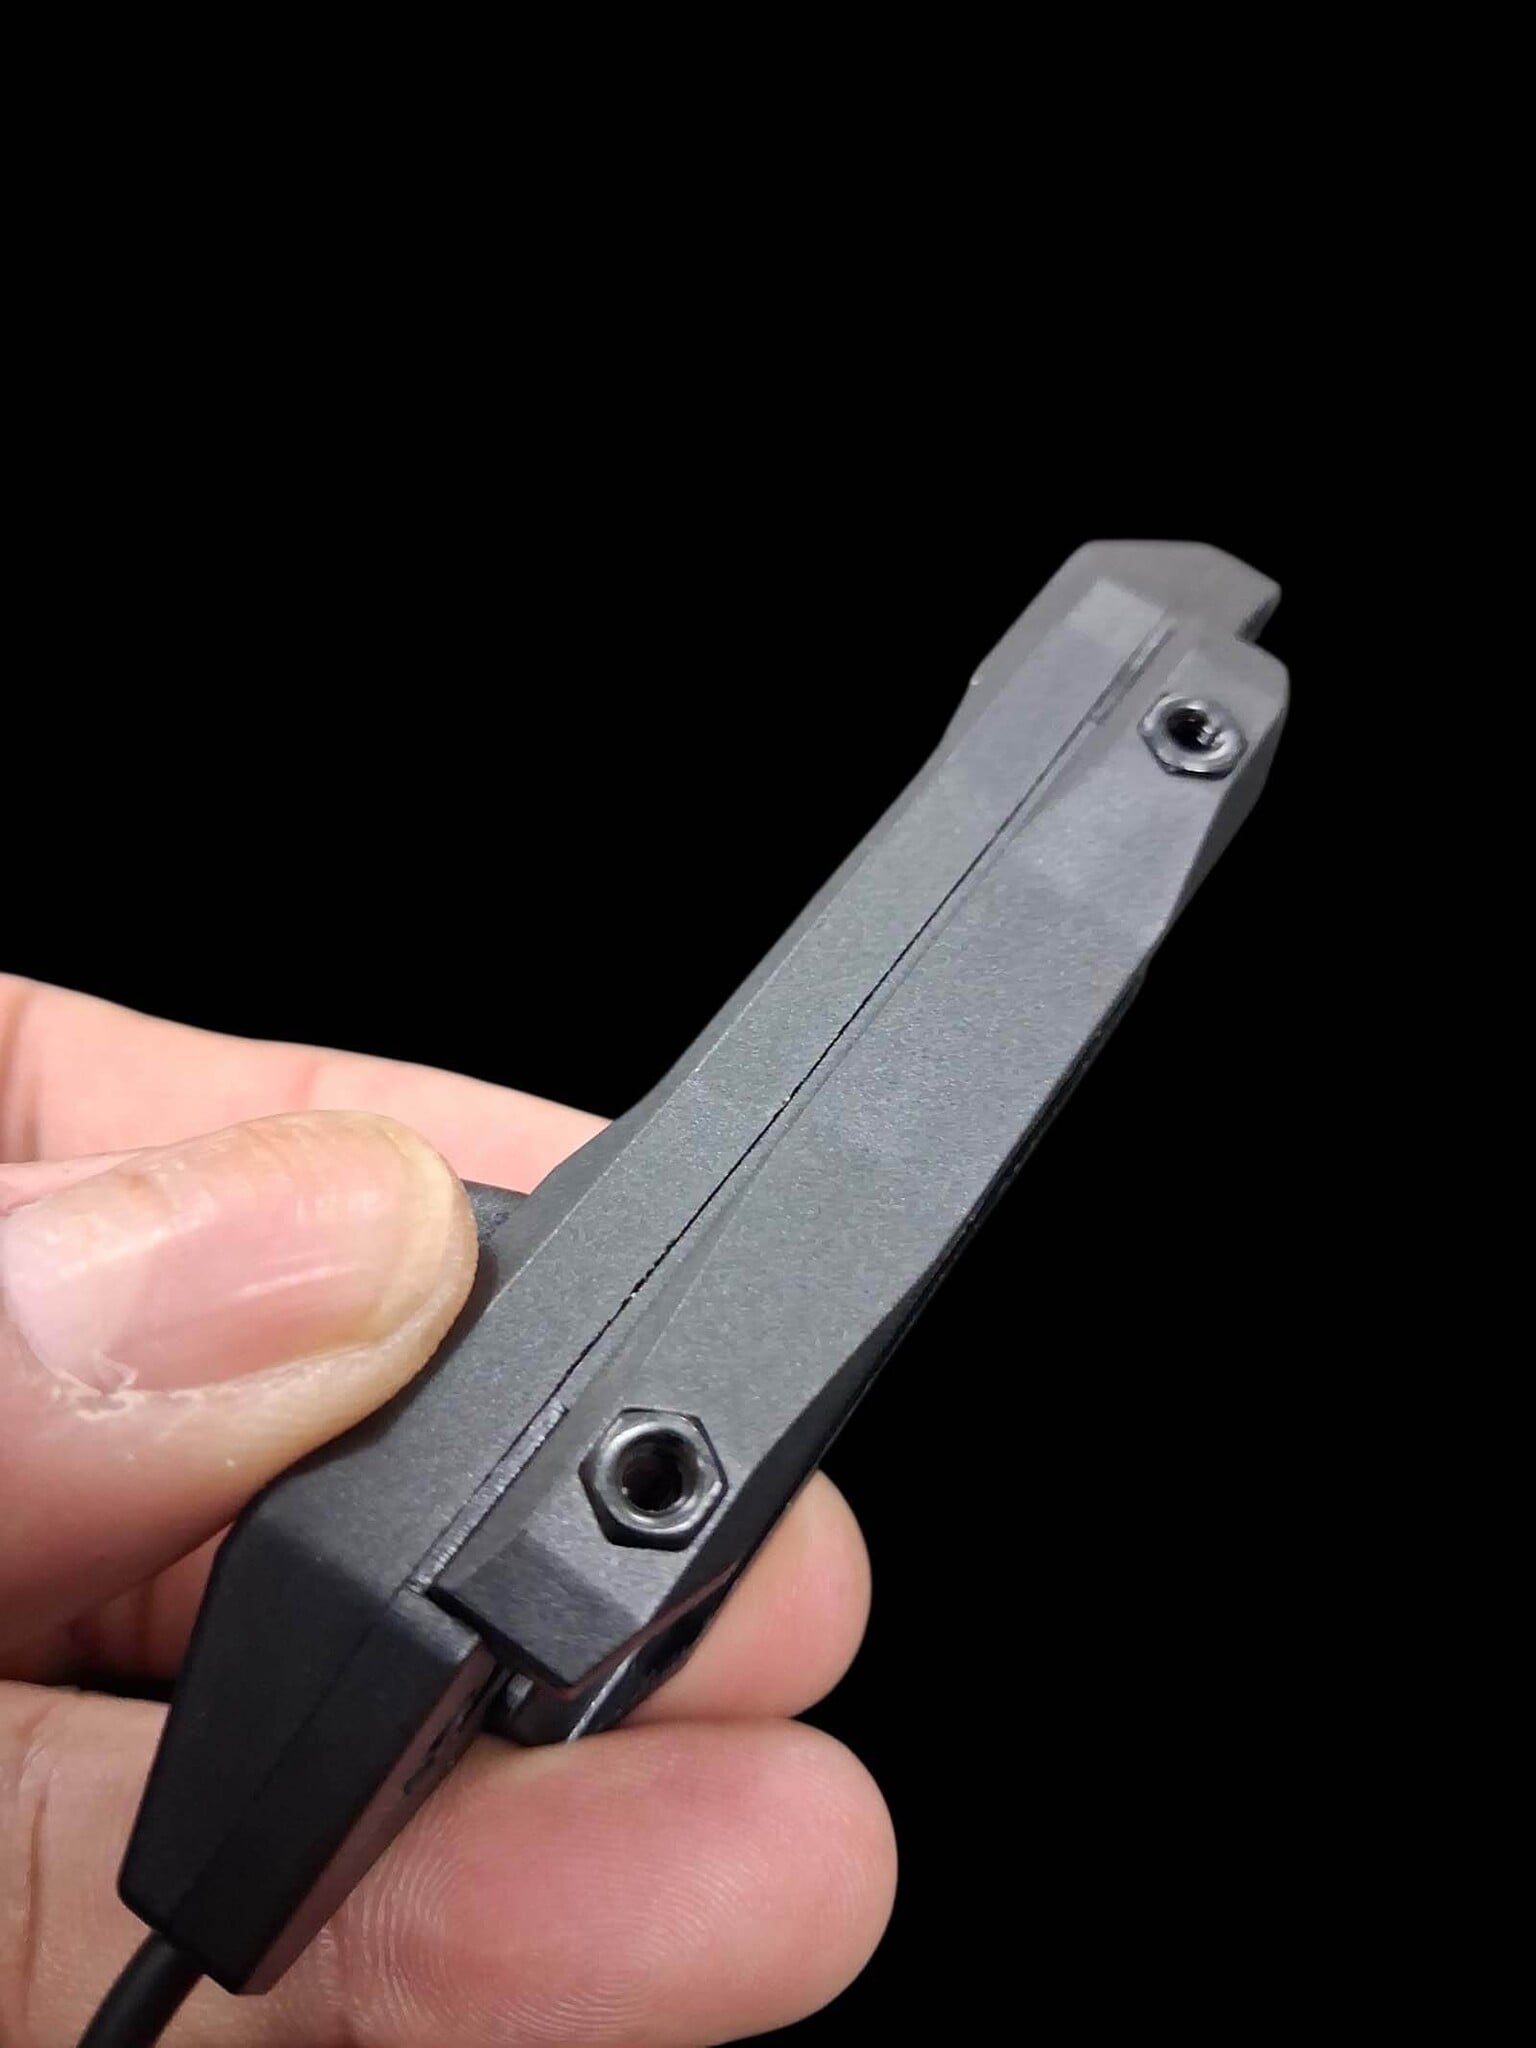
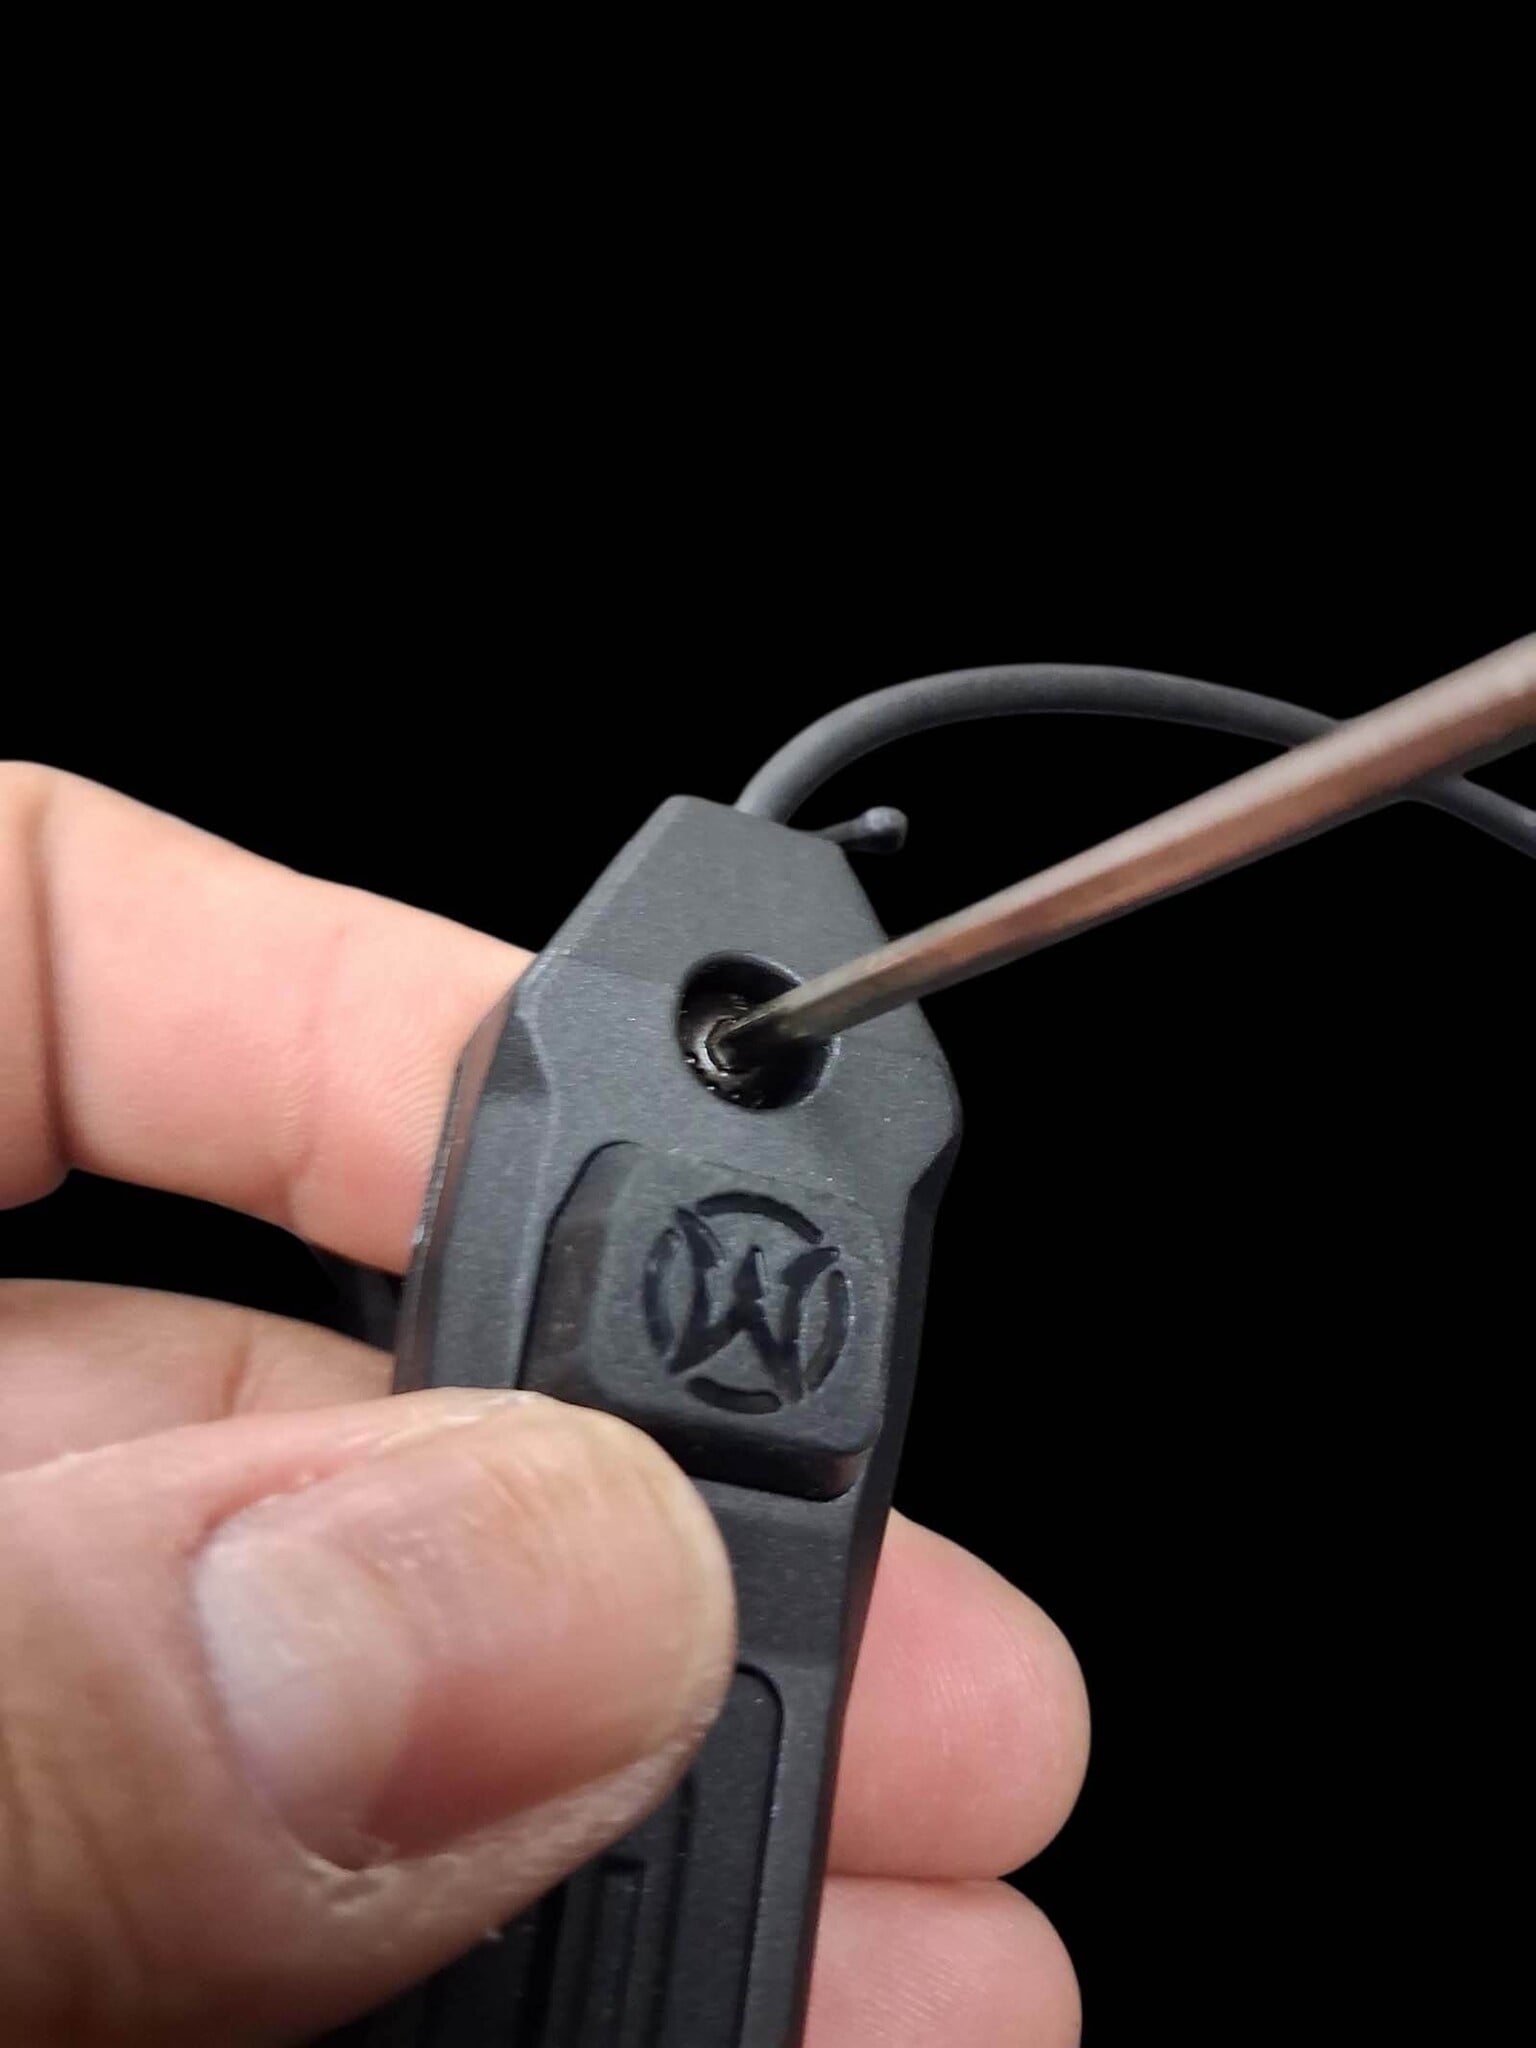
- Loosen the two side bolts on the pressure pad.
- Be careful not to lose the nuts located on the opposite side of the bolts.
- Once loosened, place the pressure pad onto the Picatinny rail.
- Tighten the bolts down evenly to clamp the pressure pad securely into place.
(Pictures 4, 5, 6)
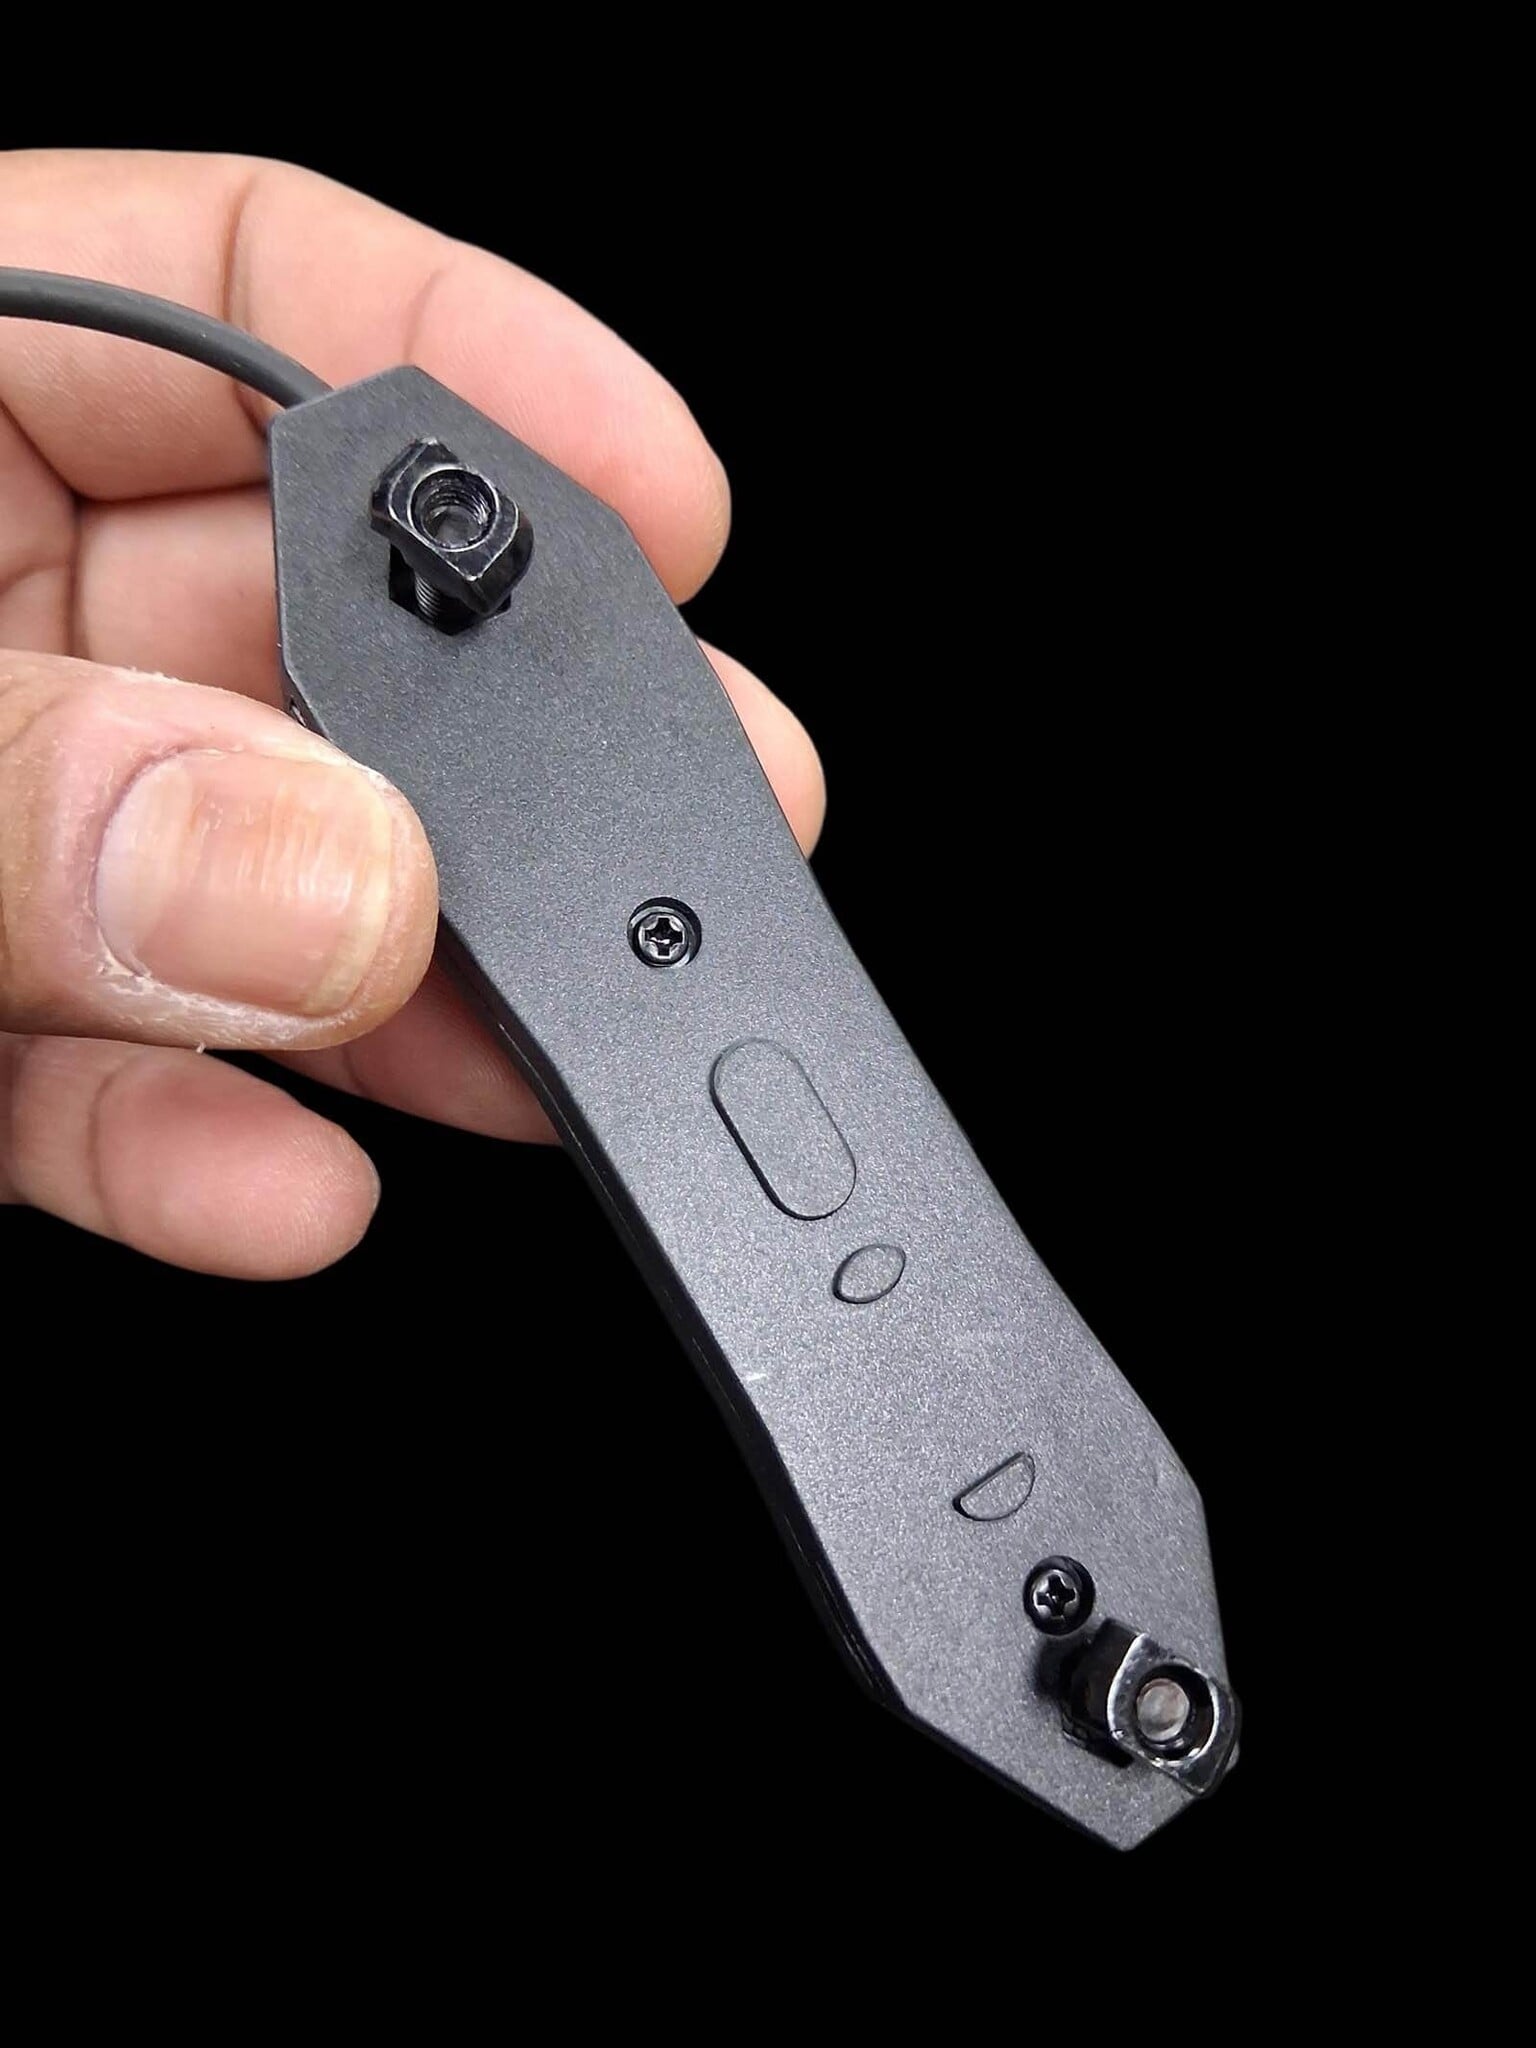
Converting the Pressure Pad for M-LOK
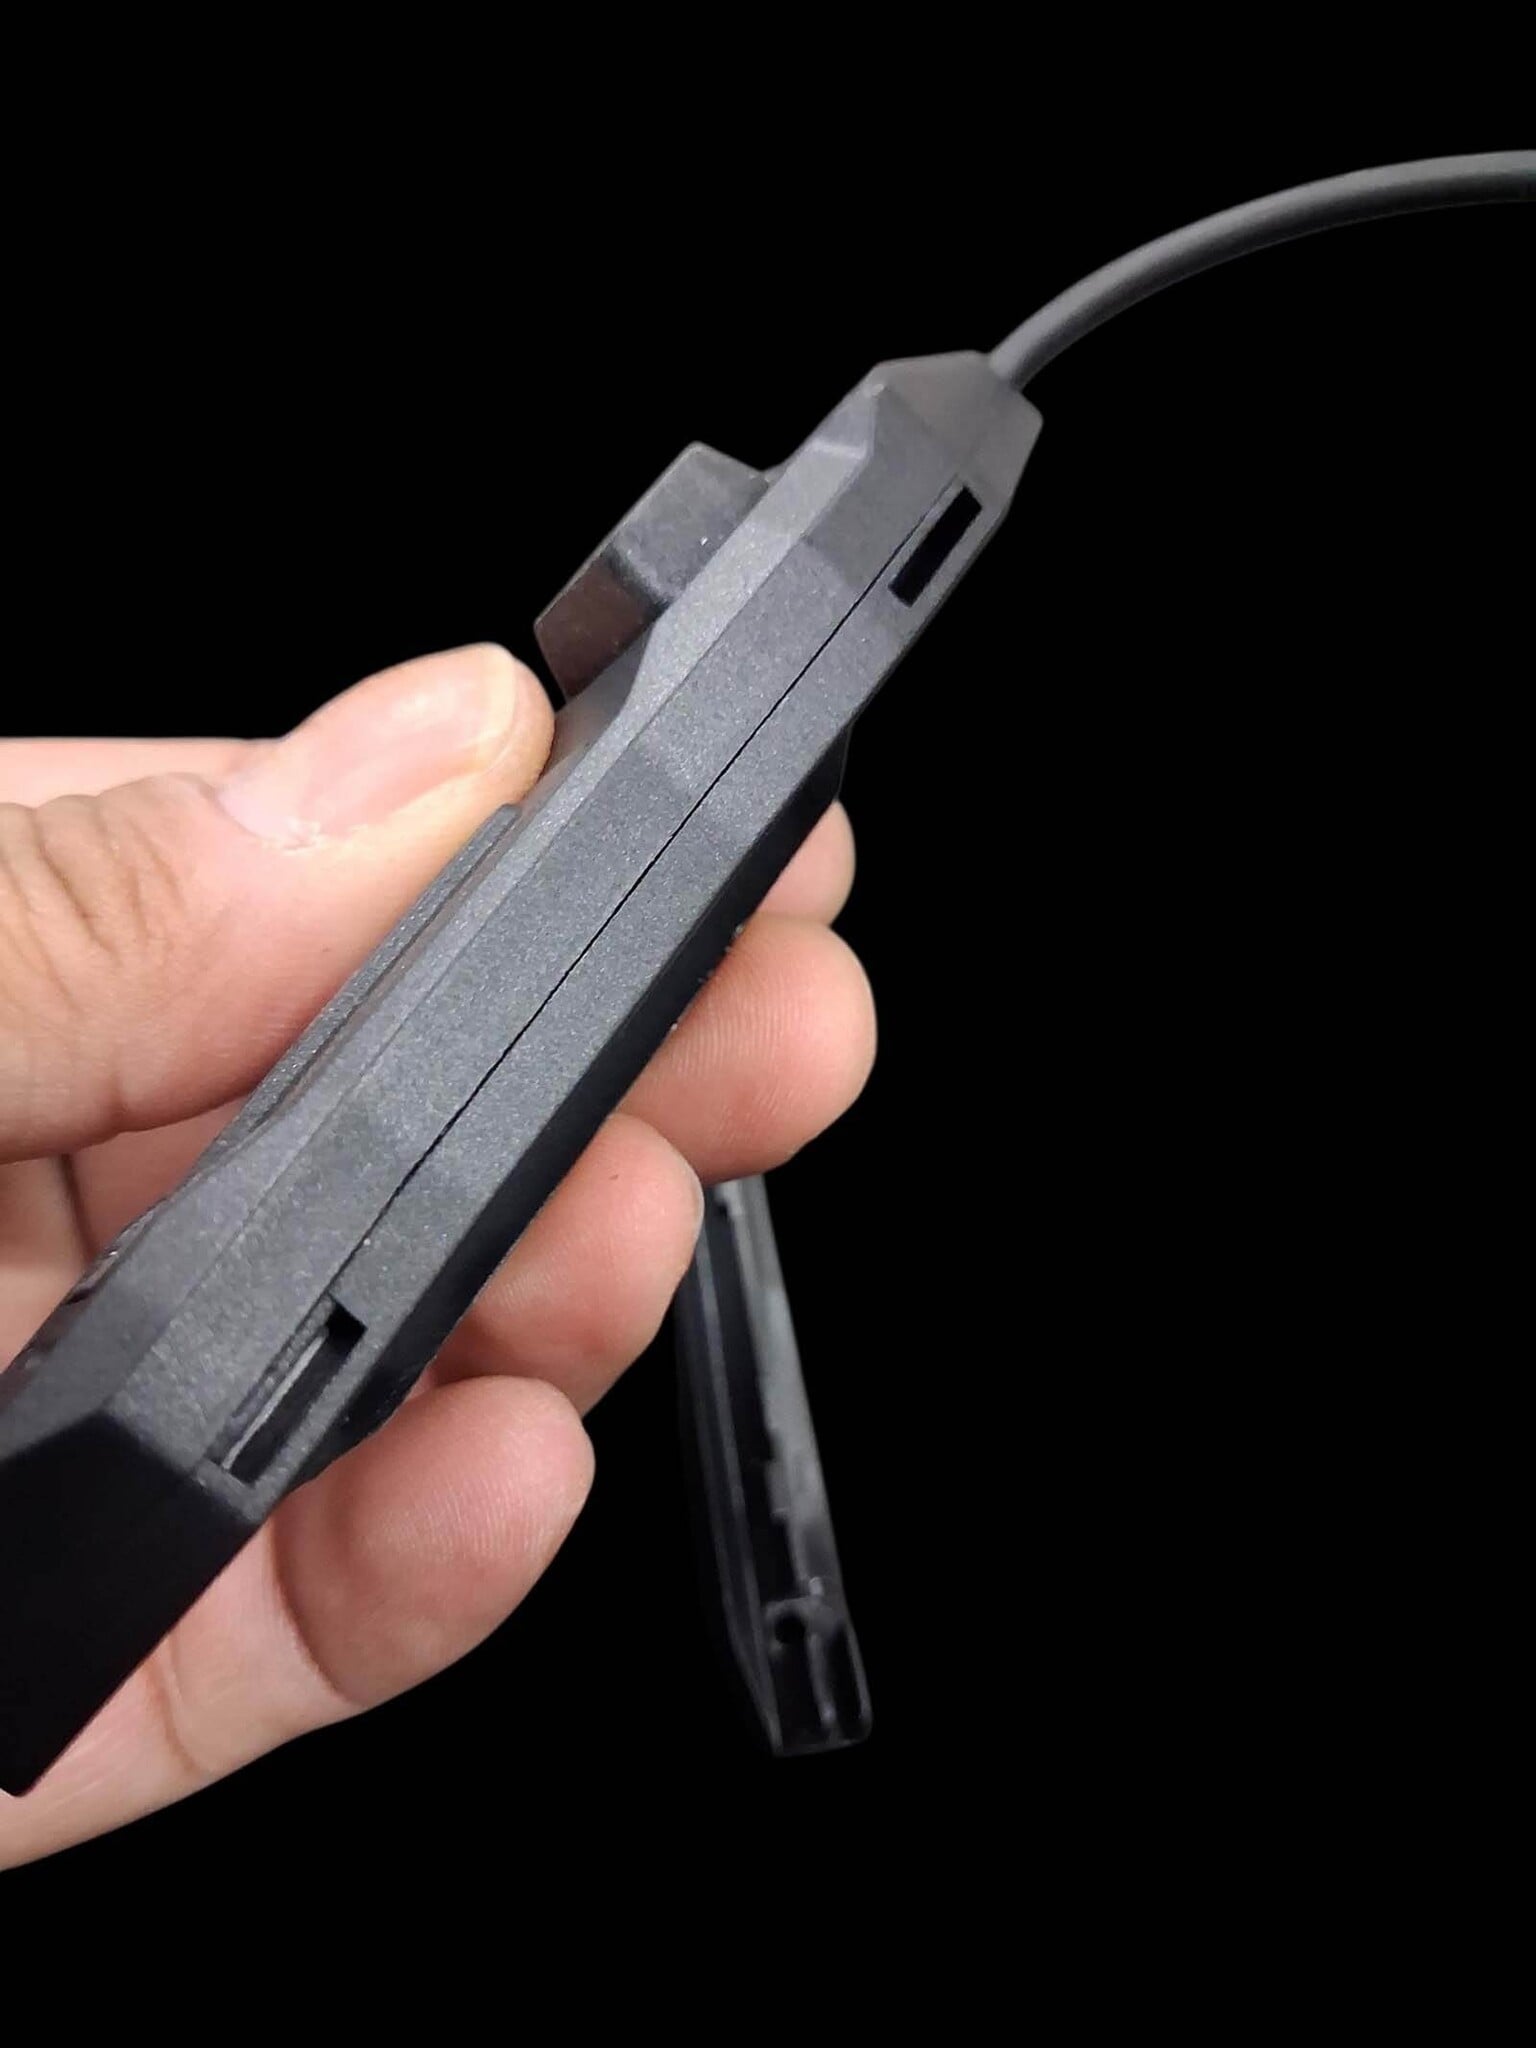
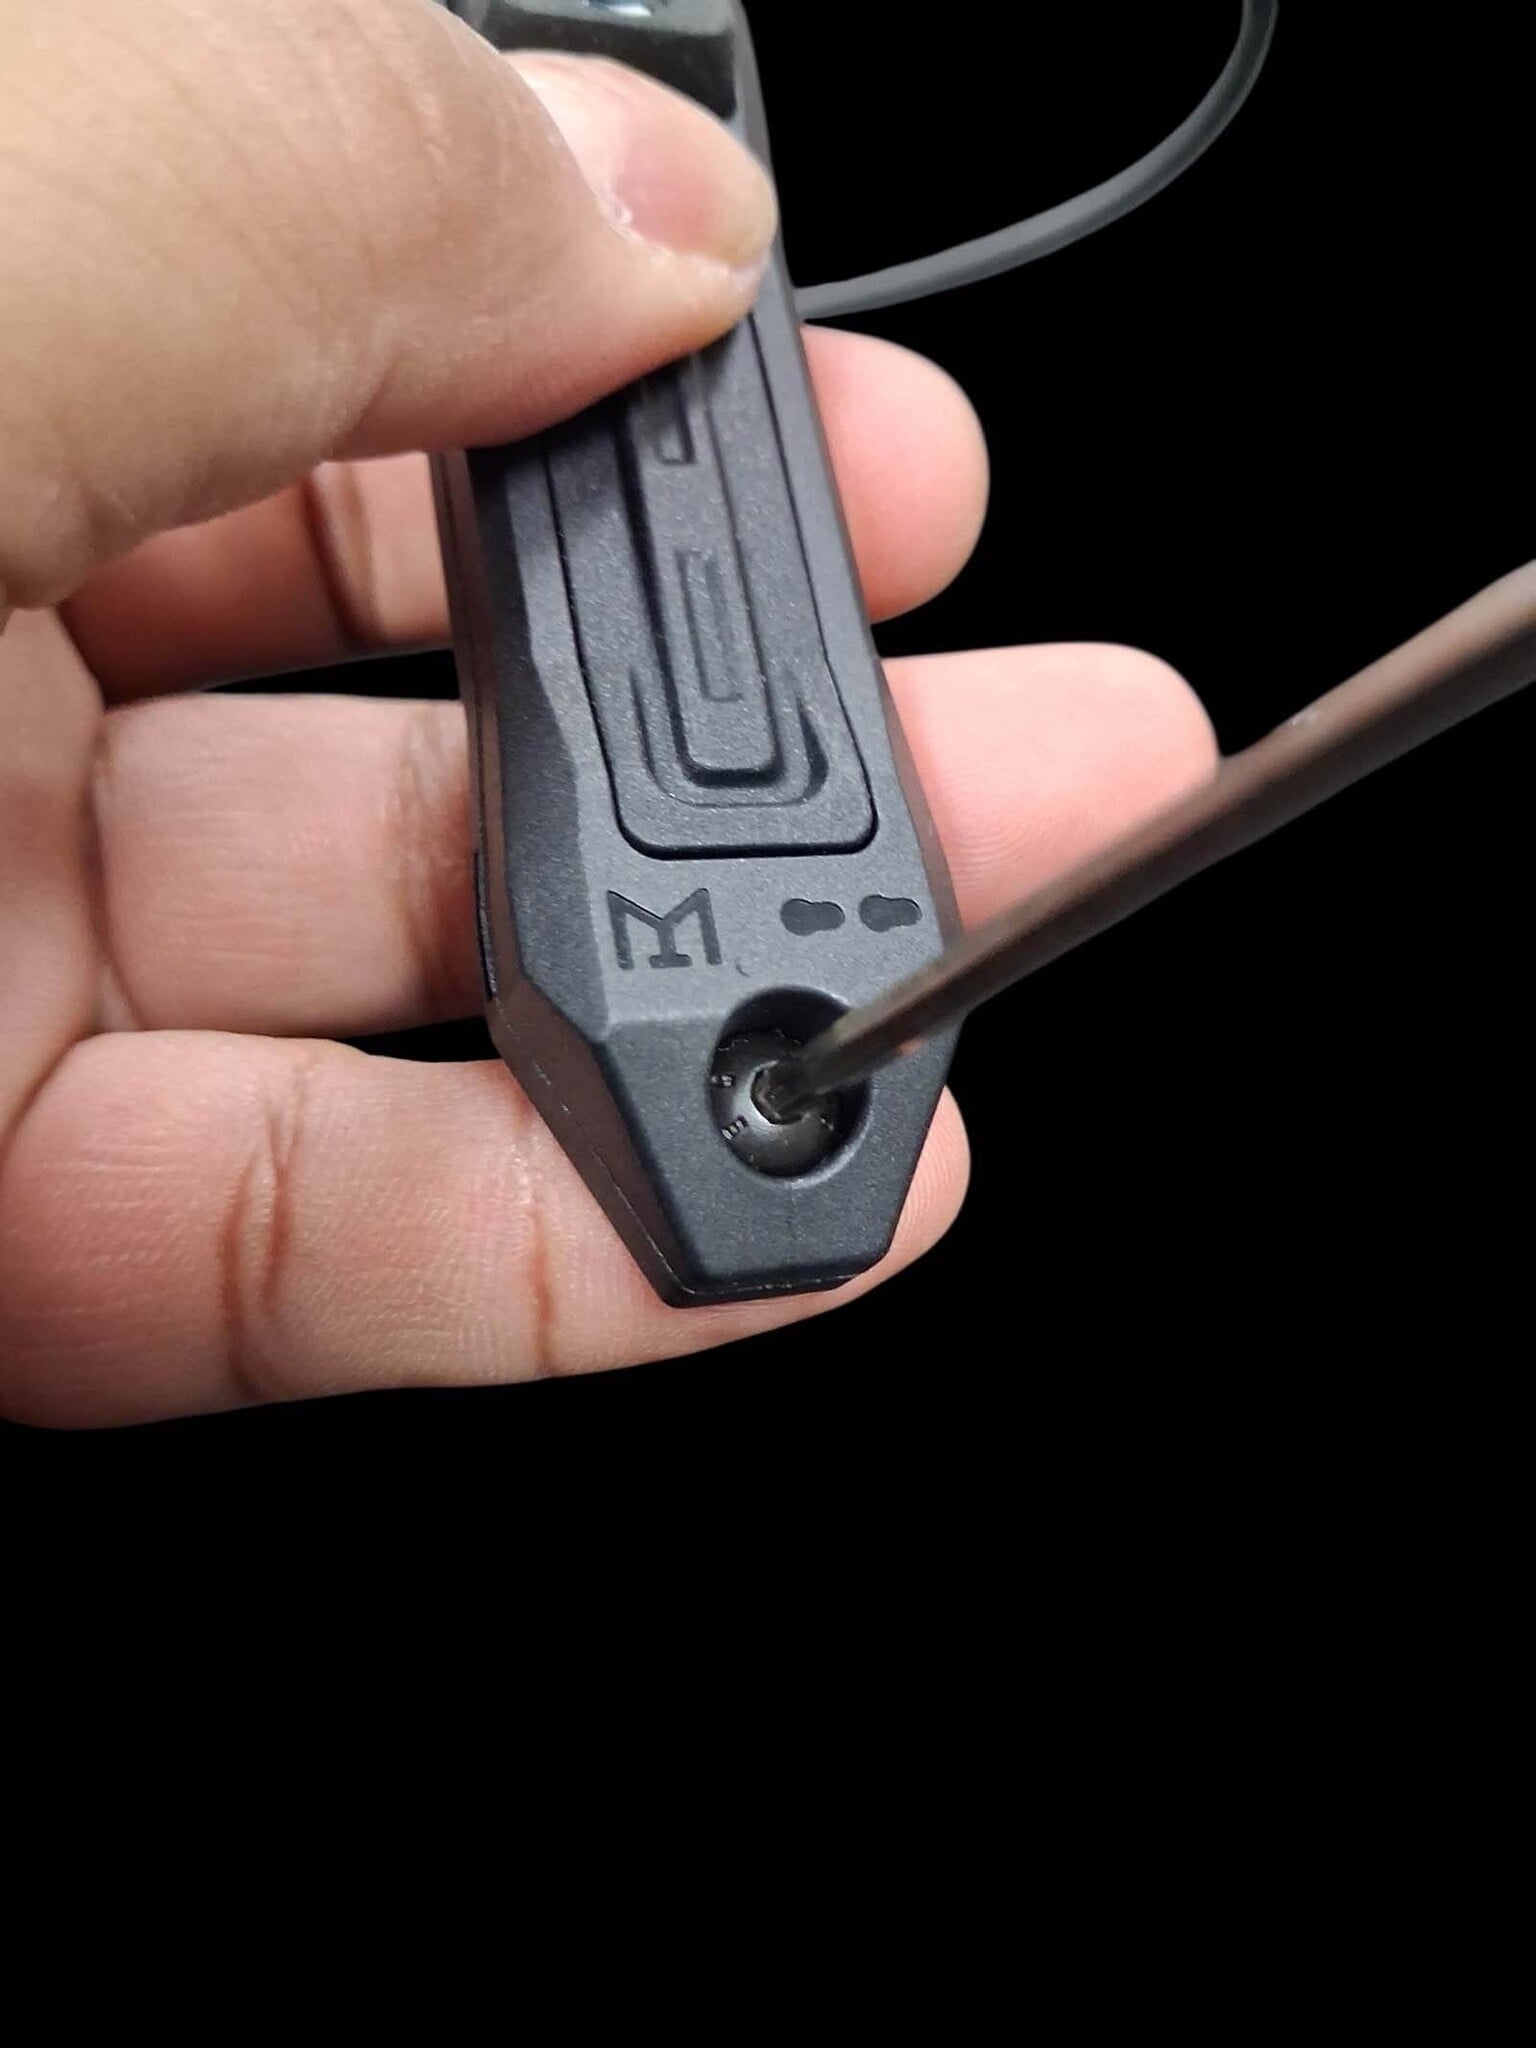
To mount the pressure pad directly onto an M-LOK slot, begin by repeating the disassembly steps shown in Pictures 4 and 5.
Next, remove the rail attachment sections from both sides of the pressure pad. (Pictures 7, 8)
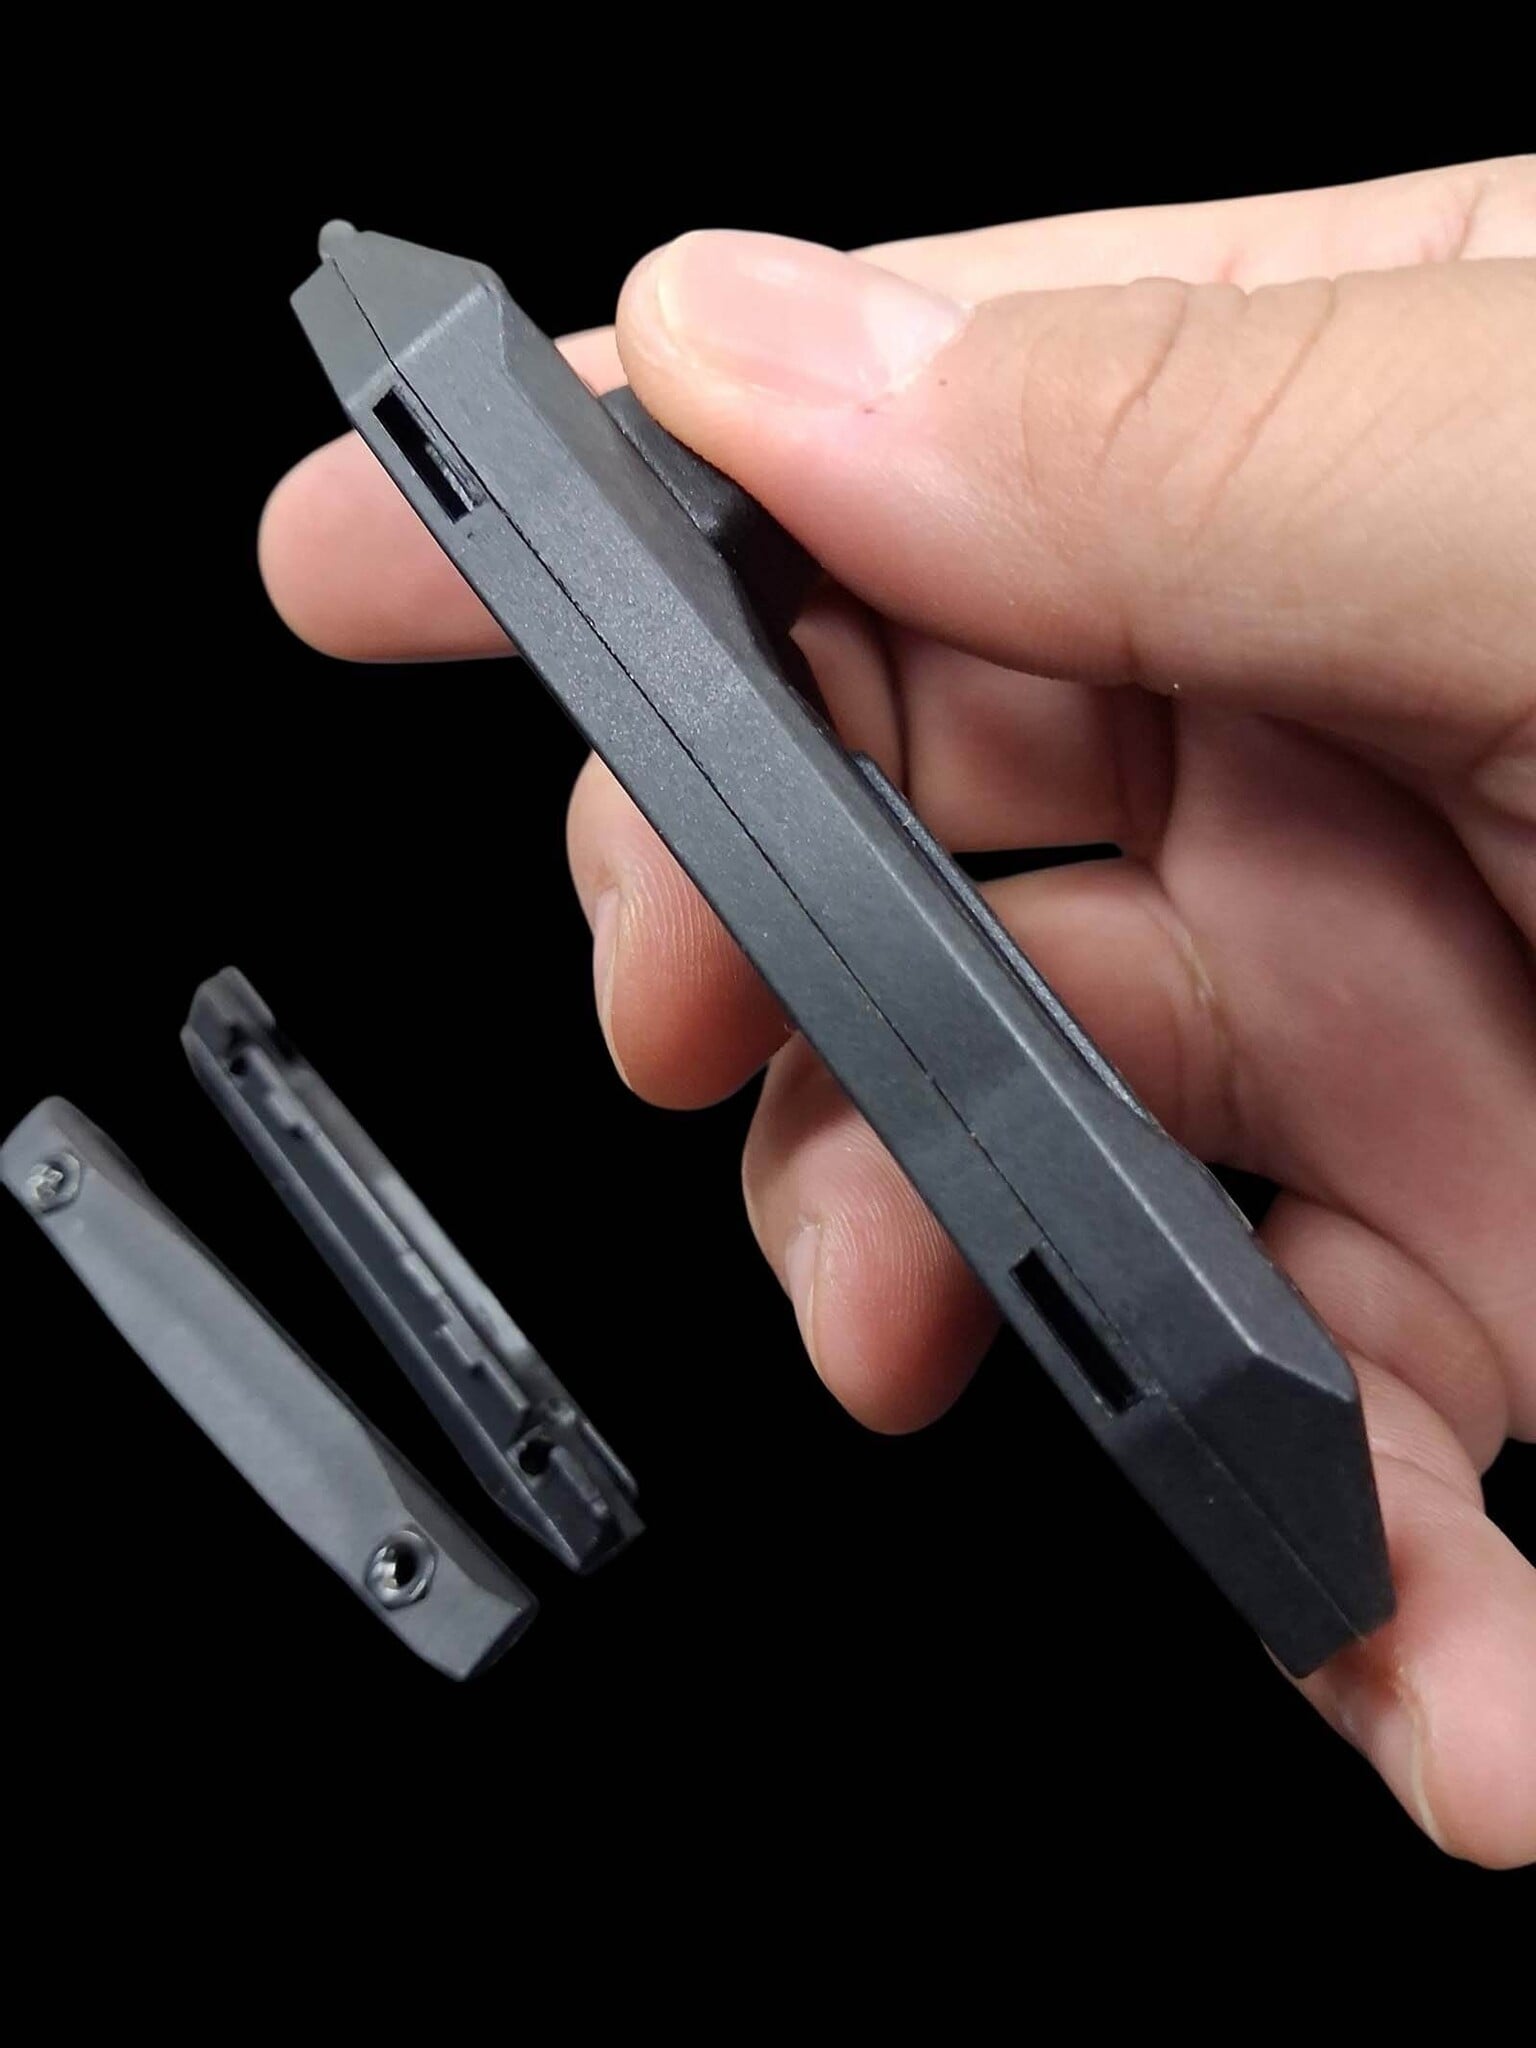
Using the included Allen wrench:
- Remove the bolts from the top and bottom of the pressure pad
- Remove the nuts from underneath the pressure pad body
(Pictures 9, 10, 11)
NOTE: Keep all original hardware in a safe place in case you decide to switch back to Picatinny mounting later.
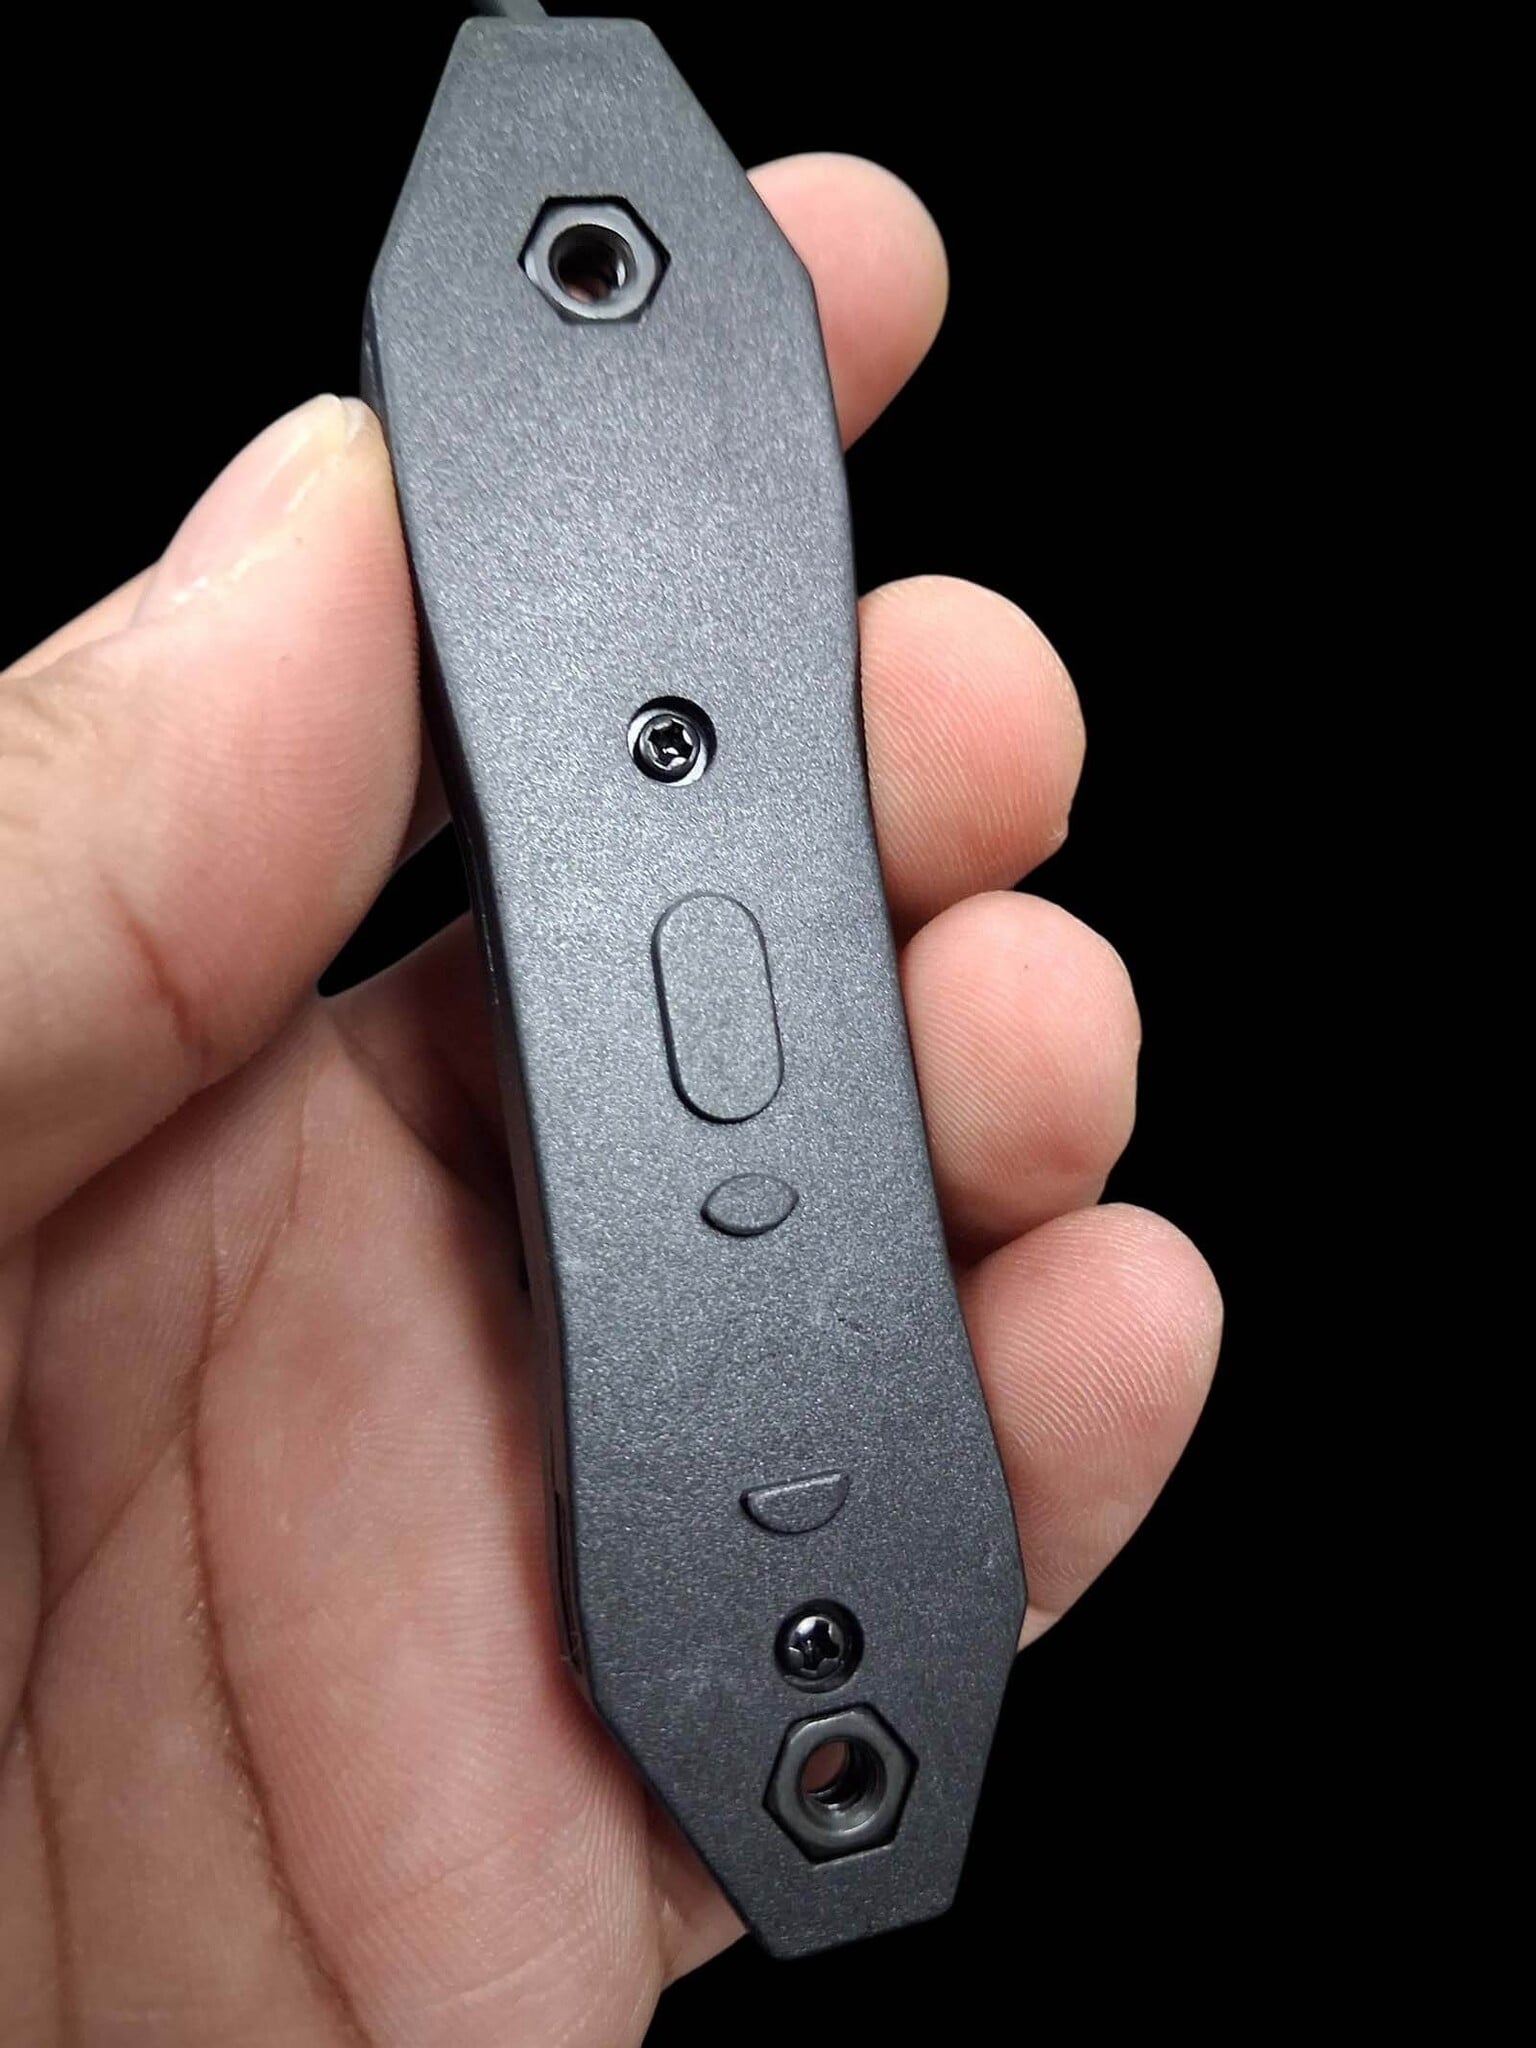
Installing the M-LOK Hardware
Now grab the longer bolts and M-LOK nuts that were included in the kit. (Picture 12)
Install the longer bolts through the top of the pressure pad and attach the M-LOK nuts underneath. (Pictures 13, 14)
Once everything is prepped, place the pressure pad in your desired position and tighten everything down securely. (Picture 15)
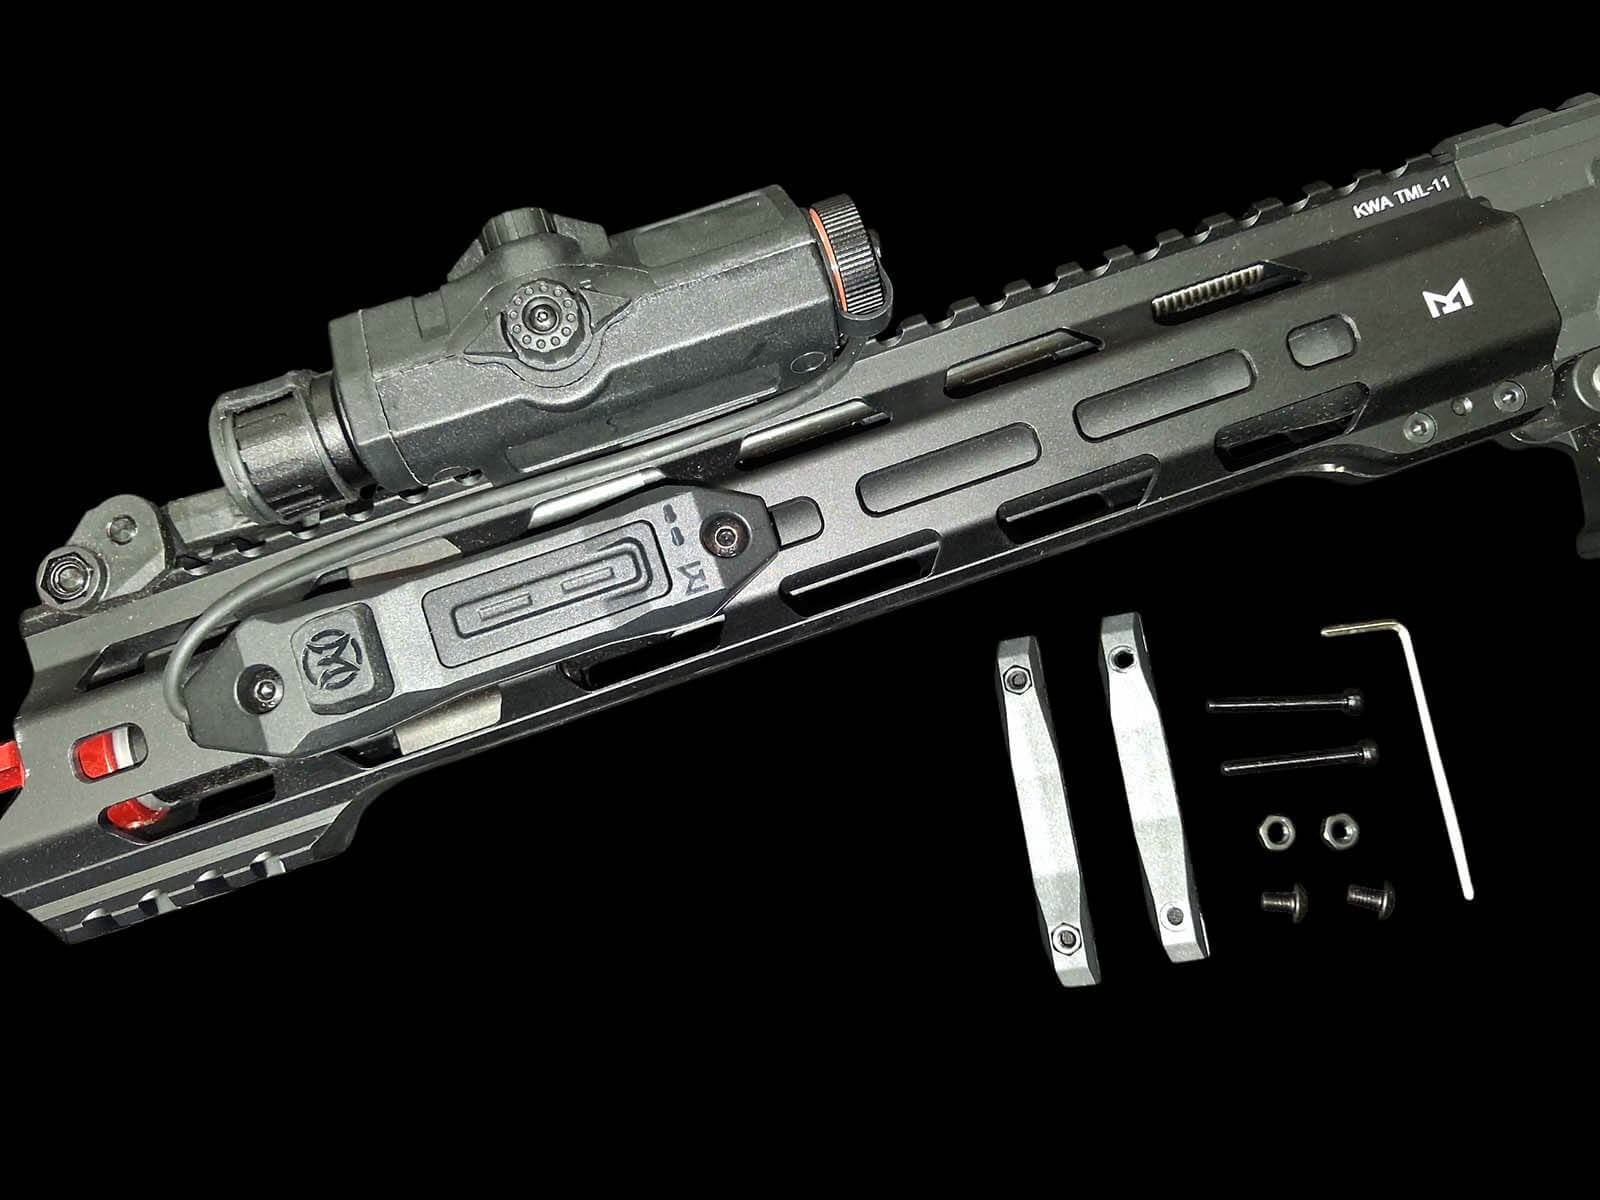
NOTE: Hand-tight is perfectly fine. There’s no need to overtighten the bolts, as excessive pressure could crack or damage the pressure pad housing.
Final Thoughts
That concludes another episode of Airsoft Extreme’s Tips & Tricks! We hope you found this guide useful and that it helps you clean up and improve your rifle setup.
Thanks again for joining us, and we hope everyone has a great rest of the week. We look forward to seeing you again in another Airsoft Extreme blog!


