
How to Install a Unicorn MWS Nozzle Power Valve
- Posted on
- By AEX News
Learn how to install a Unicorn nozzle power valve in an MWS gas blowback rifle. This AEX Tech Tip covers BCG and nozzle disassembly, valve replacement, and reassembly using the Unicorn Super Low blue valve as the example.
How to Install a Unicorn MWS Nozzle Power Valve
Welcome back to another Airsoft Extreme Tech Tip. This guide walks through installing a Unicorn nozzle power valve in an MWS gas blowback rifle (GBBR) nozzle assembly.
Why Replace the MWS Nozzle Power Valve?
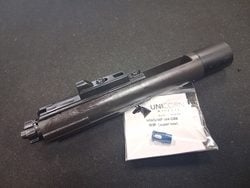
An MWS gas blowback rifle can sometimes shoot above or below the velocity you need for your field or setup. Replacing the nozzle power valve gives you another way to tune the rifle's FPS. In this AEX Tech Tip, we're installing a Unicorn Super Low nozzle power valve (Blue) because the test rifle is shooting too hot.
A replacement valve may be useful when your MWS is shooting too high for your field and you need to lower FPS, or when it is shooting too low and your setup requires a different valve.
Tools You'll Need
- Phillips screwdriver
- Flat-head screwdriver
Important: Disassembly of the bolt carrier group (BCG) will void applicable store or manufacturer warranty coverage. Proceed only if you are comfortable performing this work.
Step 1: Remove the Nozzle From the BCG
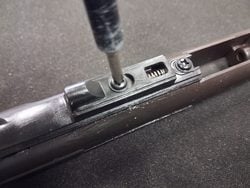
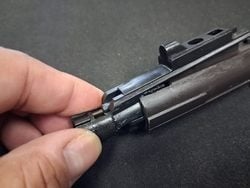
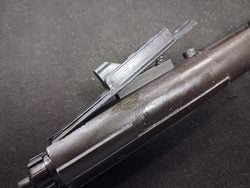
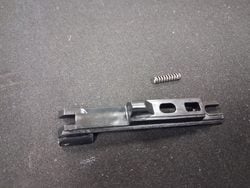
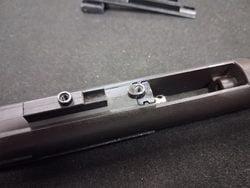
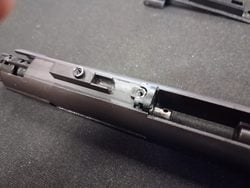
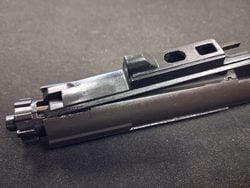
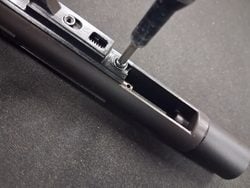
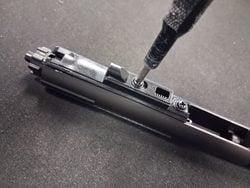
Use a Phillips screwdriver to remove the two top screws from the bolt carrier group. Remove the fake gas key, then remove the nozzle spring retention lock. Once the retention lock is out, remove the nozzle along with the fake gas key and spring.
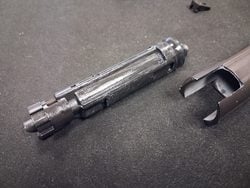
Step 2: Disassemble the MWS Nozzle
With the nozzle removed from the BCG body, use a Phillips screwdriver to remove the screw from the side of the nozzle.
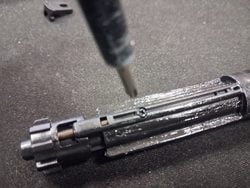
If the nozzle spring set does not come out easily, you may need to remove the piston head first.
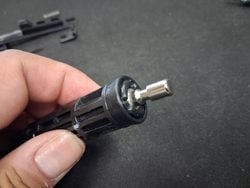
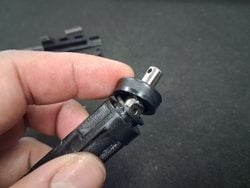
With the piston head removed, remove the nozzle spring set.
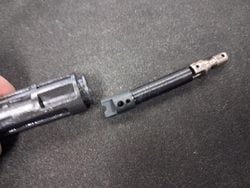
Tip the nozzle with the piston-head side facing down. The stock nozzle power valve and valve spring should slide out.
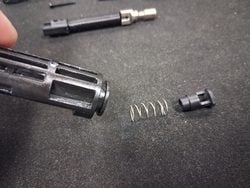
Step 3: Install the Unicorn Super Low Nozzle Power Valve
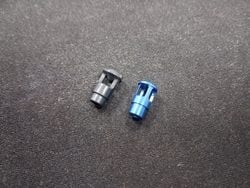
For this installation, we're replacing the stock valve with the Unicorn Super Low nozzle power valve (Blue) because the rifle is shooting too hot. As shown below, the openings in the replacement valve are smaller. In this setup, the reduced opening is used to restrict airflow and lower FPS.
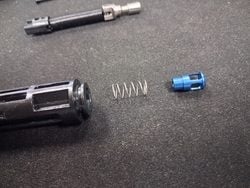
Stack the nozzle valve and valve spring as shown, then insert them back into the nozzle.
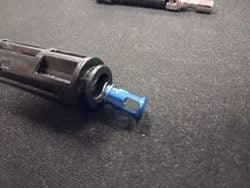
Step 4: Reinstall the Nozzle Spring Set and Piston Head
Slide the nozzle spring set back into place. Pay close attention to its orientation so the retention screw can pass through correctly and lock the assembly in place.
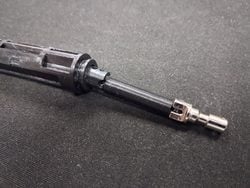
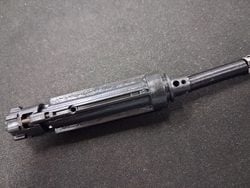
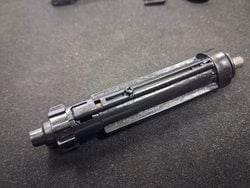
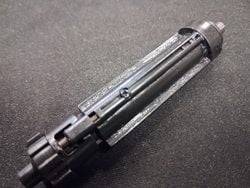
Reinstall the piston head once the nozzle spring set is secured.
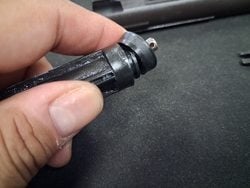
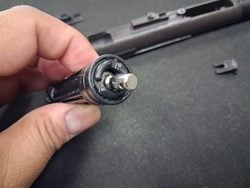
Step 5: Reinstall the Nozzle in the Bolt Carrier Group
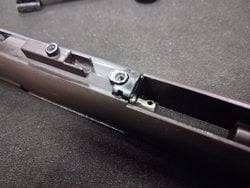
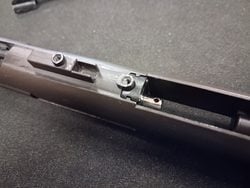
Insert the assembled nozzle back into the BCG body. Make sure the end of the nozzle spring set extends out as shown.
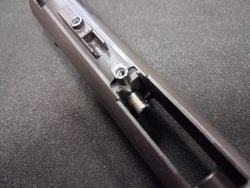
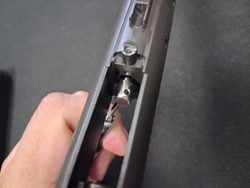
Insert a screwdriver into the opening and pull back on the assembly. This makes it easier to reinstall the nozzle spring retention lock.
Step 6: Reassemble the MWS BCG
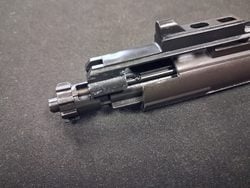
With the nozzle locked into place, reinstall the fake gas key and spring, then complete the bolt carrier group reassembly.
Installation Complete
The completed BCG can now be reinstalled in your MWS GBBR.
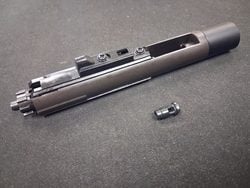
We hope this Airsoft Extreme Tech Tip helps you fine-tune your MWS gas blowback rifle and gives you a clearer look at the nozzle power valve installation process. If you are not comfortable performing this work yourself, contact an Airsoft Extreme location for assistance.


