
MWS Tech Guide: Installing the Unicorn 120% Nozzle Spring Set
- Posted on
- By AEX News
Having feeding or nozzle return issues with your MWS GBBR? This Airsoft Extreme tutorial walks through installing the Unicorn MWS Nozzle 120% Spring Set and explains how upgraded springs can help replace worn components and improve nozzle return.
How to Install the Unicorn MWS 120% Nozzle Spring Set
Hello again, airsoft enthusiasts!
Today, we're talking to all of our MWS fans—whether you're a tried-and-true Tokyo Marui diehard or running one of the newer MWS-style platforms from Guns Modify, Toxicant, or Classic Army.
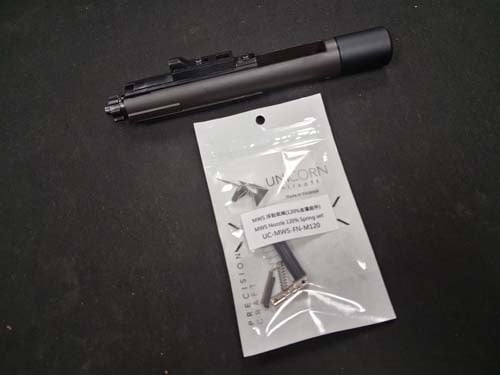
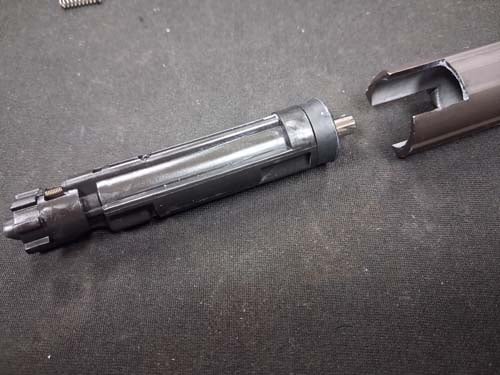
In this tutorial, we'll show you how to install the Unicorn MWS Nozzle 120% Spring Set into your GBBR bolt carrier group (BCG). (See Picture 1)
Tools You'll Need
This installation only requires two basic tools:
- Phillips screwdriver
- Small flat-head screwdriver
IMPORTANT: Disassembling your bolt carrier group will void any applicable Airsoft Extreme store or manufacturer warranty. Proceed only if you're comfortable working on your GBBR internals.
Step 1: Remove the Gas Key Screws
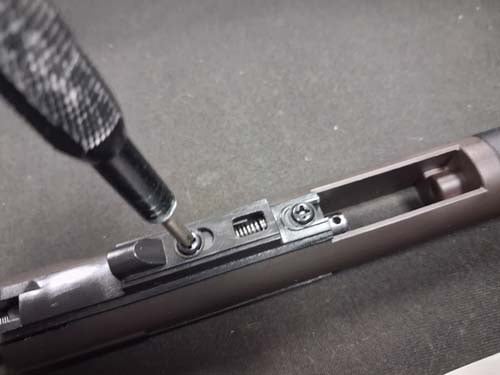
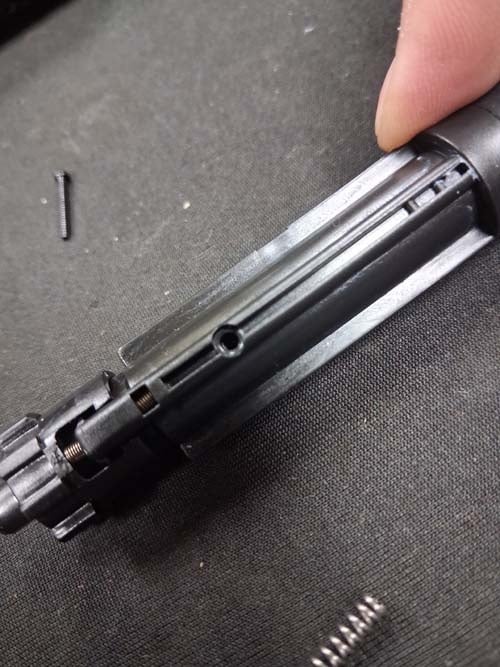
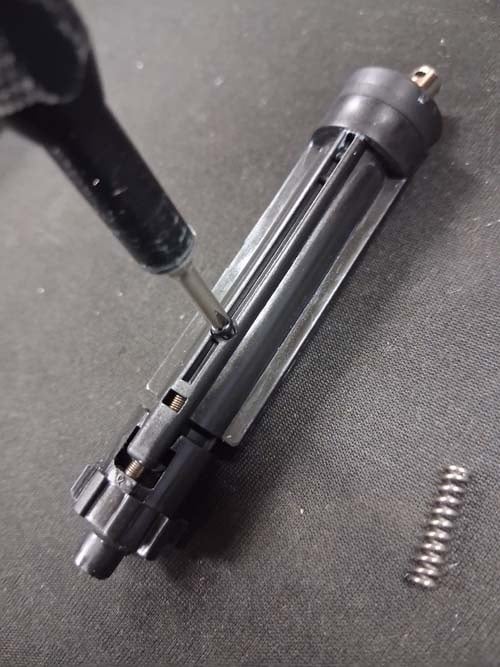
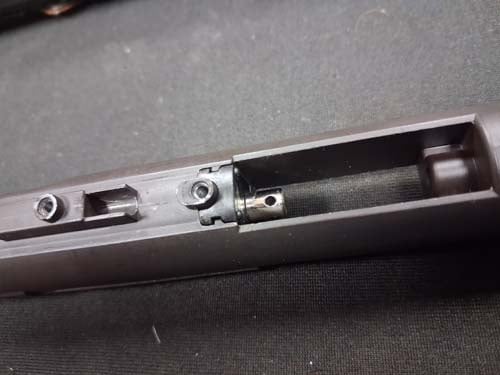
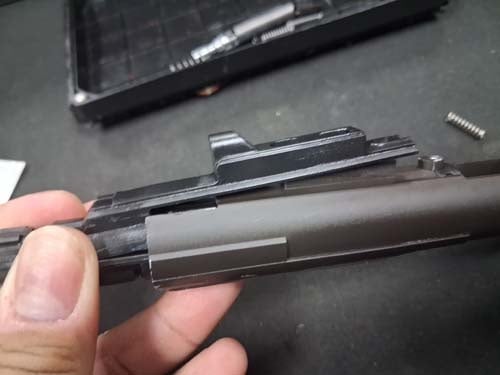
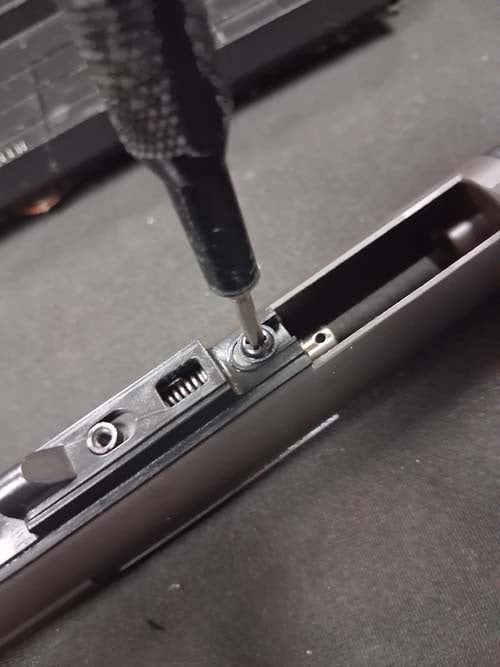
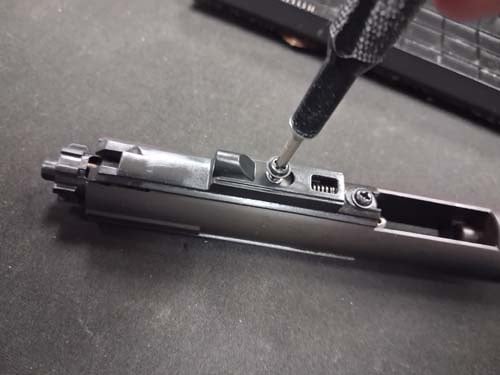
To get started, use your Phillips screwdriver to remove the two screws from the top of the BCG. (See Picture 2 & Picture 3)
Step 2: Remove the Nozzle Assembly
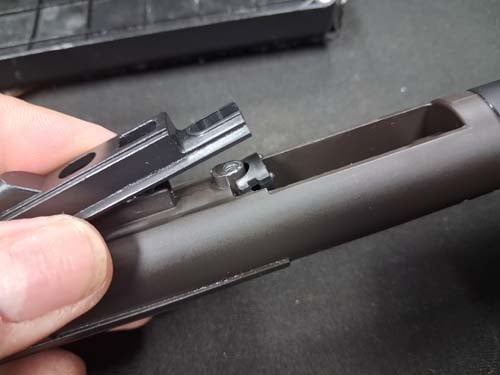
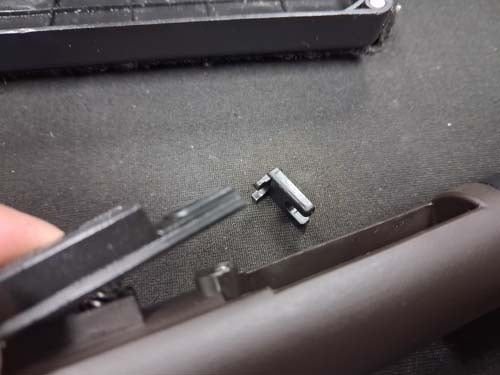
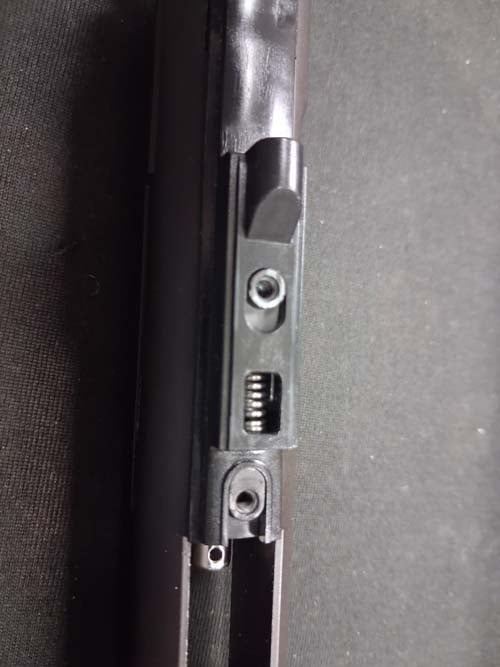
With the screws removed, carefully lift the faux gas key and remove the nozzle spring retention lock.
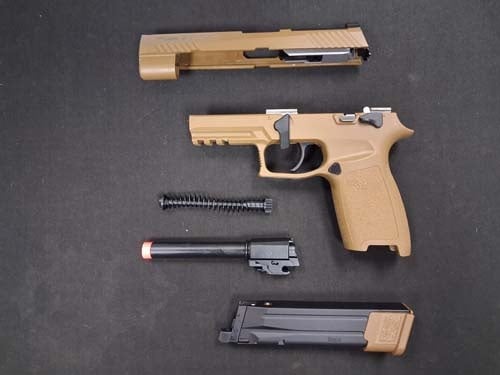
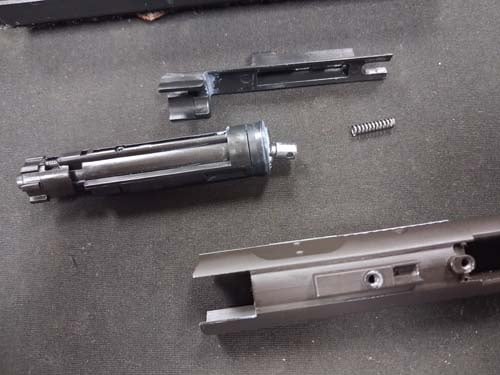
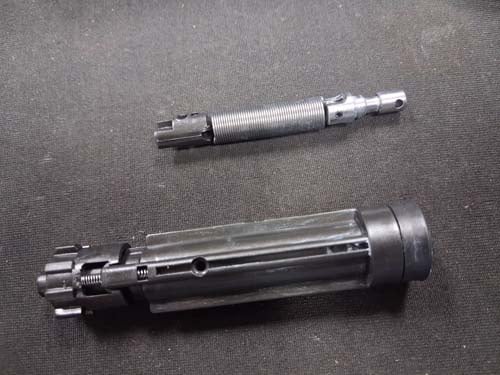
Once the retention lock is out, you'll be able to remove the nozzle assembly along with the faux gas key and spring. (See Picture 4, Picture 5 & Picture 6)
Step 3: Disassemble the Nozzle
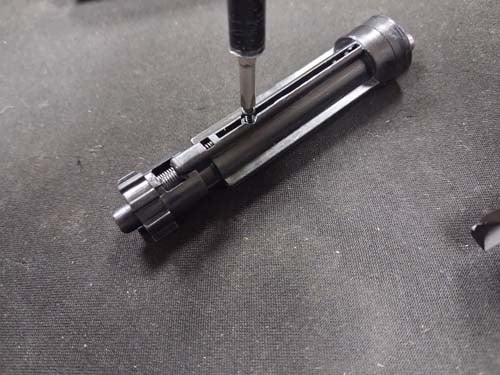
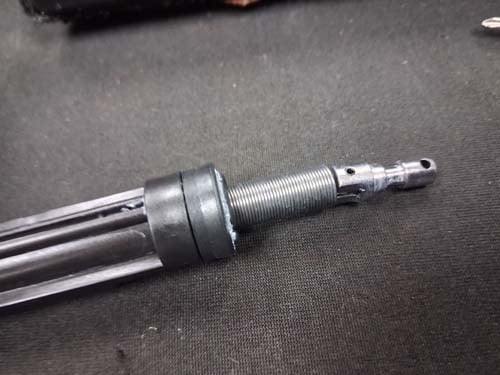
With the nozzle removed from the BCG body, use your Phillips screwdriver to remove the screw located on the side of the nozzle.
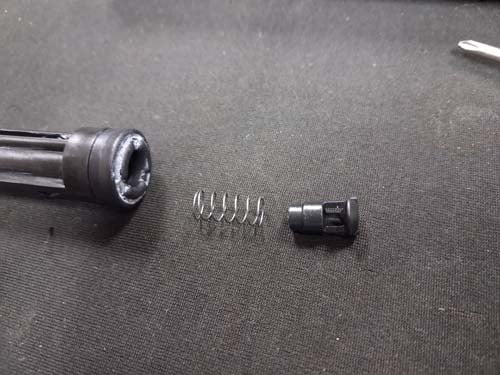
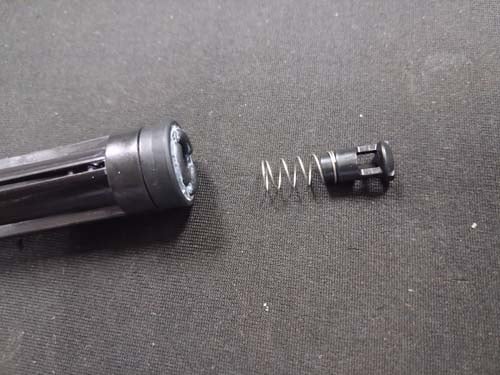
Once the screw is removed, you can remove the internal nozzle spring, valve, and valve spring. (See Picture 7, Picture 8, Picture 9 & Picture 10)
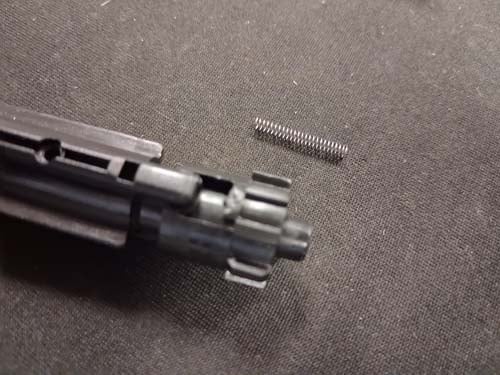
Step 4: Remove the Upper Nozzle Spring
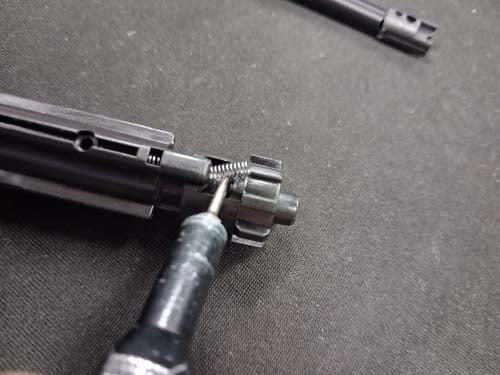
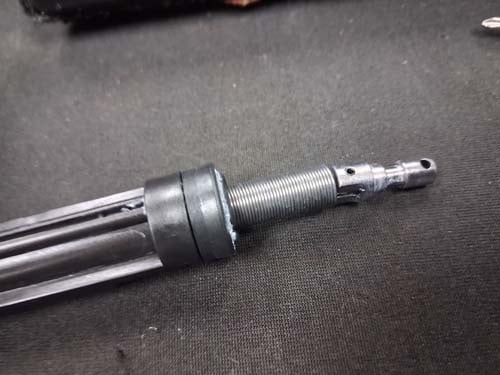
Next, move to the upper nozzle spring. Use a small flat-head screwdriver to carefully lift and pry the spring upward so it can be removed. (See Picture 11 & Picture 12)
Step 5: Compare the Stock and Unicorn Components
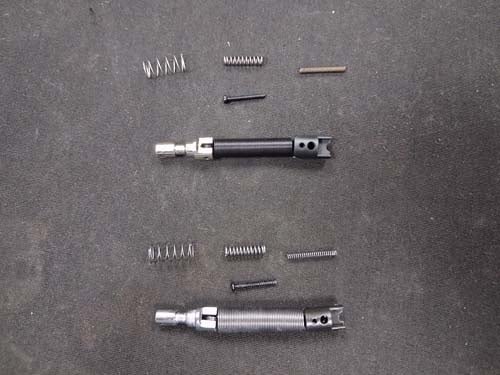
With everything disassembled, you can compare the original components with the upgraded Unicorn parts.
In Picture 13, the stock components are shown on the bottom and the Unicorn components are shown on top. (See Picture 13)
Step 6: Install the Unicorn 120% Spring Set
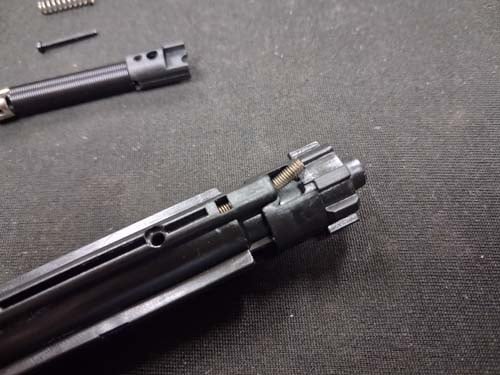
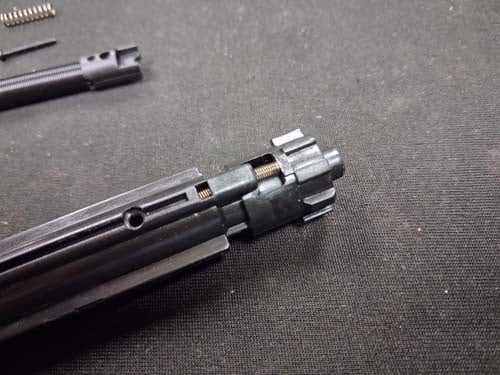
Installation is essentially the reverse of the disassembly process.
Install the Unicorn components into the nozzle, reassemble the nozzle assembly, and reinstall everything into the bolt carrier group. Take your time and make sure each component is properly seated before tightening the screws. (See Picture 14 through Picture 25)
Why Upgrade Your MWS Nozzle Springs?
So, why would you need to replace your nozzle spring set in the first place?
The most straightforward reason is to replace a broken or worn component. One common sign of a problem is a nozzle that doesn't properly retract back into the bolt carrier group.
An upgraded nozzle spring set may also be useful when troubleshooting issues such as double feeding or sluggish nozzle return.
If the nozzle remains seated in the hop-up chamber for too long, a heavier spring can provide a stronger return force, helping the nozzle snap back into the BCG more quickly. This can be especially useful when the GBBR is operating under lower green gas pressure.
Final Thoughts
The Unicorn MWS 120% Nozzle Spring Set is a relatively simple internal upgrade that can be useful when replacing worn components or fine-tuning the cycling and feeding of your MWS GBBR.
We hope this short tutorial helps you keep your MWS running properly and gets you back out on the field.
Play safe, play hard, and we look forward to having you join us again for another Airsoft Extreme tech guide!


