
Upgrade Your SIG M17: Installing Pro-Arms Barrel, RMR Mount, Compensator & Recoil Spring
- Posted on
- By AEX News
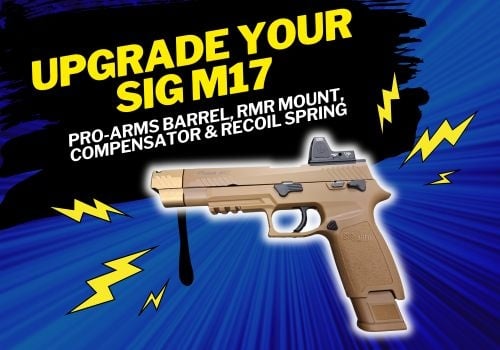
Ready to upgrade your SIG Sauer ProForce P320 M17? This Airsoft Extreme tutorial walks through installing four Pro-Arms upgrades: a 14mm CCW threaded barrel, RMR mount plate, compensator, and 130% recoil spring guide.
SIG Sauer ProForce P320 M17 Pro-Arms Upgrade Guide
Here at Airsoft Extreme, we do our best to bring in new and interesting parts and accessories that allow you to upgrade, accessorize, and personalize your airsoft replicas.
In today's blog, we'll be upgrading a SIG Sauer ProForce P320 M17 with several parts from Pro-Arms. (See Picture 1)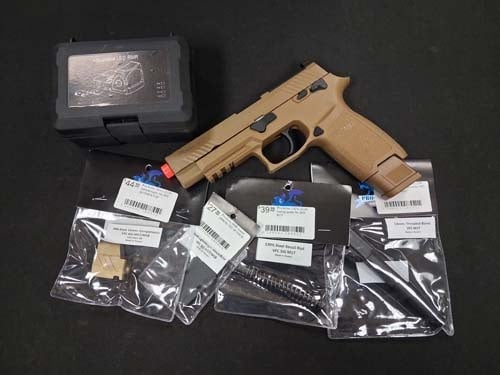
Parts We're Installing
- Pro-Arms 14mm CCW Threaded Barrel for SIG M17 – Black
- Pro-Arms 14mm CCW Compensator for SIG M17/M18 – FDE
- Pro-Arms RMR Mount Plate for SIG M17/M18
- Pro-Arms 130% Recoil Spring Guide for SIG M17
Tools You'll Need
Before getting started, make sure you have the following tools ready: (See Picture 2)
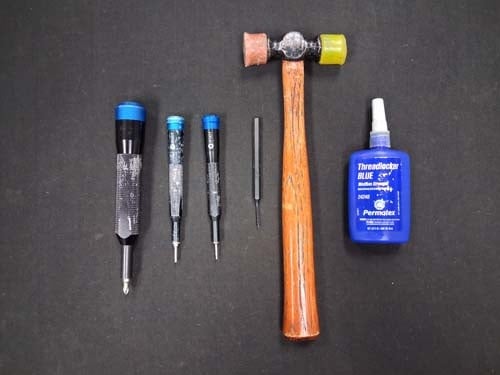
- Phillips screwdriver
- 2mm Allen driver
- 1.5mm Allen driver
- Metal punch
- Mallet
- Thread locker
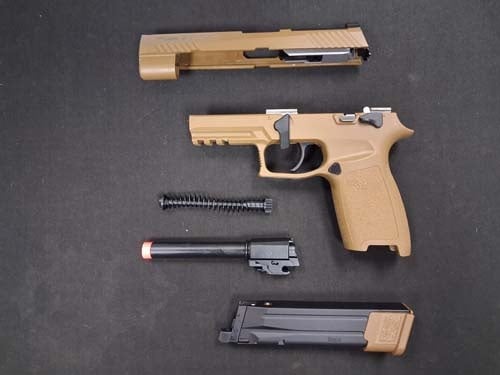
Once you've got your tools together, disassemble your M17 and get everything ready for installation. (See Picture 3)
Step 1: Install the Pro-Arms 14mm CCW Threaded Barrel
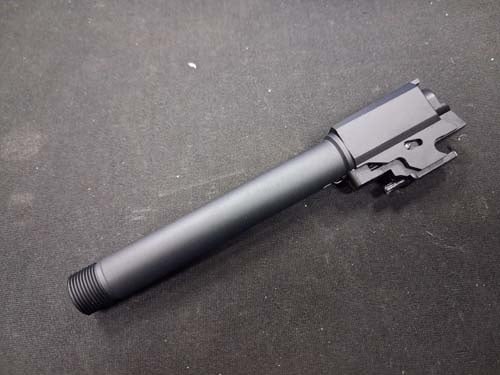
We'll start by replacing the stock outer barrel with the Pro-Arms 14mm CCW Threaded Barrel for SIG M17. (See Picture 4)
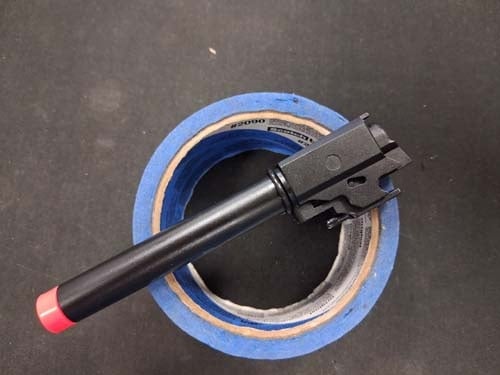
First, move the rubber O-ring forward and unhook the barrel return spring. (See Picture 5)
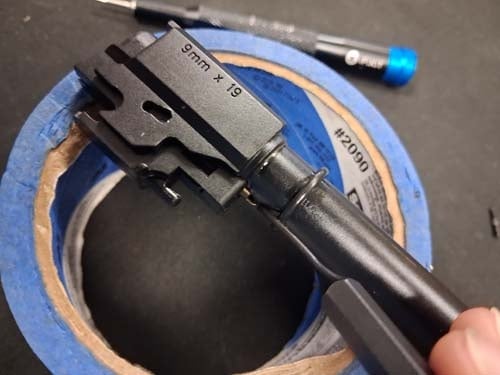
Next, use your metal punch and mallet to carefully remove the pin that holds the outer barrel and hop-up unit together. (See Picture 6)
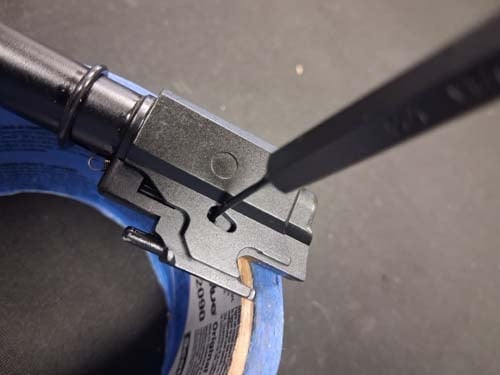
TECH TIP: We use a roll of painter's tape to raise the hop-up and outer barrel assembly off the work surface. This gives the pin somewhere to go and makes it easier to knock out without resting the assembly directly against the table.
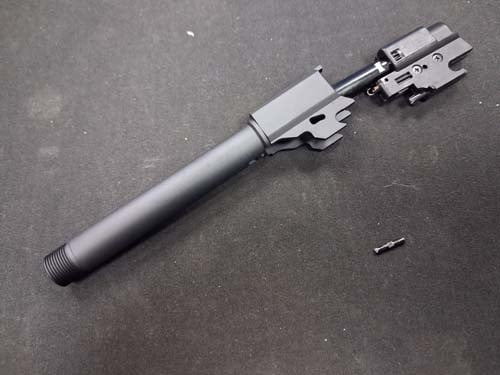
Once the pin is removed, swap the stock outer barrel for the Pro-Arms threaded barrel. Reinstall the pin and reconnect the barrel return spring. (See Picture 7, Picture 8 & Picture 9)
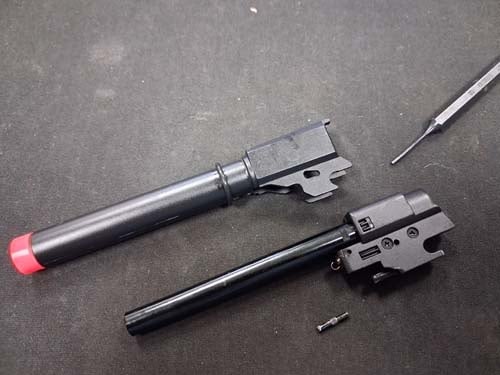
Step 2: Install the Pro-Arms RMR Mount Plate
With the barrel taken care of, let's move on to the Pro-Arms RMR Mount Plate.
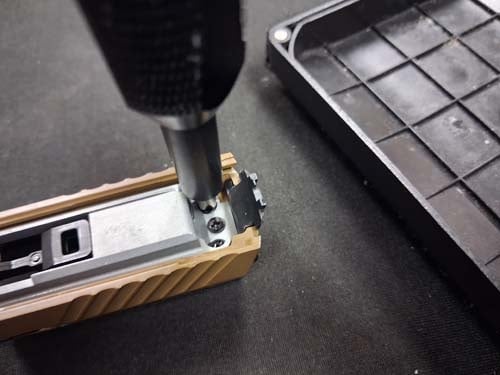
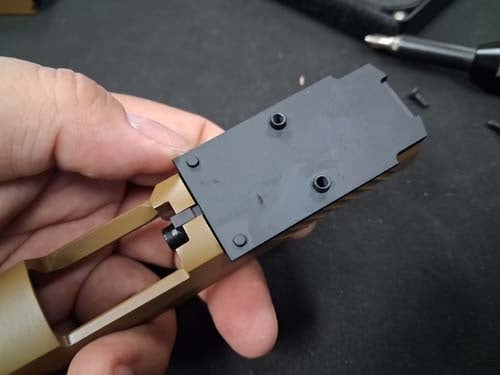
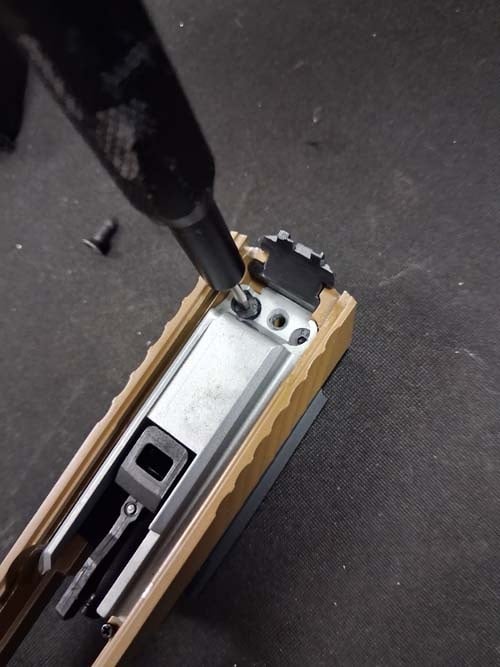
Using your Phillips screwdriver, remove the three screws securing the rear sight and blowback unit to the slide. (See Picture 10, Picture 11 & Picture 12)
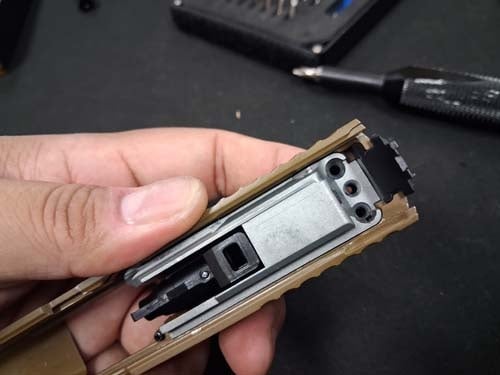
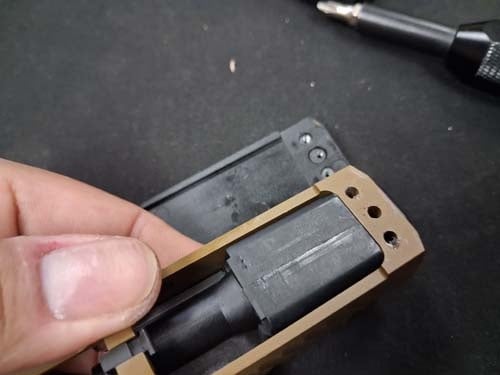
Once the screws are removed, take off the rear sight and top cover. You can now position the Pro-Arms RMR mount plate on the slide.
Using the screws included with the mount plate and your 1.5mm Allen driver, install the screws through the blowback unit and into the Pro-Arms RMR mount plate. (See Picture 13, Picture 14 & Picture 15)
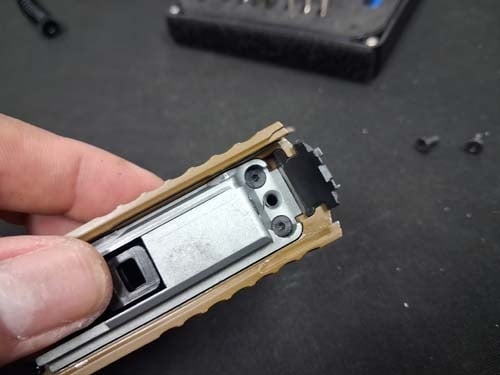
IMPORTANT NOTE: The Pro-Arms RMR mount plate includes only two screws for this step. The center opening will remain unused.
Do not use the stock screw in the center opening. The stock screw is too long and can prevent the RMR plate from seating correctly if tightened into place.
THREAD LOCKER TIP: Before tightening the mounting screws, apply a small amount of thread locker to the threads. Once cured, this can help prevent the screws from backing out due to vibration during use.
Step 3: Install the Red Dot
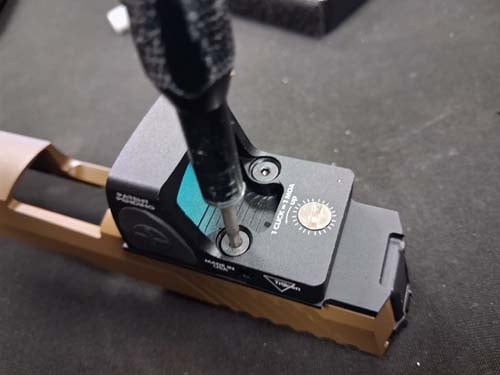
With the RMR plate secured, you can now mount your compatible red dot.
Use the screws provided with the Pro-Arms RMR mount plate and a 2mm Allen driver to secure the optic to the plate. (See Picture 16)
Step 4: Reinstall the Barrel Assembly
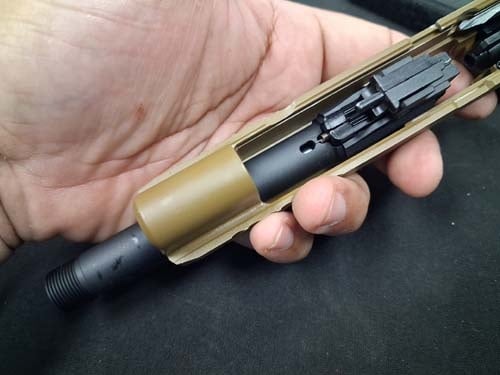
With the upper components assembled, begin putting the pistol back together by reinstalling the barrel and hop-up assembly into the slide. (See Picture 17)
Step 5: Install the Pro-Arms 130% Recoil Spring Guide
With the barrel and hop-up assembly seated in the slide, install the Pro-Arms 130% Recoil Spring Guide. (See Picture 18)
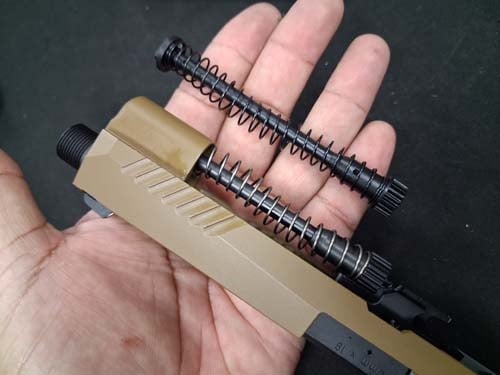
The upgraded recoil spring setup is designed to provide a stronger return to battery and a quicker cycling feel.
Step 6: Install the Pro-Arms 14mm CCW Compensator
We've got one final upgrade to install before putting everything back together.
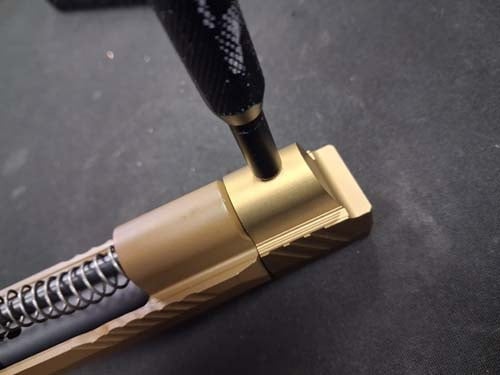
Thread the Pro-Arms 14mm CCW Compensator onto the newly installed threaded outer barrel.
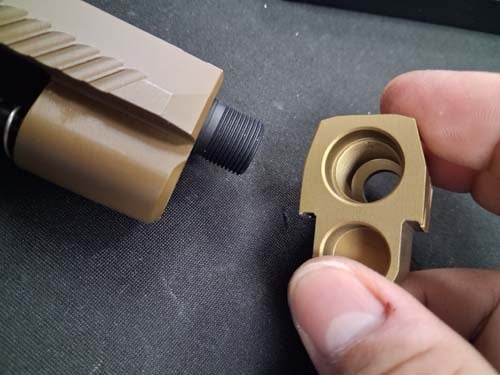
Once the compensator is properly positioned, use your 1.5mm Allen driver to tighten the set screw and secure the compensator in place.
Putting It All Together
Reinstall the completed slide assembly onto the lower frame, and your upgraded SIG Sauer ProForce P320 M17 is ready to go.
With these upgrades installed, you've added several new features to your M17:
- 130% recoil spring guide for a stronger return to battery and quicker cycling feel
- RMR mount and red dot for faster sight acquisition
- 14mm CCW threaded outer barrel for additional muzzle accessory options
- Compensator for a customized look and added protection if you choose to run a longer inner barrel
Final Thoughts
We hope today's guide helps you build out and personalize your SIG Sauer ProForce P320 M17.
If you're having difficulty installing any of these components, don't force anything and risk damaging your replica or new parts. Feel free to contact Airsoft Extreme or stop by one of our locations for assistance.
Take care, play safe, and we'll see you in the next Airsoft Extreme blog!


